
Gravel biking has exploded from a niche curiosity into one of the fastest-growing corners of cycling — and for good reason. It blends the speed and efficiency of road riding with the freedom to disappear down dirt roads, forgotten farm lanes, and singletrack connectors that pavement riders never see. If you have been eyeing that first gravel ride but feel unsure about the bike, the gear, or the tire pressure, this guide walks you through everything you need to know before you clip in.
The good news: gravel riding is forgiving. You do not need a $6,000 rig or race-ready fitness to enjoy it. You need a capable bike, a few smart preparations, and a willingness to get a little dusty. Here is how to start on the right foot.
What Exactly Is Gravel Biking?
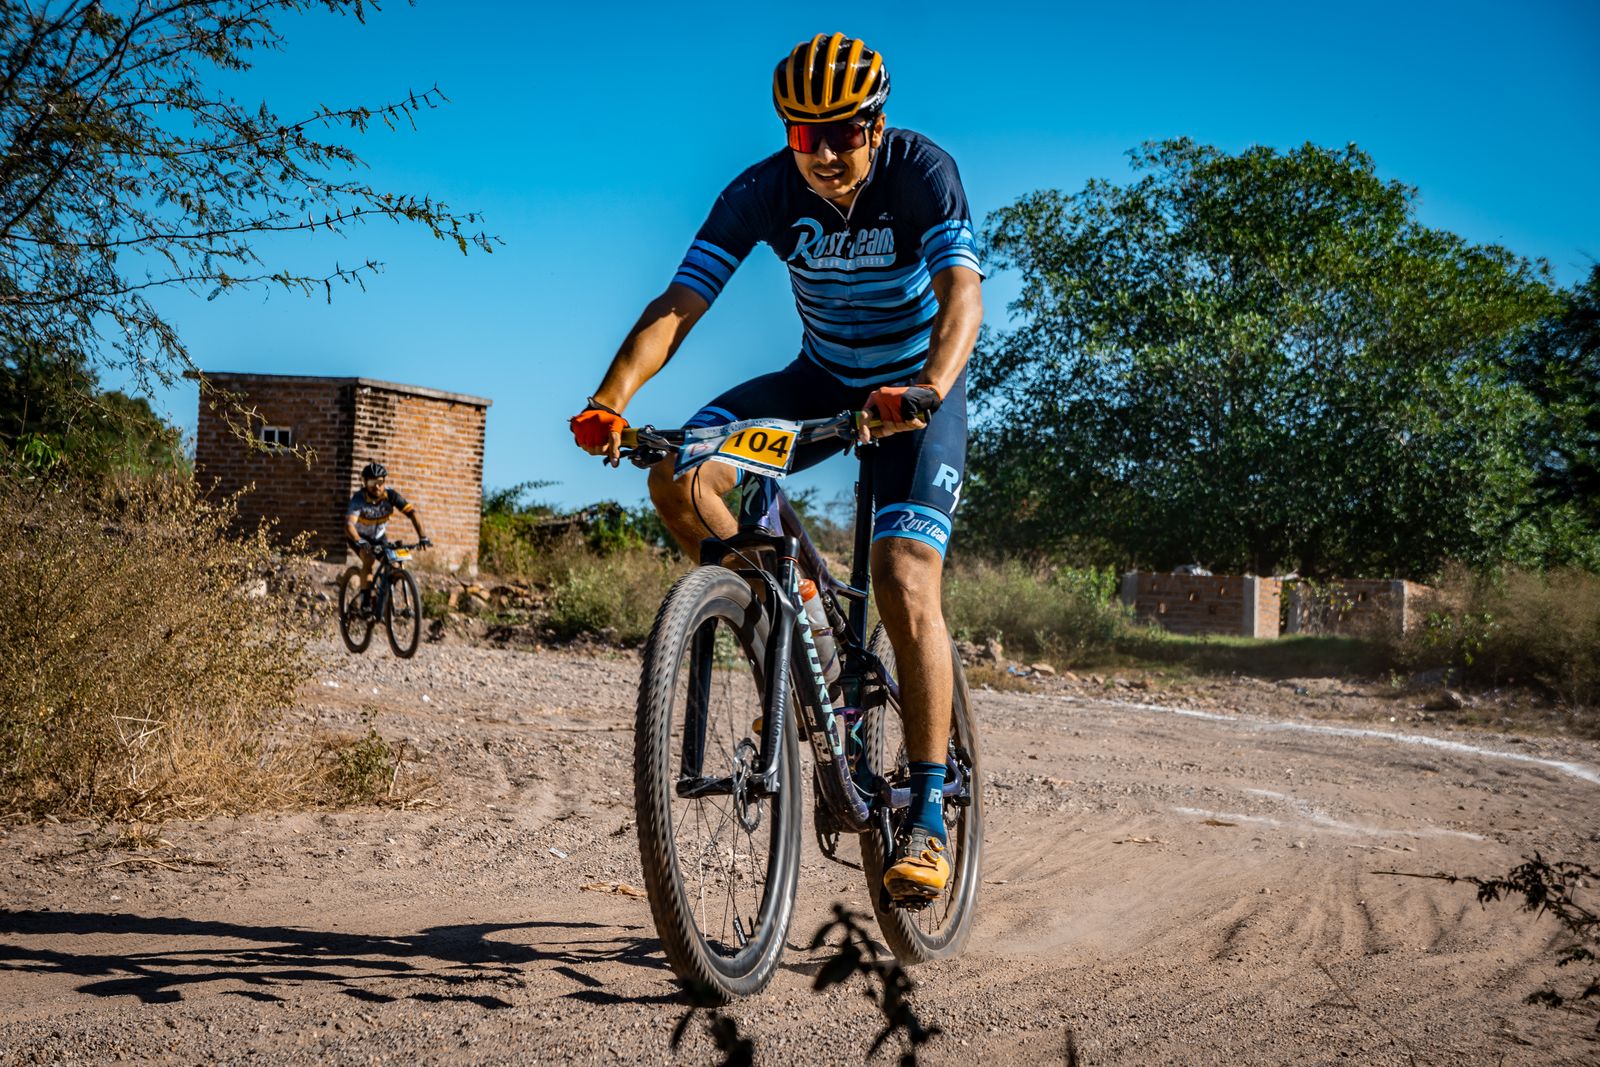
Gravel biking means riding drop-bar bikes on unpaved surfaces — dirt roads, crushed limestone, fire roads, and light trails. Think of it as the middle ground between a road bike and a mountain bike. You get the endurance-friendly geometry and multiple hand positions of a road bike, paired with wider tires and lower gearing that let you handle loose, rough terrain.
The appeal is simple: less traffic, more scenery, and endless route options. A single ride can mix quiet pavement, chunky gravel, and grassy doubletrack. That variety is exactly why so many riders fall for it.
Choosing Your First Gravel Bike
You do not necessarily need a dedicated gravel bike to start. Plenty of riders begin on a cyclocross bike, an old mountain bike, or even a road bike fitted with the widest tires the frame allows. That said, a purpose-built gravel bike will make the experience far more comfortable.
Key features to look for:
- Tire clearance: Room for at least 38–45mm tires. Wider tires mean more comfort and grip on loose surfaces.
- Relaxed geometry: A slightly taller front end and longer wheelbase for stability over rough ground.
- Lower gearing: A 1x or wide-range 2x drivetrain to spin up steep, loose climbs.
- Disc brakes: Reliable stopping power in mud, dust, and wet descents.
- Mounting points: Bosses for bottle cages, frame bags, and fenders if you plan longer adventures.
Buy the bike that fits your body and budget first — fit matters more than any component spec when you are logging real miles.
Tires and Tire Pressure: The Make-or-Break Detail
Nothing affects your gravel ride more than tires and the air inside them. Run too much pressure and you will bounce over every rock, losing traction and comfort. Run too little and you risk pinch flats and squirmy handling. Getting it dialed in is the single biggest upgrade to your ride quality.
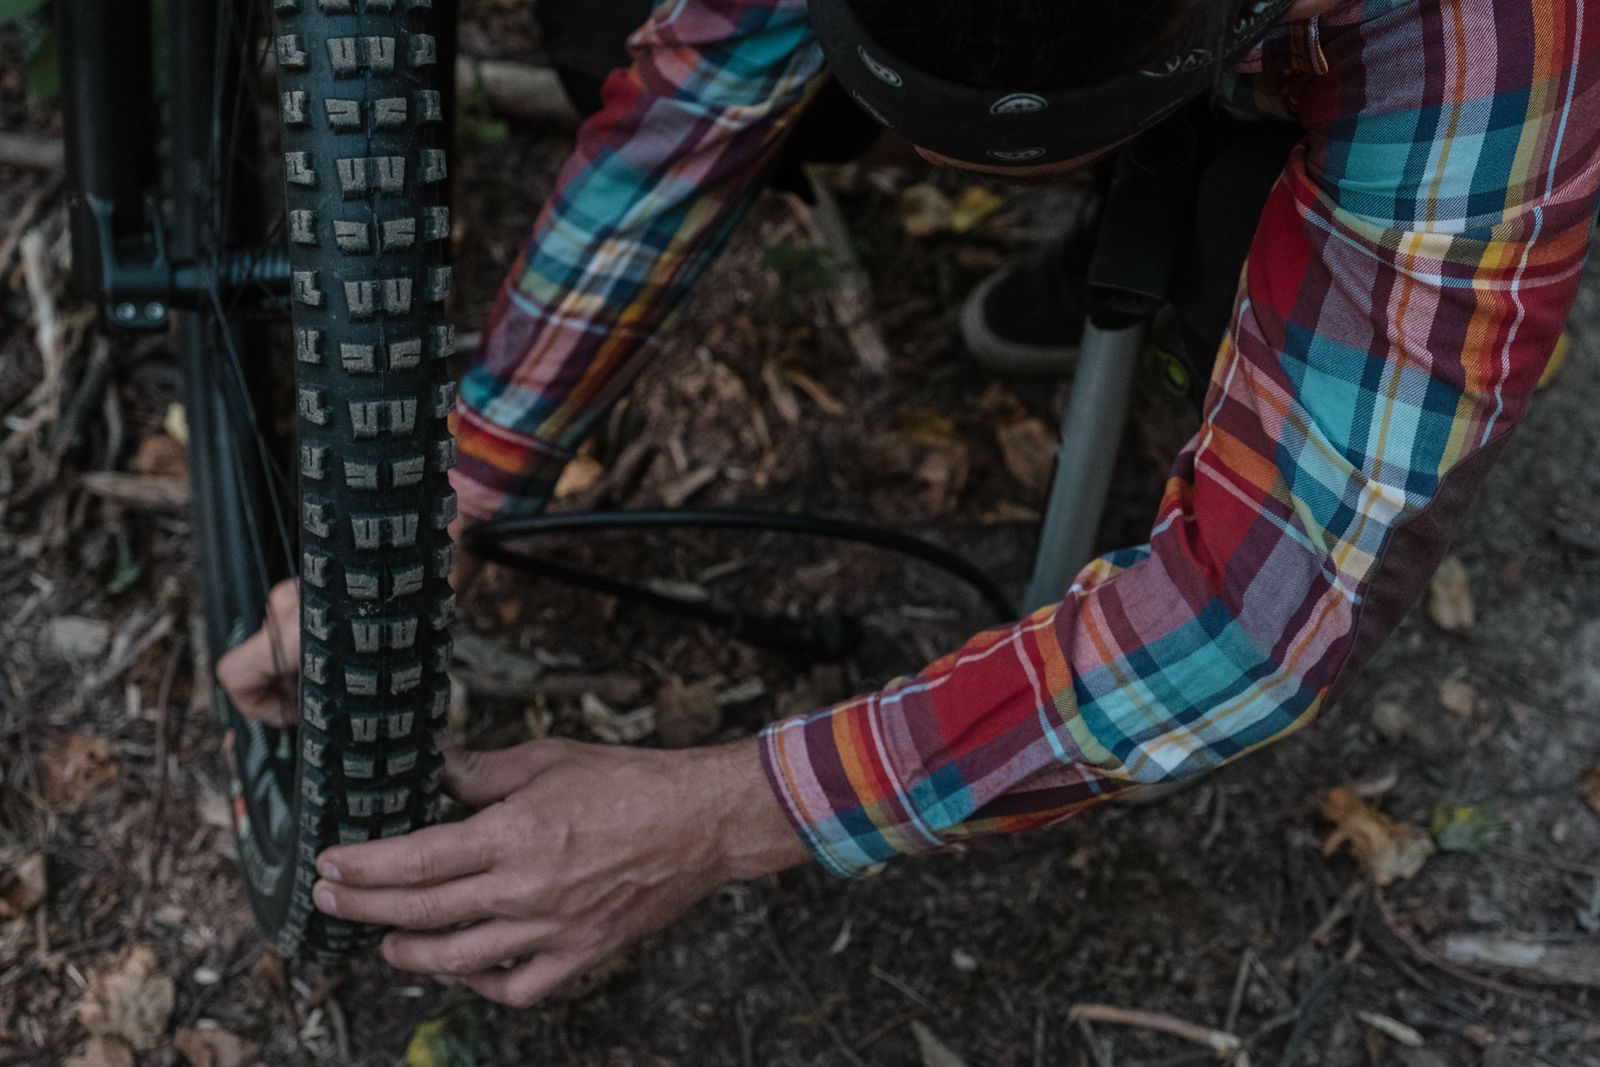
As a starting point for a rider around 160–180 lbs on 40mm tires, try roughly 30–38 PSI and adjust from there — lower for loose or chunky terrain, higher for hardpack and pavement. Heavier riders and narrower tires need more; lighter riders and wider tires can go lower. The only way to nail it is to measure with an accurate gauge, not by thumb-squeezing the tire.
Because gravel bikes often use Presta valves, a standard gas-station gauge will not cut it. A dedicated bike gauge that reads both Presta and Schrader valves takes the guesswork out and lets you fine-tune pressure to the exact PSI before every ride.

Essential Gear for Your First Ride
Gravel riding takes you farther from help than a typical road loop, so a little self-sufficiency goes a long way. Pack these before you head out:
- Helmet: Non-negotiable. A well-fitting helmet is your most important piece of gear.
- Spare tube and/or plugs: Even on tubeless setups, carry a spare tube and a tubeless plug kit.
- Mini pump or CO2 inflator: You need a way to air back up after a flat, miles from the nearest pump.
- Multi-tool: Hex keys, a chain breaker, and a Torx bit cover most trailside fixes.
- Hydration and food: Two bottles minimum, plus snacks — gravel routes rarely pass a convenience store.
- Layers: Weather changes fast on exposed backroads. A packable vest or shell earns its space.
A compact CO2 inflator is the fastest way to get rolling again after a flat, and models that fit both Presta and Schrader valves keep your kit simple. Pair it with a floor inflator at home so you can leave the garage at your exact target PSI.

Building Basic Gravel Skills
Gravel handling is a skill you build quickly with a few mindset shifts from road riding:
- Loosen your grip: Let the bike move under you over loose surfaces. A death grip transfers every wobble to your hands.
- Look ahead: Scan 15–20 feet up the road to pick your line, not down at your front wheel.
- Stay seated on climbs: Standing on loose gravel spins the rear wheel. Keep weight back and spin a low gear.
- Brake before corners: Do your slowing on the straight, then roll through turns smoothly.
- Momentum is your friend: Carry speed through sand and chunky patches instead of tiptoeing into them.
Start with mellow, well-traveled dirt roads before graduating to rougher terrain. Confidence builds fast when you are not in over your head on ride one.
Planning Your First Route
Keep your first gravel ride short and simple — 15 to 25 miles is plenty. Use route-planning apps like Komoot, Strava, or RideWithGPS, which let you filter for unpaved surfaces and see elevation ahead of time. Look for a loop that mixes some pavement with easy gravel so you can bail to a road if needed.
Tell someone your route and expected return time. Cell coverage on backroads can be spotty, and gravel routes intentionally take you off the beaten path. A downloaded offline map is cheap insurance.
Post-Ride Care
Dust and grit are hard on drivetrains. After a dry, dusty ride, wipe down your chain and re-lube it. After a wet or muddy ride, rinse the bike, dry it, and lube the chain to prevent rust. A clean drivetrain shifts better and lasts far longer — and it takes only a few minutes.
Check your tire pressure before every ride, too. Tires lose air naturally over days, and the difference between 32 and 25 PSI is the difference between a fast, planted ride and a sluggish, flat-prone one. This is where a reliable gauge earns its keep season after season. Browse JACO's full lineup of bike Presta tire pressure gauges and bike tools and accessories to build out your kit.
Ready to Roll
Gravel biking rewards curiosity more than fitness or fancy equipment. Get a bike that fits, dial in your tire pressure, pack the essentials, and pick a friendly route for your first outing. The rest — the skills, the endurance, the favorite backroad loops — comes naturally the more you ride.
So air up to the right PSI, point the front wheel toward the dirt, and go find out why gravel riders can't stop grinning. The road ends where the fun begins.