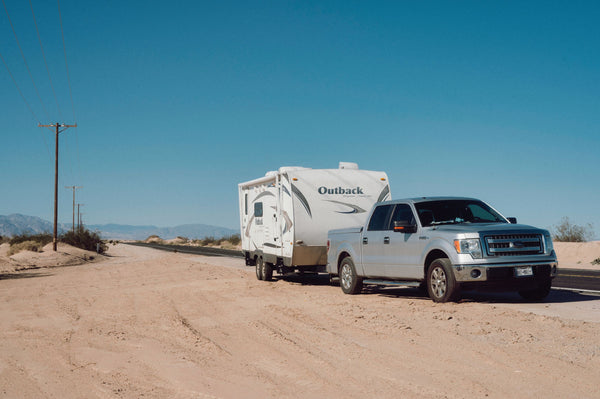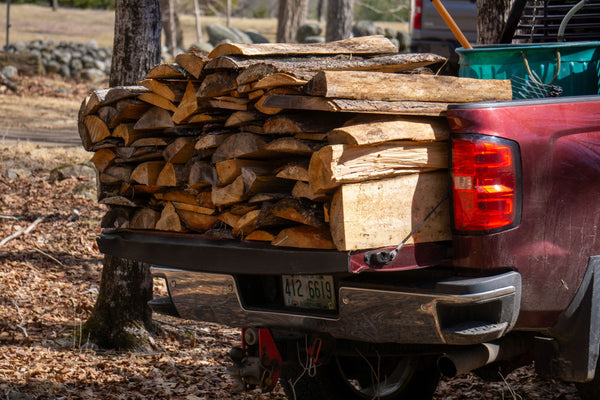

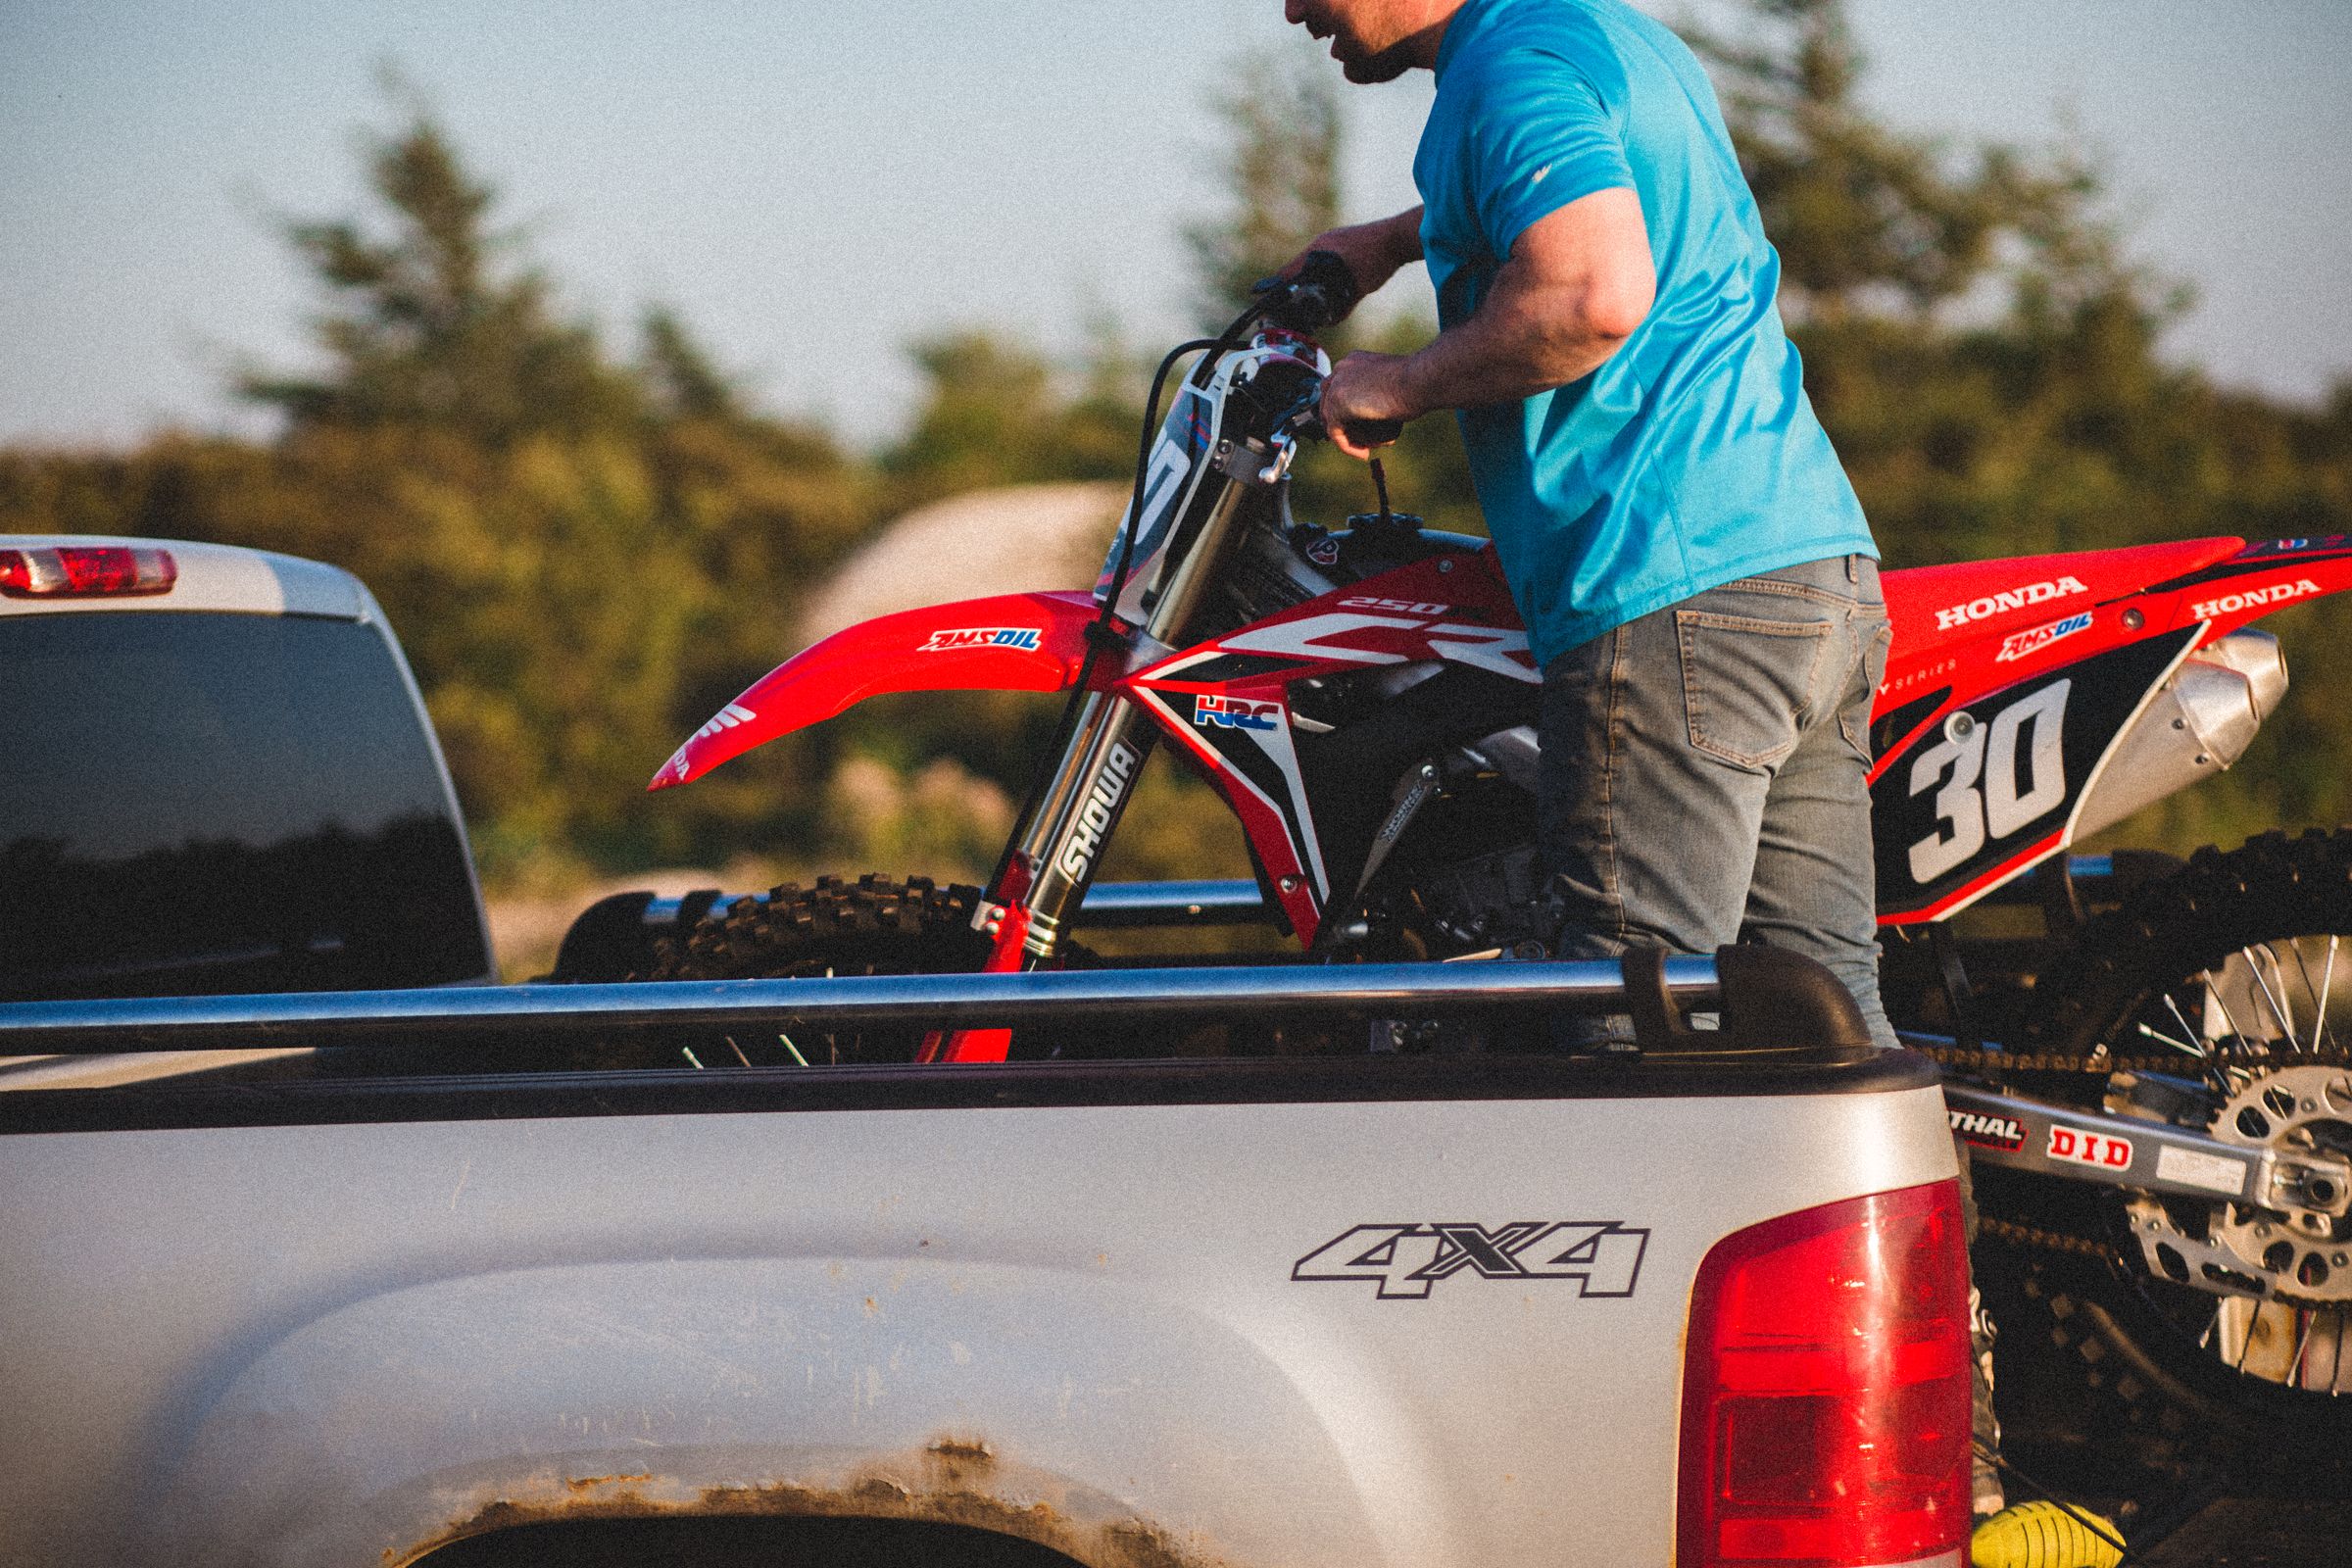
Ratchet straps are one of those tools everybody owns and almost nobody fully understands. You buy a four-pack, throw a load in the truck, crank the handle until it feels tight, and hit the road. Most of the time it works. The times it doesn't — a mattress airborne on the interstate, a dirt bike tipping into the tailgate, a couch sliding through a stop sign — are the times that teach expensive lessons.
The good news: securing cargo correctly isn't complicated once you understand a few fundamentals. Here's how to choose the right ratchet straps, use them properly, and inspect them so they don't fail when it matters.
The One Number That Actually Matters: WLL vs. Break Strength
Every quality strap lists two ratings, and confusing them is the most common (and dangerous) mistake people make.
- Break Strength is the force at which the strap physically fails. On a heavy-duty strap this might be 5,000+ lbs. It is not a working number — it's the cliff edge.
- Working Load Limit (WLL) is the maximum load you should ever put on the strap in normal use. It's typically one-third of the break strength, built in as a safety margin for road shock, bouncing, and wear.
Never load a strap to its break strength. Design your tie-down system around the WLL. For example, our JACO Heavy Duty Ratchet Straps carry a 5,208 lb break strength but a 1,736 lb working load limit — that gap is the safety buffer doing its job.
The DOT Rule Most Drivers Don't Know
Here's the securement rule that trips up weekend haulers: the FMCSA (federal DOT) standard requires that the aggregate working load limit of your tie-downs equal at least 50% of the cargo weight.
So if you're hauling a 2,000 lb load, your straps' combined WLL needs to total at least 1,000 lbs. That's the minimum — more is better, and heavy or oddly-shaped loads need additional straps regardless. This rule catches people because they assume "tight enough to not move" equals "legal and safe." It doesn't. Do the WLL math before you load.
Choosing the Right Strap Width
Strap width is a quick proxy for capacity. Match it to the job:
- 1 inch — light gear: bicycles, kayaks, camping equipment, small furniture.
- 1.5–2 inch — the everyday workhorse: motorcycles, ATVs, appliances, and cargo up to roughly 3,000 lbs. This is what most people should own.
- 4 inch — heavy equipment, machinery, and commercial hauling.
For the vast majority of powersports and moving-day jobs, a set of 1.5–2 inch straps hits the sweet spot of strength and manageability.
Hook Types and Where They Belong
The hook on the end of your strap determines what you can anchor to. The common types:
- Flat (snap) hooks — broad, low-profile, ideal for flat anchor points and D-rings.
- Wire (S) hooks — versatile and cheap, good for stake pockets and frame rails.
- J-hooks — grab onto edges and slotted rails.
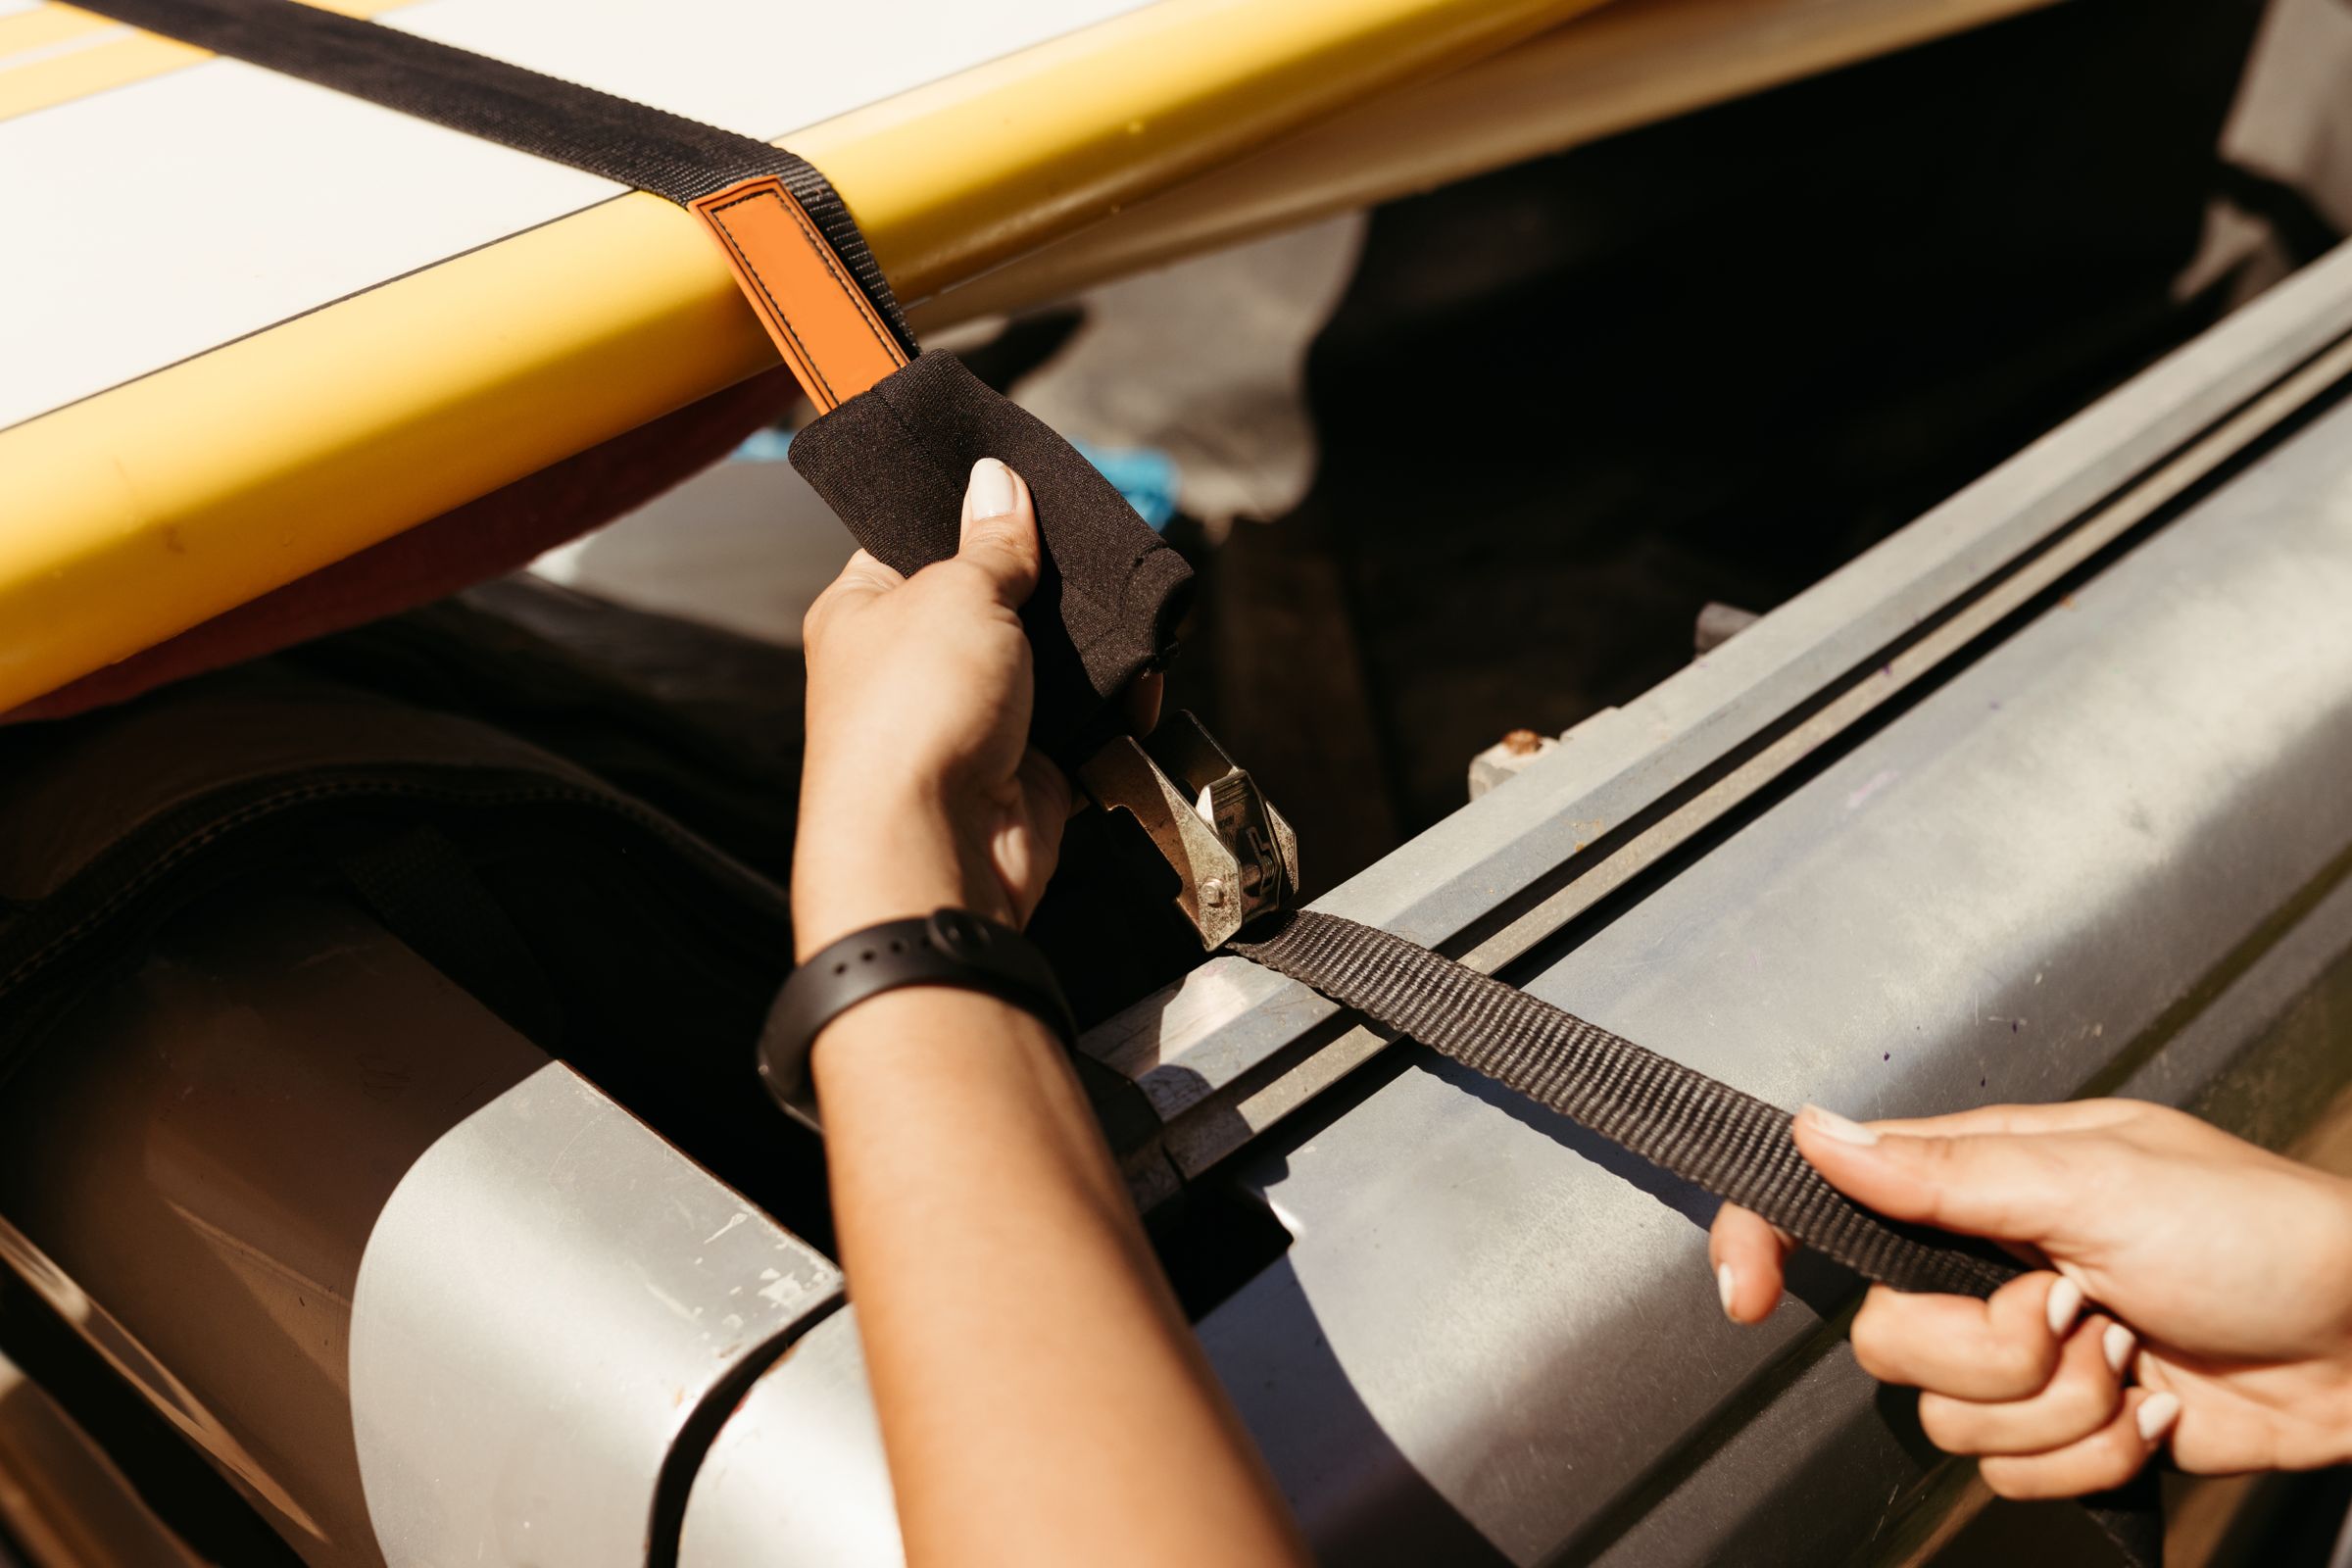
- Soft loops — a fabric loop that protects delicate finishes (handlebars, frames, painted surfaces) and gives your hook a clean, non-scratching anchor point.
Soft loops are the unsung hero of powersports hauling — they let you strap a motorcycle or ATV without a metal hook chewing up your paint or plastics.
How to Thread and Operate a Ratchet (Without Jamming It)
Half of all ratchet-strap frustration comes from threading the mechanism wrong. Do it right and it works every time:
- Open the ratchet fully (flat), so the center slot (mandrel) is exposed.
- Feed the loose strap end up through the slot from the bottom — not over the top. This is the step most people get backward.
- Pull the slack through by hand until the strap is snug.
- Crank the handle back and forth to tension. Two to three full wraps around the mandrel is plenty — more than that and you'll jam it and be unable to release.
- Close the handle fully until it clicks into the locked, closed position.
To release: pull and hold the release catch, open the handle flat, and the strap will feed freely. If it's jammed, you over-wrapped it — a good reason to keep those wraps minimal.
Anchor Points: The Weak Link Most People Ignore
A 1,700 lb strap is useless if it's hooked to an anchor rated for 200 lbs. Your tie-down system is only as strong as its weakest connection. Use purpose-built anchor points — bed-mounted tie-down rings, slotted D-rings, or stake-pocket inserts — and confirm the anchor's own WLL. Never hook to plastic trim, thin sheet metal, or a factory tie-down never meant for real load.

Securing Patterns by Load Type
How you place the straps matters as much as how tight they are. A few field-tested patterns:
- Motorcycles & dirt bikes: Strap to the lower fork/triple clamp with soft loops, compressing the front suspension slightly. Use a four-point setup so the bike can't walk side to side.
- Furniture & appliances: Run straps in an X-pattern across the load and anchor to opposite corners to stop both sliding and tipping.
- Lumber & long loads: Place a strap roughly every 8 feet, plus one near each end. Flag anything that overhangs.
- Kayaks & boards: Two straps over the hull to the roof rack, plus bow and stern lines to keep it from lifting at speed.

Whatever the load, do a walk-around and re-check tension after the first few miles — straps settle and cargo shifts, and a strap that was drum-tight at the driveway can go slack once everything seats.
Inspect Before Every Single Use
A strap is a safety device, and a compromised one can fail at a fraction of its rated capacity. Before every trip, run this quick check:
- Webbing: Look for cuts, fraying, holes, or abrasion. Any cut through the edge stitching = retire the strap.
- UV damage: Sun-faded, stiff, or chalky webbing has lost strength. Straps left outdoors degrade fast.
- Ratchet mechanism: It should open, close, and lock smoothly. Bent frames, rust, or a sloppy pawl mean replace it.
- Hooks: Check for bending, cracks, or spread openings.
When in doubt, throw it out. A $15 strap is a lot cheaper than a highway cleanup or a damaged bike.
The Bottom Line
Ratchet straps aren't complicated, but the details separate a load that arrives intact from one that becomes a road hazard. Know your WLL, do the 50% math, match strap width and hooks to the job, thread the ratchet correctly, anchor to real tie-down points, and inspect before every use. Nail those fundamentals and you'll haul anything with confidence.
Hauling motorcycles, ATVs, or moving-day gear? A quality set of AAR-certified straps is the kind of tool you buy once and trust for years. Explore the full lineup of JACO cargo control and tie-down gear and load up with peace of mind.