
Airing down at the trailhead and airing back up before you hit pavement is one of the biggest performance upgrades you can make to your rig — and it costs nothing but a little setup. The problem is that most people cobble together a slow, frustrating process out of a gas-station gauge and a cheap pump that overheats after one tire. A proper portable air-up station fixes all of that. It turns a 30-minute chore into a five-minute pit stop and keeps your whole crew rolling.
In this guide we’ll walk through exactly what a trail-ready air-up station needs, how the pieces fit together, and how to build one that airs down fast, airs up faster, and lives permanently in your recovery kit. Whether you wheel a Jeep, a Tacoma, or a full-size overland truck, the same core setup applies.
Why You Need a Dedicated Air-Up Station
Lowering tire pressure on the trail increases your contact patch, improves traction on rock and sand, and softens the ride over washboard. Most wheelers drop from street pressure (35–40 PSI) down to 15–20 PSI for dirt, and even lower for deep sand. But you cannot drive on those pressures at highway speed — underinflated tires overheat, wear fast, and can peel off the bead.
That means every trail day involves two pressure changes: down at the start, up at the end. A dedicated station makes both fast and repeatable so you’re never the person holding up the group at the gate. Build it once, throw it in a bin, and it’s ready every weekend.
Step 1: A Fast, Accurate Deflator
Airing down with the little pin on a valve cap is painfully slow — you’re guessing at pressure and babysitting four tires one at a time. A purpose-built deflator with an integrated gauge lets you dump air rapidly and read your exact pressure without pulling the tool off the valve. That’s the difference between two minutes and fifteen.
The Lightning™ RX4 Digital Tire Deflator is built exactly for this: quick-connect to the valve, rapid air-down, and a digital readout so you nail your target PSI every time. It’s the first thing you reach for at the trailhead.

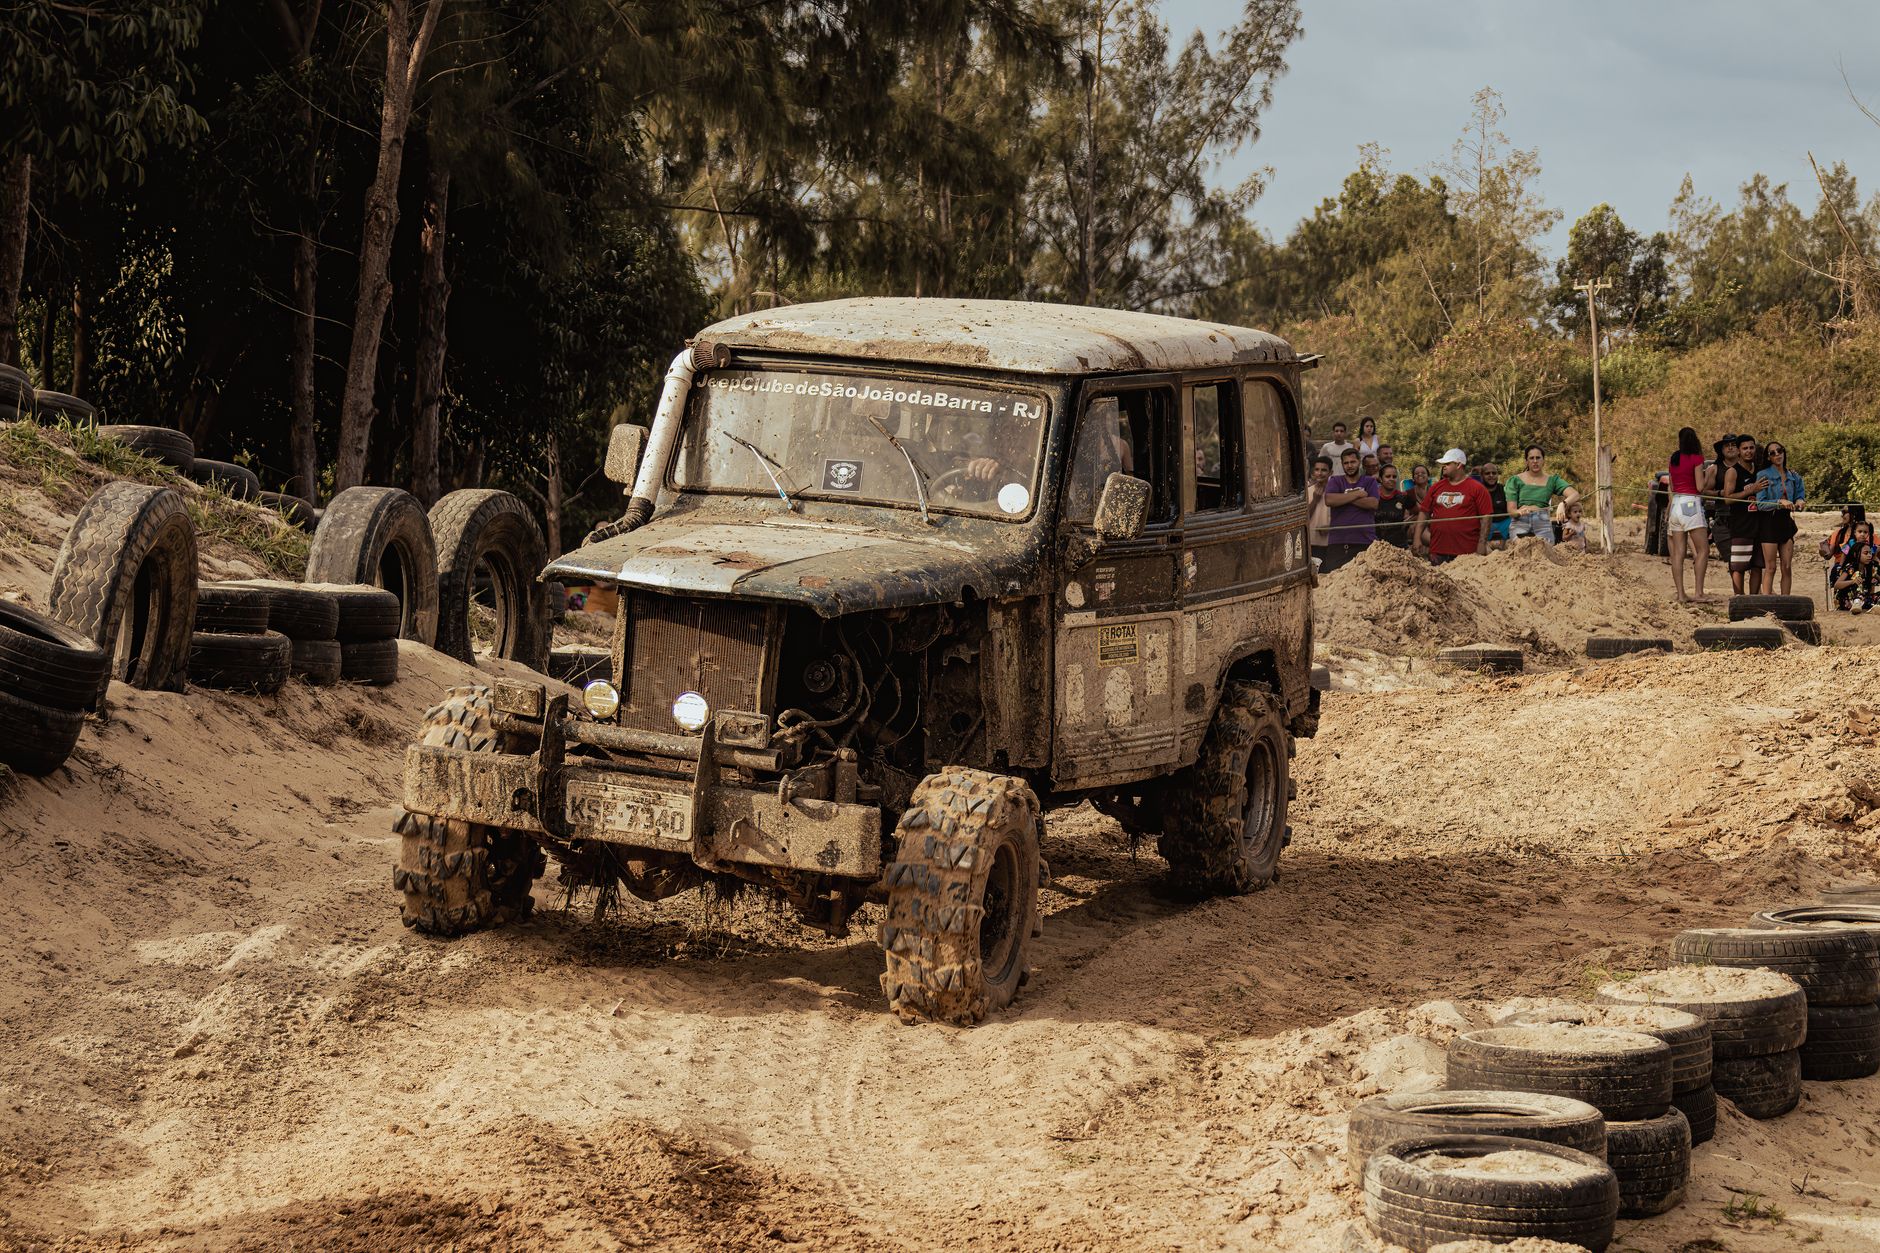
Step 2: A Compressor That Can Actually Air Up
This is where most kits fall apart. A cheap plug-in-the-lighter pump might inflate a bicycle tire, but ask it to bring four 33-inch tires from 15 PSI back to 38 and it’ll overheat, stall, or take 45 minutes. For a trail-day station you want a real compressor rated for high duty cycle and enough CFM to move serious air.
Look for at least 3+ CFM of output, a direct battery connection (not the accessory socket), and a heavy-duty motor built to run tire after tire. That’s the heart of the station — everything else bolts around it.
What CFM Actually Means for You
CFM (cubic feet per minute) is the airflow rating. Higher CFM = faster fills. A 3.5 CFM compressor will air up a full set of larger tires in a fraction of the time of a bargain pump, which matters when your group is standing around at the exit gate in the heat.

Step 3: The Right Air Chucks and Hose
The connection between your compressor and the valve stem is where you win or lose time. Standard screw-on chucks leak and wobble; you end up holding the fitting while the tire fills. Switch to a locking, open-flow quick-connect chuck and you can clip it on, walk to the next task, and come back to a finished tire.
Round out the station with a long, flexible hose so you can reach all four corners without repositioning the truck. Browse the full lineup of Lightning™ air chucks and inflation accessories to match your valve setup — and grab a spare, because these live in the dirt.
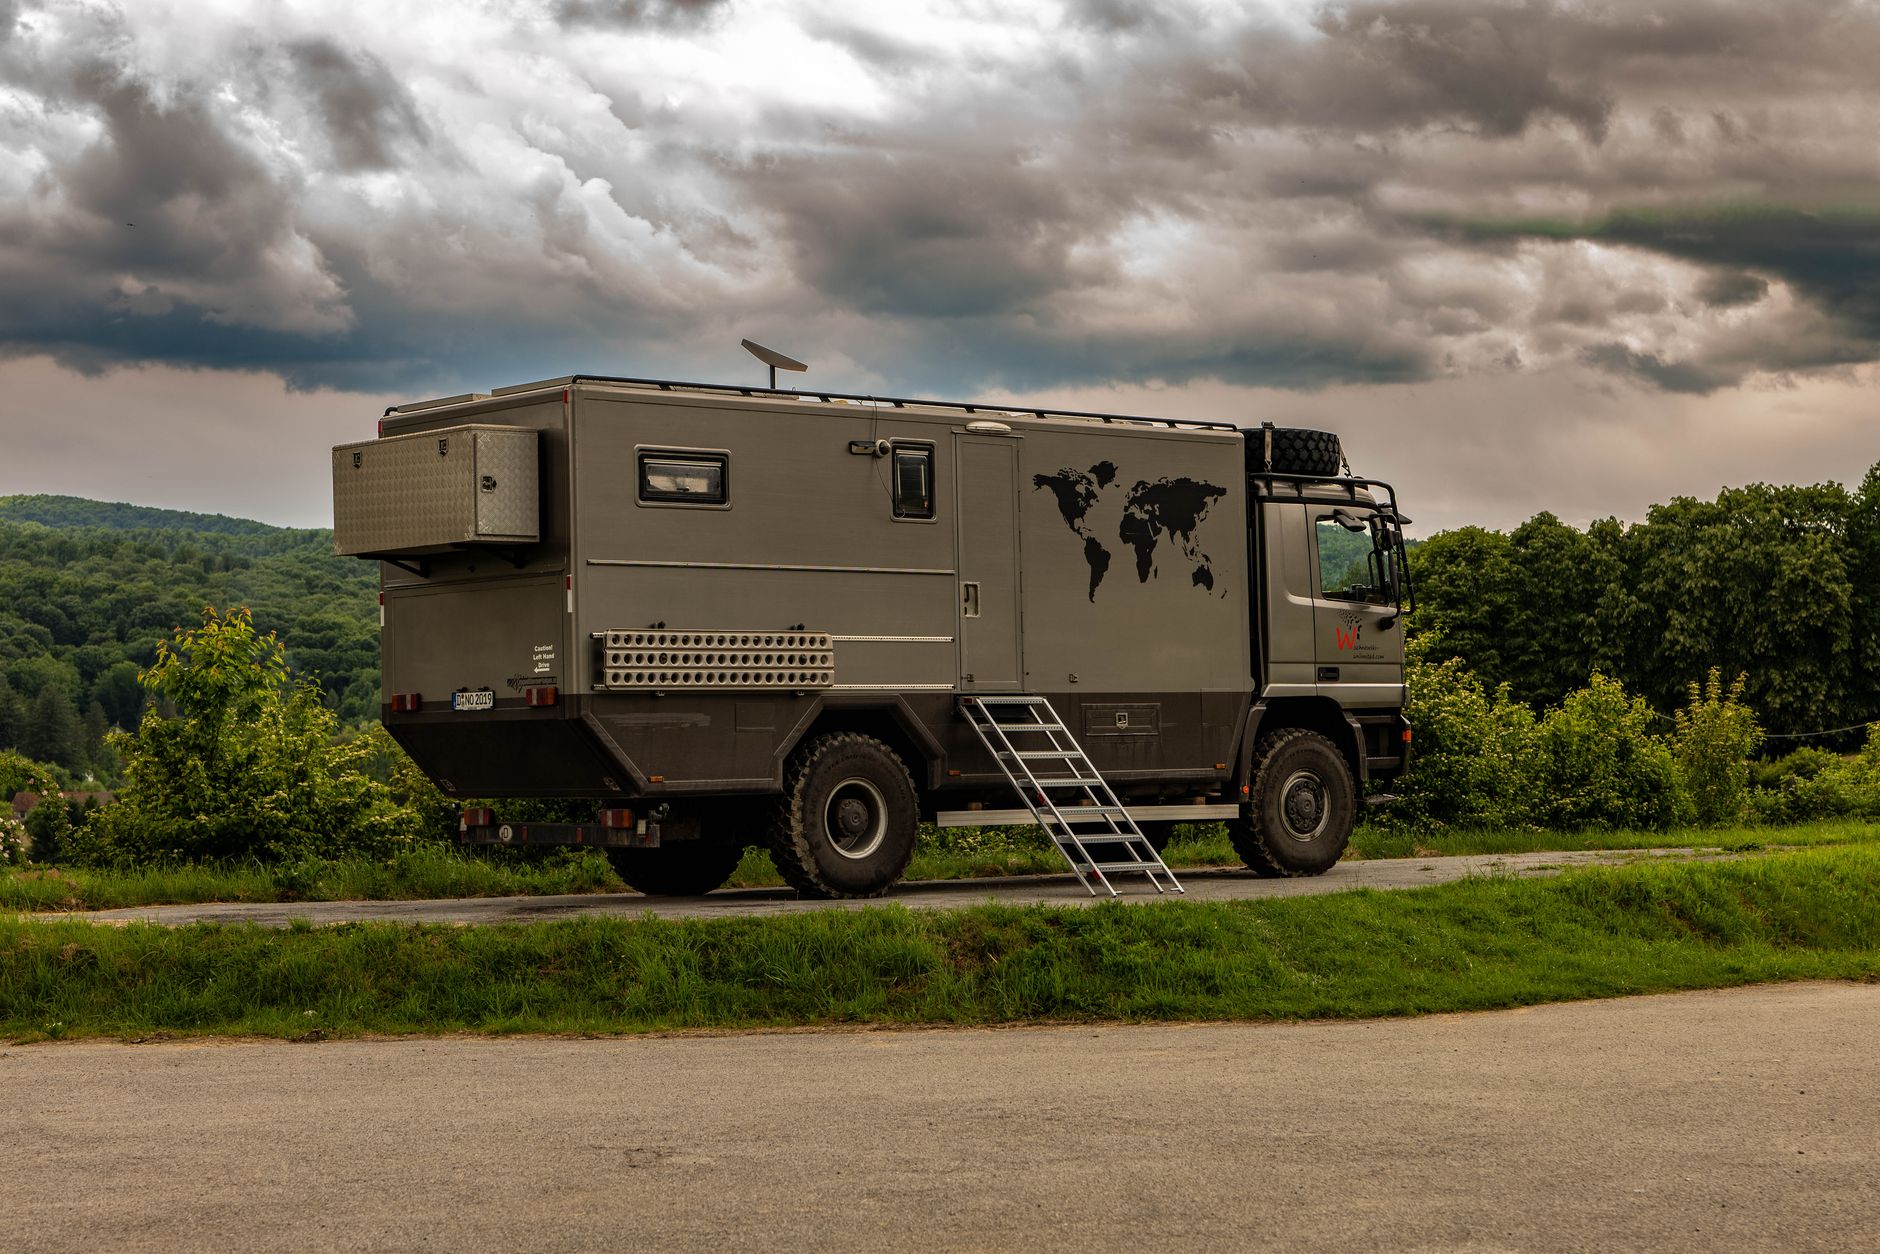
Step 4: A Gauge You Can Trust
Even with a deflator and inflator that have built-in readouts, a dedicated pressure gauge is worth keeping in the kit for a final check. Consistency matters — running 20 PSI on one side and 14 on the other affects handling and traction. A quality digital gauge like the ElitePro-X Digital Tire Pressure Gauge gives you a reliable second opinion in seconds.
Step 5: Level Up – Air All Four at Once
If you wheel often or run with a group, the ultimate upgrade is a multi-tire system that airs down or up all four tires simultaneously. Instead of walking corner to corner, you connect once and let the manifold do the work — a genuine time-saver on big trips and guided runs.

Putting It All Together
Here’s the complete trail-day air-up station, packed into a single bin:
- Deflator with gauge — for fast, accurate airing down at the trailhead
- Heavy-duty compressor (3+ CFM) — the workhorse for airing back up
- Locking quick-connect air chucks — clip-on, hands-free filling
- Long flexible hose — reach all four corners from one spot
- Digital pressure gauge — final check for even pressures
- Optional: 4-tire system — simultaneous air-down/up for groups

A Few Pro Tips
- Write down your target pressures for dirt, rock, and sand so you’re not guessing each trip.
- Air up before you hit pavement — never drive highway speeds on trail pressures.
- Keep the compressor clamps clean and connect direct to the battery for full power.
- Store it as a kit in one sealed bin so nothing gets left in the garage.
- Test it at home before your first trip so you’re not learning the system on the trail.
Final Thoughts
A portable air-up station is one of those upgrades you’ll wonder how you ever wheeled without. It protects your tires, improves your traction, and keeps your crew moving instead of standing around at the gate. Build it once with quality components, keep it packed and ready, and every trail day starts and ends smoother. When you’re ready to put your kit together, explore JACO’s full range of off-road air-down and inflation gear and roll into your next run prepared.