


It's the scenario every driver dreads: you're cruising down the highway, and suddenly you feel that unmistakable wobble. A flat tire. According to AAA, drivers in the United States experience roughly 220 million flat tires every year — that's more than seven every single second. Yet a surprising number of drivers have never actually changed one themselves.
The good news? Changing a flat tire is one of those skills that sounds intimidating but is genuinely straightforward once you know the steps. The key is doing it safely, because the side of the road is one of the most dangerous places to work on a vehicle. Here's exactly how to handle it — from the moment you realize something's wrong to the moment you're back on the road.
Know the Warning Signs Before You Pull Over
A sudden blowout is hard to miss — you'll hear a loud pop and feel the vehicle pull sharply to one side. But slow leaks are more subtle. Watch for these signs:
- Steering pull: The car drifts left or right without input
- Vibration: A rhythmic thumping or shaking, especially at lower speeds
- TPMS warning light: Your dashboard tire pressure monitoring system alerts you to low pressure
- Flapping or thumping sound: Rubber slapping against the road as the tire loses shape
If you notice any of these, don't panic. Slow down gradually (no hard braking), turn on your hazard lights immediately, and start looking for a safe place to pull over. Avoid stopping on curves, hills, or narrow shoulders whenever possible.
Find a Safe Location (This Is the Most Important Step)
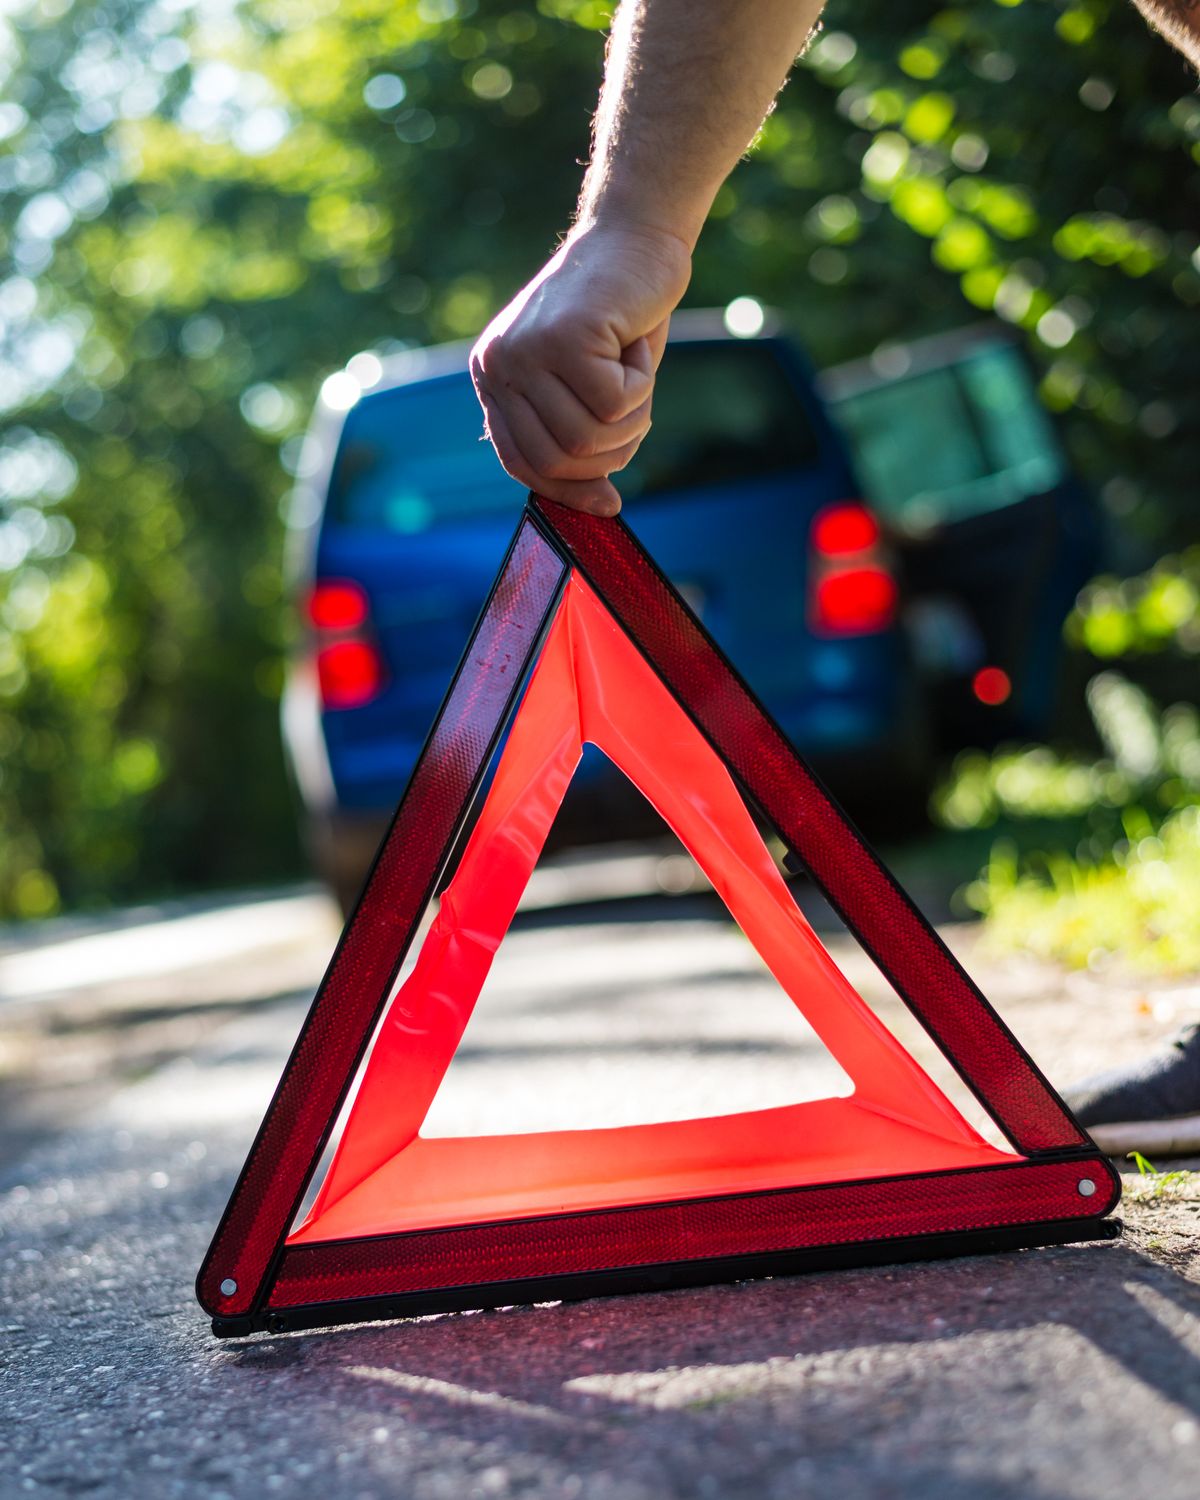
More roadside fatalities happen from being struck by passing traffic than from the vehicle problem itself. Your location choice matters more than speed.
Ideal spots:
- A flat, paved parking lot (gas station, shopping center)
- A wide, straight shoulder with good visibility for approaching traffic
- A rest area or emergency pull-off
Avoid:
- Blind curves or just over a hill crest
- Narrow shoulders where you'd be partially in a lane
- Soft ground (dirt, grass, gravel) that won't support a jack
Once stopped, put the vehicle in Park (or first gear for manual transmissions), engage the parking brake, and turn on your hazard flashers. If you have a reflective warning triangle or road flares, place them 50–100 feet behind your vehicle to alert oncoming drivers.
Gather Your Tools (And Know Where They Are Before You Need Them)
Every vehicle should have a tire-changing kit in the trunk or cargo area. Take five minutes this weekend to locate yours — you don't want to be searching for it on a dark highway. Here's what you need:
- Spare tire (full-size or compact "donut" spare)
- Vehicle jack (usually a scissor jack stored with the spare)
- Lug wrench (the L-shaped or cross-shaped wrench that fits your lug nuts)
- Wheel lock key (if your vehicle has locking lug nuts — check now!)
- Gloves and a flashlight (optional but highly recommended)
- Tire pressure gauge (to check the spare before driving on it)
Pro tip: Check your spare tire's pressure at least once a season. A flat spare is useless when you need it most — and many drivers discover theirs is dangerously low only after they've already jacked up the car. Keep a reliable tire pressure gauge in your glovebox so you can verify pressure on the spot.

Step 1: Loosen the Lug Nuts Before Jacking Up the Car
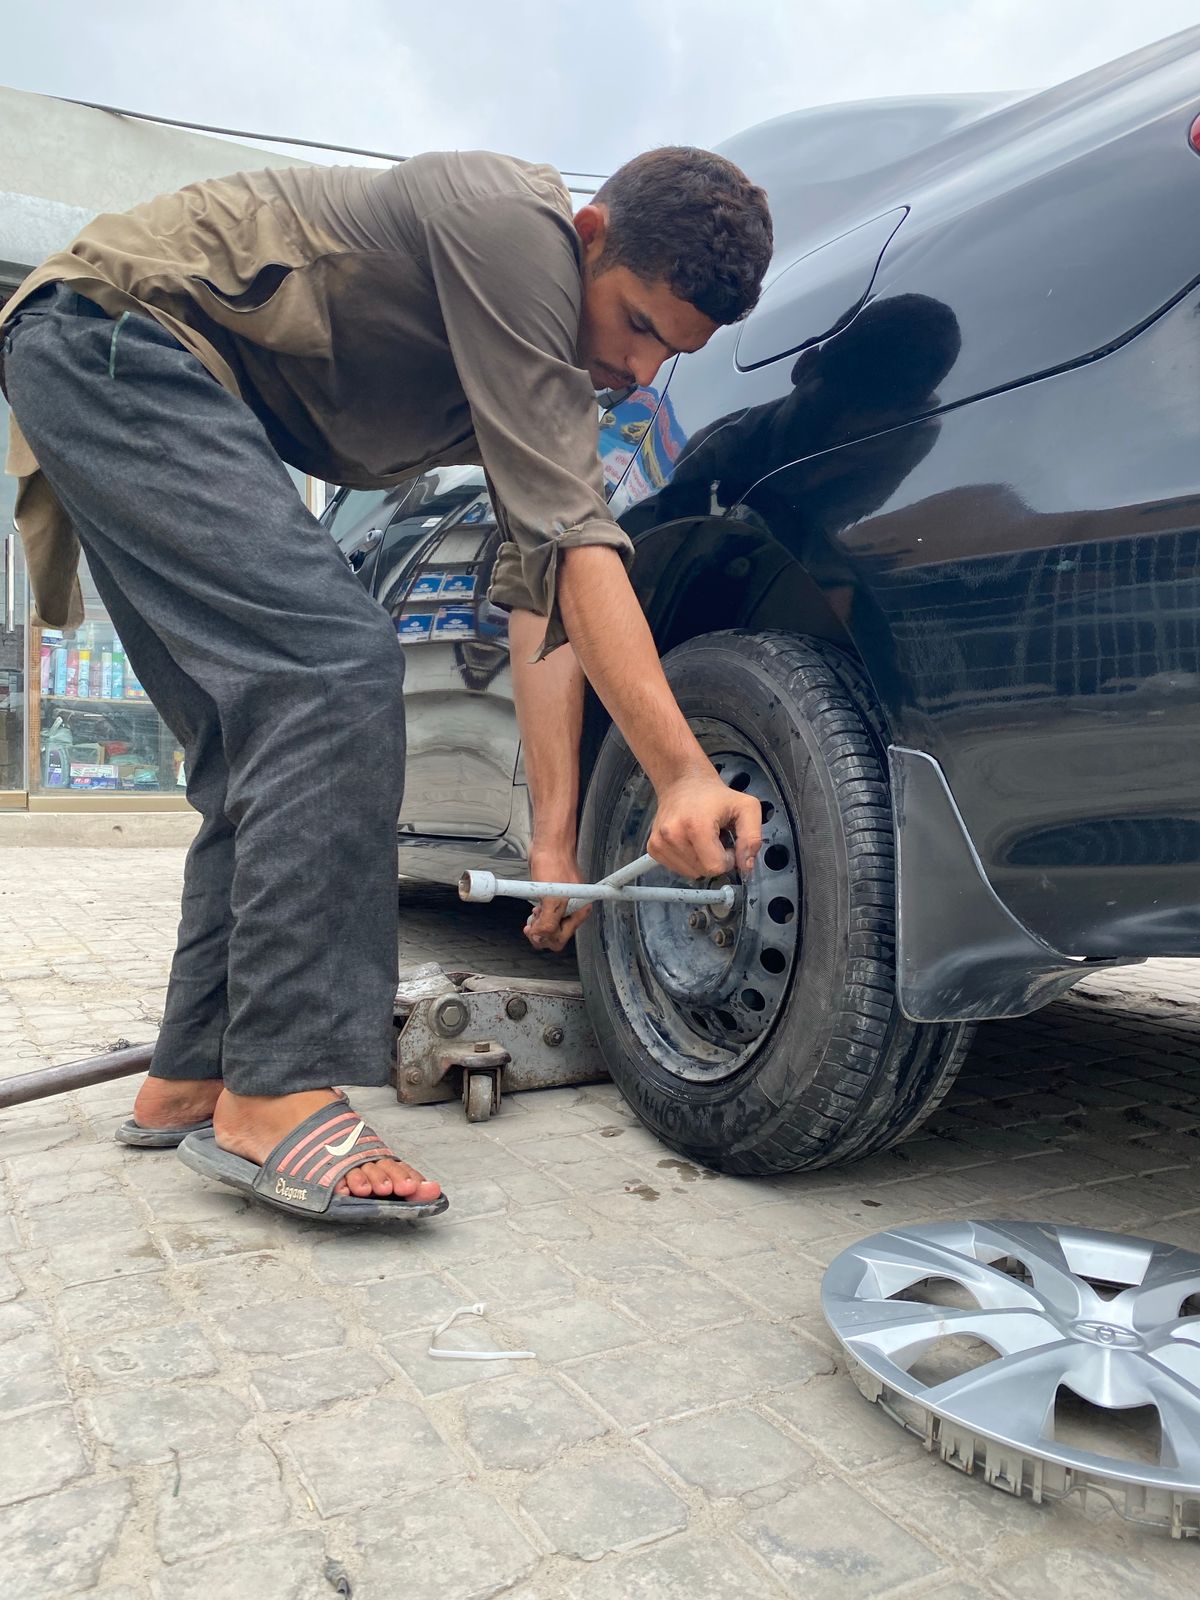
This is the step most people get wrong — they jack the car up first, then try to loosen the lug nuts. But once the wheel is off the ground, it'll just spin freely when you try to turn the wrench.
With the car still on the ground:
- Remove the hubcap or wheel cover if present (pry it off with the flat end of the wrench)
- Place the lug wrench on each lug nut and turn counterclockwise (lefty-loosey)
- Break them loose — about a quarter to half turn each. They may be very tight, and that's normal
- If a nut won't budge, stand on the wrench handle (carefully) to use your body weight as leverage
Don't remove them completely yet. Just break the initial resistance so they'll spin off easily once the wheel is in the air.
Step 2: Position the Jack and Lift the Vehicle
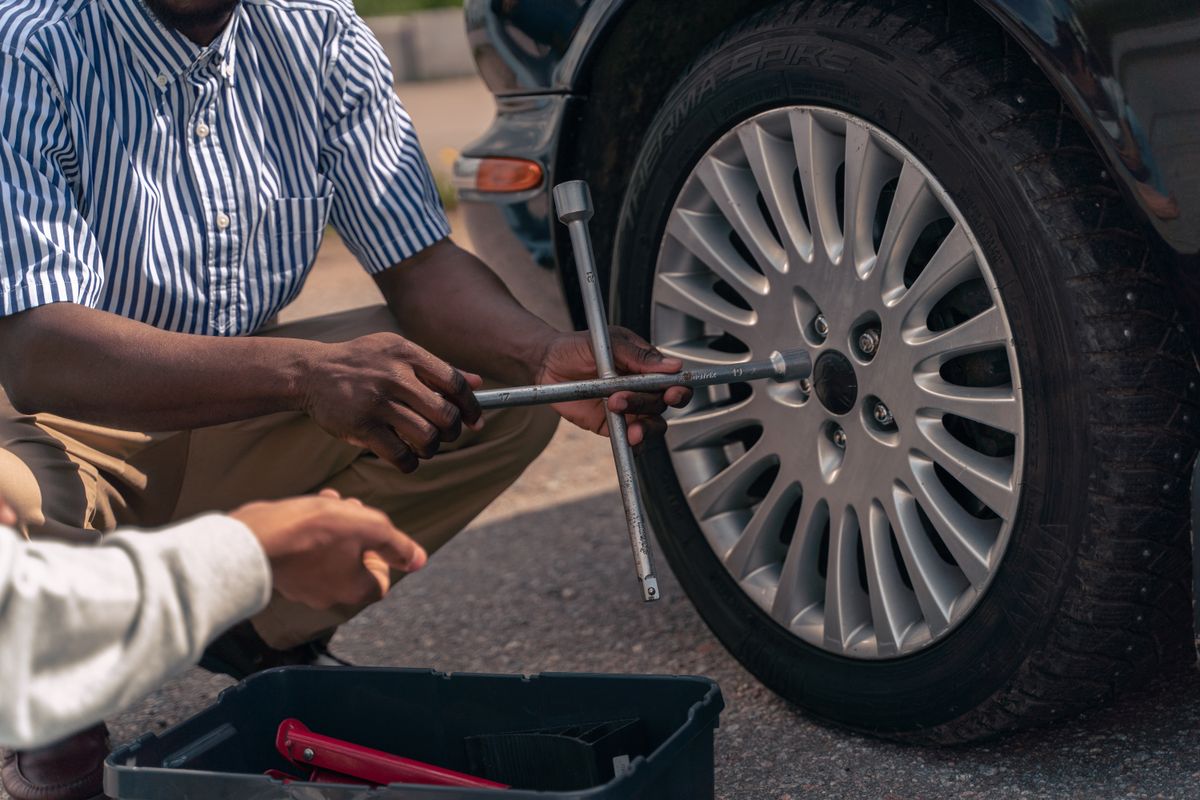
Every vehicle has designated jack points — reinforced spots on the frame designed to support the weight of the car. Using the wrong spot can dent body panels, crack plastic trim, or cause the jack to slip.
Where to find your jack points:
- Check your owner's manual (there's usually a diagram)
- Look for a small notch or arrow stamped into the metal frame rail behind the front wheel or in front of the rear wheel
- On most cars, the jack point is a reinforced section of the pinch weld (the seam where the floor pan meets the rocker panel)
Lifting procedure:
- Place the jack under the correct jack point
- Make sure the jack is on firm, level ground (place a board under it on asphalt in hot weather to prevent sinking)
- Crank the jack until the flat tire is about 6 inches off the ground — just enough to remove and replace it
- Never get under the vehicle while it's supported only by a jack
Step 3: Remove the Flat and Mount the Spare
With the vehicle raised and stable:
- Fully remove the lug nuts — place them in your pocket or a cup where they won't roll away
- Pull the flat tire straight toward you — it may be stuck to the hub from corrosion. A firm tug or kick to the rubber tread usually breaks it free
- Set the flat tire under the vehicle beside the jack. This is a safety measure: if the jack fails, the flat tire will prevent the car from dropping to the ground completely
- Mount the spare tire by lining up the holes and pushing it onto the lug bolts. Lift with your legs, not your back — even compact spares are heavier than they look
- Hand-tighten the lug nuts — thread them on by hand first to avoid cross-threading, then snug them with the wrench. Don't fully tighten yet.
Step 4: Lower the Vehicle and Final-Tighten in a Star Pattern
This is where precision matters:
- Lower the jack until the spare tire touches the ground but the full weight isn't resting on it yet
- Tighten the lug nuts in a star (criss-cross) pattern — not in a circle. This ensures even pressure against the hub and prevents the wheel from wobbling
- For a 5-lug wheel, think of a five-pointed star: tighten one, skip one, tighten the next
- Apply firm force — you want them tight, but a roadside tire change typically doesn't involve a torque wrench. Get them as snug as you can
- Fully lower the vehicle and give each lug nut one more firm tightening pass in the star pattern
Important: After driving 50–100 miles on the spare, re-tighten the lug nuts. They often loosen slightly during initial driving as everything settles. If you have access to a torque wrench, use it — your owner's manual lists the spec (typically 80–100 ft-lbs for passenger cars).
Driving on the Spare: What You Need to Know
If you're driving on a compact "donut" spare, treat it as a temporary fix — not a permanent tire:
- Speed limit: Most compact spares are rated for a maximum of 50 mph. There's usually a label on the tire itself
- Distance limit: Aim to drive no more than 50–70 miles. Some manufacturers rate their spares up to 100 miles, but less is better
- Handling changes: Your car will feel different — less grip, softer ride, and the traction control system may behave erratically. Drive gently
- Check pressure: Compact spares typically require 60 PSI (much higher than your normal tires). Verify before driving
If you have a full-size spare that matches your other tires, you can drive normally — but still get the flat repaired or replaced as soon as possible so you have a spare ready for next time.
When to Skip the DIY and Call for Help Instead
There's no shame in calling roadside assistance. In fact, it's the smarter call in certain situations:
- You're on a busy highway with a narrow shoulder and fast-moving traffic
- The flat is on the traffic side of the vehicle and you can't safely work there
- The lug nuts are seized and won't budge even with body weight on the wrench
- The jack point is unclear or the ground is too soft or uneven to safely support the vehicle
- You don't have a spare — many newer vehicles ship with tire repair kits and inflators instead of spares
- It's dark, raining, or snowing and visibility is poor for both you and passing traffic
AAA, your insurance company, or your vehicle manufacturer's roadside assistance program can typically have a truck to you within 30–60 minutes. Your safety always comes first.
Build a Better Roadside Kit
Beyond the basics that came with your car, a well-prepared roadside kit makes the whole process faster and safer:
- Reflective vest — makes you visible to traffic, especially at night
- LED flashlight or headlamp — hands-free lighting for nighttime changes
- Tire pressure gauge — verify your spare's pressure before driving on it
- 12V portable tire inflator — top off a low spare or temporarily reinflate a slow-leaking tire to reach a shop
- Rain poncho — because flat tires don't wait for good weather
- Wheel chocks or a brick — place behind the opposite tire to prevent rolling
- Breaker bar — provides more leverage than the factory lug wrench for stubborn lug nuts
Keep everything in a small bag in your trunk. When the moment comes, you'll be glad it's all in one place.
The Bottom Line
Changing a flat tire is a fundamental driving skill — one that can save you hours of waiting for roadside assistance and potentially keep you out of a dangerous situation. The entire process takes about 15–20 minutes once you've done it a couple of times.
The best time to learn isn't when you're stranded on the shoulder of I-70 in a rainstorm. Practice once in your driveway on a calm Saturday afternoon. Locate your jack and spare, try loosening a lug nut, and familiarize yourself with the jack points. That ten minutes of preparation will pay for itself the first time you hear that dreaded thump-thump-thump on the highway.
Stay prepared, stay safe, and keep your tire pressure gauges handy — because the best flat tire is one you catch early with a quick pressure check before it ever leaves you stranded.