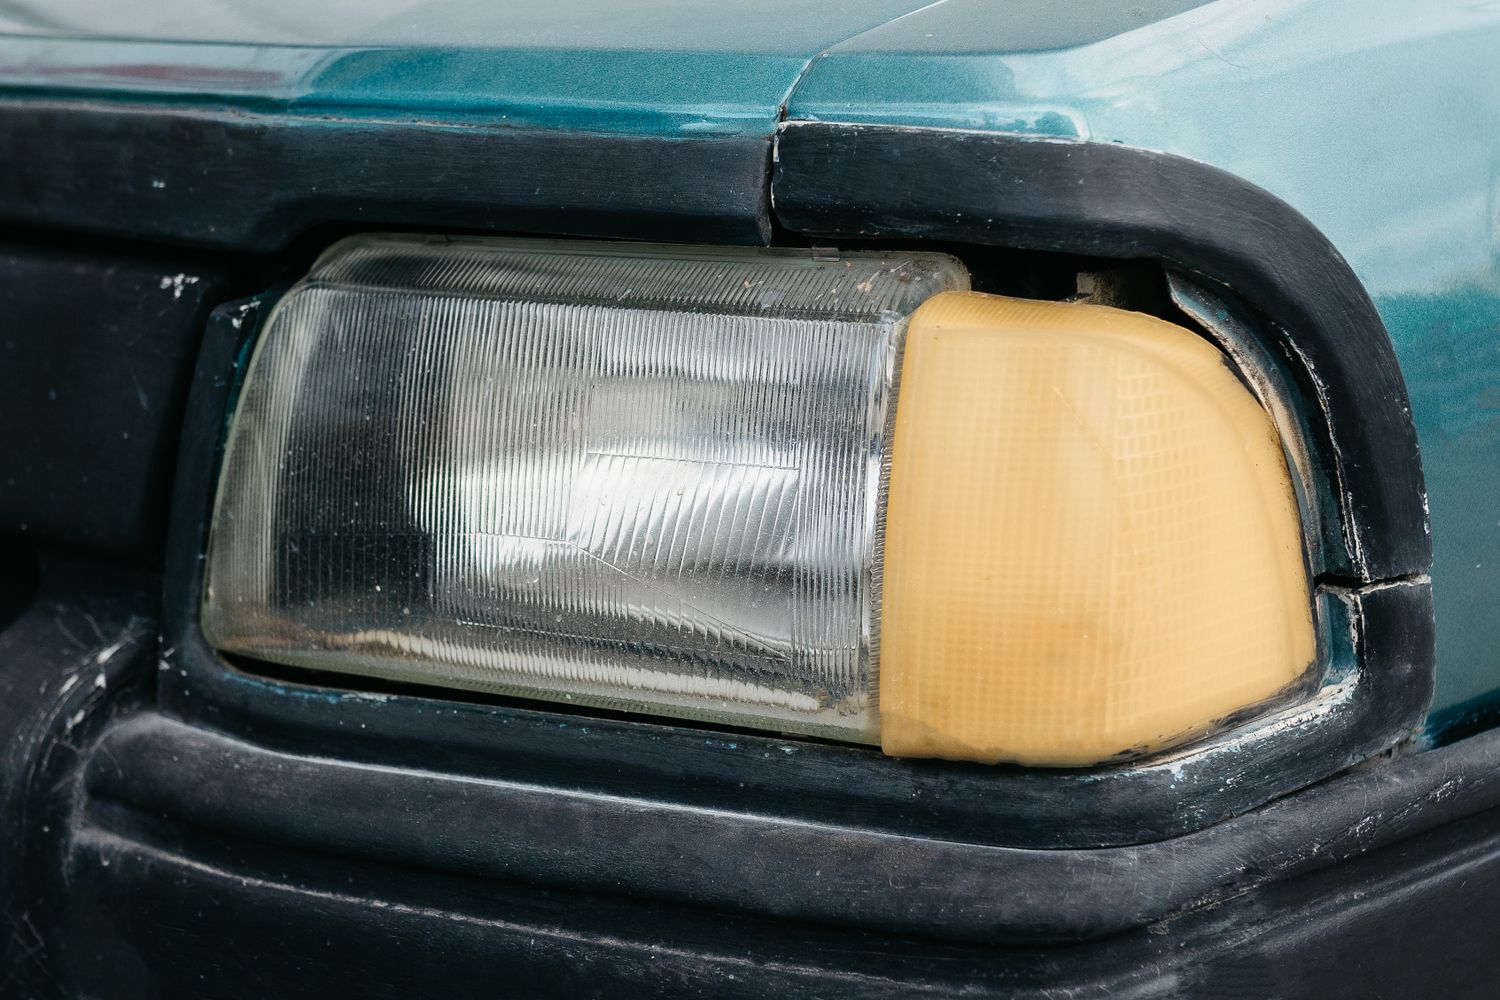
Walk down any parking lot and you'll see them — vehicles that look ten years older than they actually are because their headlights have turned cloudy, yellow, or hazy. Foggy headlights aren't just an eyesore. Studies have shown that oxidized lenses can cut light output by up to 80%, dramatically reducing how far you can see at night and how visible you are to other drivers. The good news? You can fix them in your driveway, in about an hour, with under $40 in supplies.
This guide walks through why headlights fog in the first place, the three main DIY restoration methods (and which one actually lasts), a step-by-step sanding walkthrough, and how to know when it's time to give up and just buy new lenses.
Why Your Headlights Turn Yellow and Cloudy
Modern headlight lenses are made of polycarbonate plastic — light, shatter-resistant, and easy to mold into complex shapes. The trade-off is that polycarbonate is sensitive to UV light. Manufacturers spray on a clear UV-protective coating at the factory, but over time that coating breaks down. Once it does, the plastic underneath starts to oxidize, which is the haze and yellowing you see.
A few things accelerate the damage:
- Sunlight — the #1 cause. Vehicles parked outside in sunny climates fog faster than garage-kept cars.
- Road debris — sand, salt, and gravel sandblast the protective coating off the front of the lens.
- Heat — high-output halogen and HID bulbs cook the back side of the lens from the inside.
- Harsh chemicals — gas station bug remover, ammonia-based glass cleaner, and abrasive polishes can strip what's left of the coating.
Most lenses start showing visible haze around the 5-7 year mark. By 10 years, almost every vehicle parked outdoors needs some kind of treatment.
How Foggy Lenses Affect Your Driving
This isn't just a cosmetic problem. AAA testing has shown that yellowed, oxidized headlights produce significantly less usable light on the road — sometimes hitting only 22% of the output of a new lens. That translates to:
- Shorter stopping distance at night because you see hazards later
- Reduced visibility in rain, fog, and on unlit rural roads
- Glare scatter that can actually blind oncoming drivers
- A higher chance of failing a state safety inspection
If your headlights look like they're glowing through a frosted shower door, it's a safety issue, not a vanity issue.
The Three DIY Restoration Methods
You'll find a hundred YouTube videos pushing different "magic" fixes. They mostly fall into three categories.
1. Toothpaste or Baking Soda
Cheap, fast, and almost worthless for anything beyond a mild haze. Toothpaste contains very fine abrasives that can polish off light surface oxidation, but it does nothing for deep yellowing or pitting, and there's no UV sealant left behind — so whatever you remove will return in weeks. Skip this unless your headlights are barely cloudy and you just want a quick before/before-a-date refresh.
2. Headlight Restoration Kit (Sanding + Polish + Sealant)
This is the right choice for almost everyone. A $20-$35 kit from any auto parts store includes wet-sanding pads in three or four grits, a polishing compound, and (most importantly) a UV-blocking clear sealant. Done correctly, results last 1-3 years.
3. Replace the Lens or Assembly
If your lenses are deeply pitted, cracked, fogging from the inside (moisture intrusion), or already restored multiple times, just replace them. OEM assemblies are pricey, but quality aftermarket replacements run $80-$200 per side for most popular vehicles.
What You'll Need (Sanding Method)
- Wet/dry sandpaper in 400, 800, 1500, and 2000 grit (or a kit with these included)
- Spray bottle of water
- Painter's tape
- Plastic polishing compound
- Microfiber cloths (a few)
- UV-resistant clear sealant (this is non-negotiable — without it, the haze comes back fast)
- Optional: a cordless drill with a buffing pad
Step-by-Step: The Sanding Method
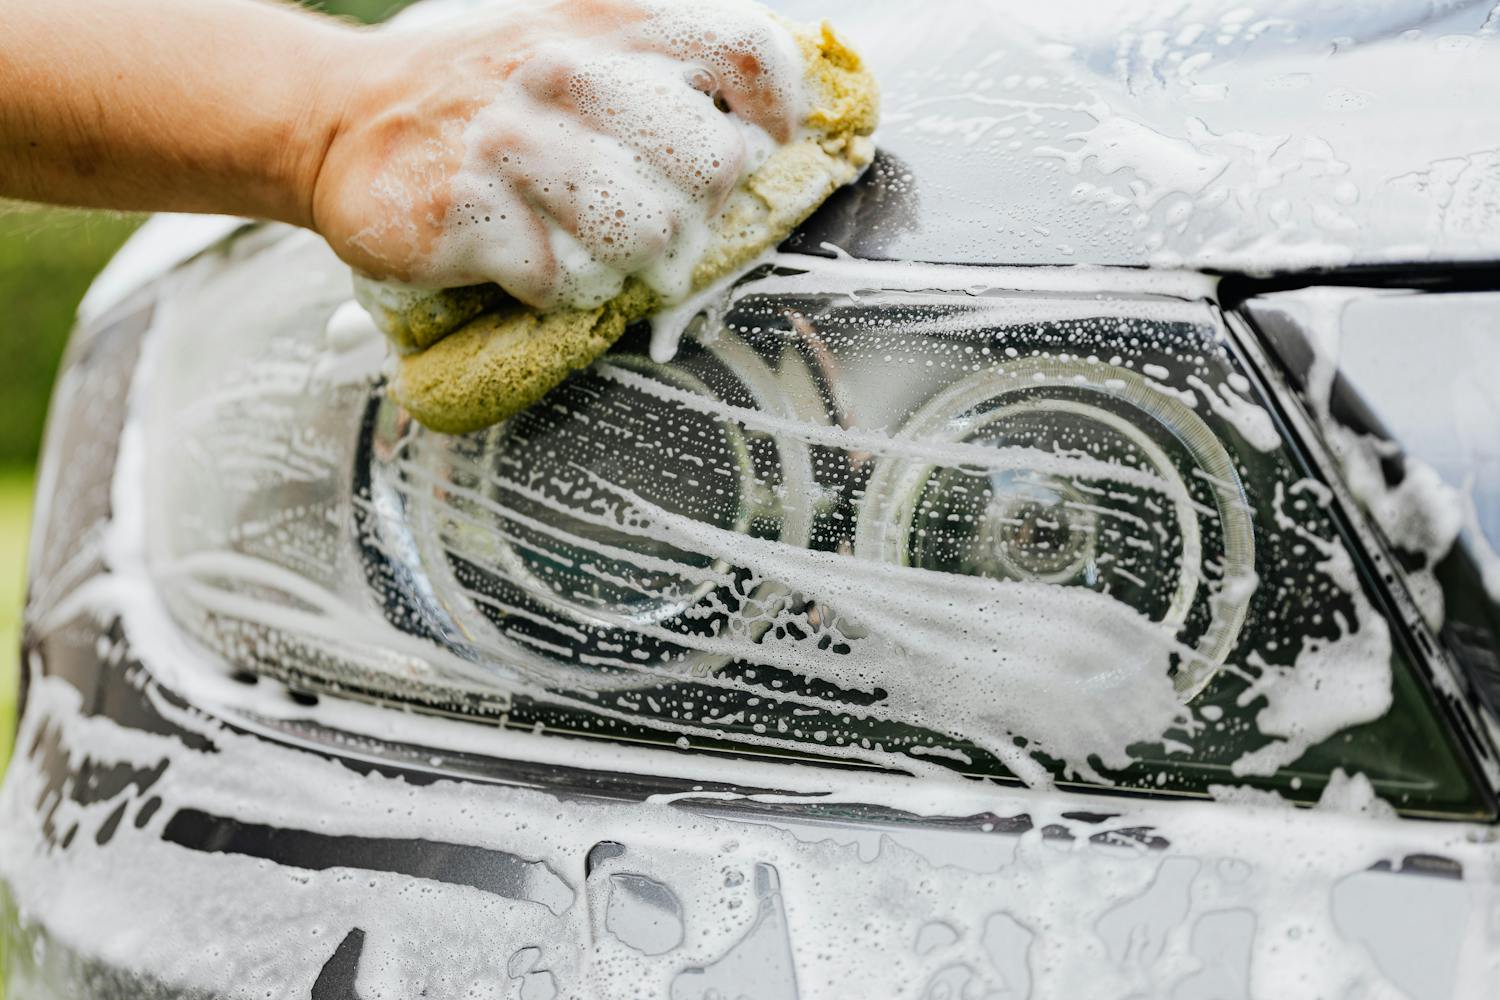
Step 1: Wash and Tape
Park in the shade — direct sun will dry sanding water too fast and ruin your finish. Wash the headlights and surrounding area with soap and water, then dry. Tape off the paint, grille, and bumper around each lens with two layers of painter's tape. You will scuff anything you touch, and a slip onto your fender is an expensive mistake.
Step 2: Wet Sand with 400 Grit
Spray the lens with water. Sand with 400-grit paper using firm, even pressure in horizontal strokes. Keep the surface wet the entire time. The water turns milky white — that's oxidized plastic coming off. Sand until the lens looks evenly hazy across the whole surface (about 3-5 minutes per side). It will look terrible at this stage. Trust the process.
Step 3: Step Up Through the Grits
Wipe down, then repeat with 800 grit, this time sanding in vertical strokes (perpendicular to your last pass). The cross-pattern lets you see when you've removed all the previous scratches. Keep stepping up: 1500 grit horizontal, then 2000 grit vertical. The lens should be looking clearer with each pass — by the time you finish 2000 grit, it will look smooth and uniformly hazy.
Step 4: Polish

Apply a quarter-sized dab of plastic polish to a clean microfiber cloth (or a foam buffing pad on a low-speed drill). Work the polish into the lens in small circles for 2-3 minutes per side. The remaining haze should clear out and you should be looking at near-glass clarity.
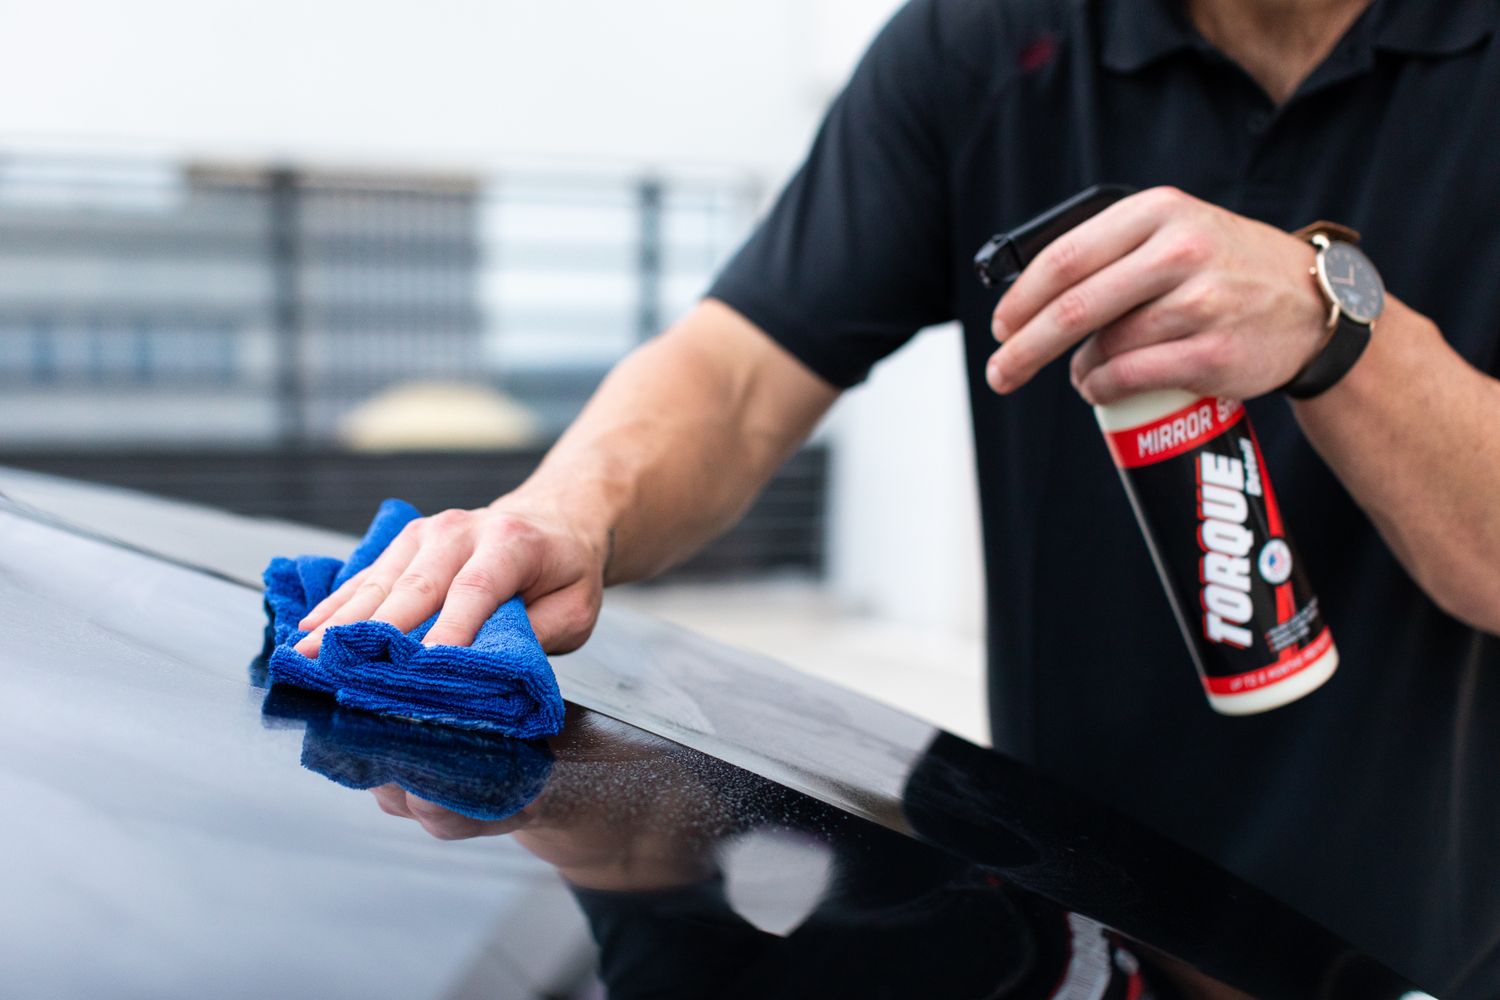
Step 5: Apply UV Sealant — The Critical Step
This is the step most "tutorials" skip and the reason their results don't last. Wipe the lens with isopropyl alcohol to remove any polish residue, then apply the UV sealant per the kit instructions — usually a single even pass with a saturated applicator. Don't double-coat or overwork it; the sealant self-levels. Let it cure for at least 4 hours before driving (and avoid washing the car for 24 hours).
Without the sealant, your bare polished plastic will start oxidizing again almost immediately. With it, you should get 1-3 years of clear lenses depending on climate and parking conditions.
Final Inspection and Touch-Up
Once cured, hit the lens with a clean microfiber and check from multiple angles. You're looking for:
- Even clarity across the whole surface
- No visible sanding scratches
- No sealant runs or fingerprints
While you're working on your vehicle anyway, this is also a good moment to check on the other things that quietly degrade between services — wiper blades, washer fluid, and especially tire pressure. Underinflation alone costs you fuel economy, tread life, and stopping distance, and a quick gauge check takes 30 seconds.

How Often Should You Re-Treat Headlights?
Even with a quality sealant, plan to re-polish (without re-sanding) every 12-18 months in sunny climates and every 2-3 years in milder ones. If you only see a slight haze return, you can usually skip straight to the polish-and-seal stages and skip the wet sanding entirely. That cuts the job to 20 minutes per side.
If you've restored the same set of lenses two or three times and they're starting to look pitted, dimpled, or you can see moisture inside the assembly, it's replacement time. Restoration only fixes the outside surface — internal damage means the housing seal has failed.
The Bottom Line
Foggy headlights are one of the easiest, highest-impact DIY jobs you can do on a vehicle. For the cost of a tank of gas, you get back nighttime visibility, a younger-looking car, and a real safety upgrade. The trick is doing it right the first time — wet sand thoroughly, polish until clear, and never, ever skip the UV sealant. Pair it with a quick check of your tires, fluids, and wipers, and your daily driver will feel ten years newer for the price of a kit and an afternoon.
For more practical maintenance walkthroughs, browse the rest of the JACO blog — we cover everything from tire pressure and brake bed-in to recovery gear and overlanding prep.