Plug in the trailer, walk to the back, and… nothing. No brake lights. One marker dead. A blinker that decides to flash on the wrong side. If you've ever towed anything — boat, camper, utility, car hauler — you've been here. Trailer wiring is the single most common thing that goes wrong on the road, and it's also one of the easiest to diagnose once you know what to look for.
This guide walks through the wiring connectors you'll actually see, the wire color code that every trailer in North America follows, the five problems that account for almost every dead light, and the tools and steps to fix them in your driveway. No electrical engineering degree required — just a multimeter, a little patience, and an understanding of how the system works.
Why Trailer Wiring Fails More Than Anything Else
The wiring on a trailer leads a hard life. It hangs underneath an open frame that gets sprayed with road salt, kicked with gravel, soaked at the boat ramp, and baked by the sun. The plug at the front gets stepped on, dragged across asphalt, and yanked when someone forgets to unplug before pulling away. The ground connection — usually a single bolt to the trailer frame — corrodes the moment moisture and dissimilar metals meet.
Most "electrical" failures on a trailer aren't actually electrical. They're corrosion, broken wires, or a bad ground. Once you know that, troubleshooting goes a lot faster.
Know Your Connector: 4-Pin, 5-Pin, 6-Pin, and 7-Pin
Before you can fix anything, you need to know what plug you're working with. Trailer connectors are standardized in North America, and there are four common ones.
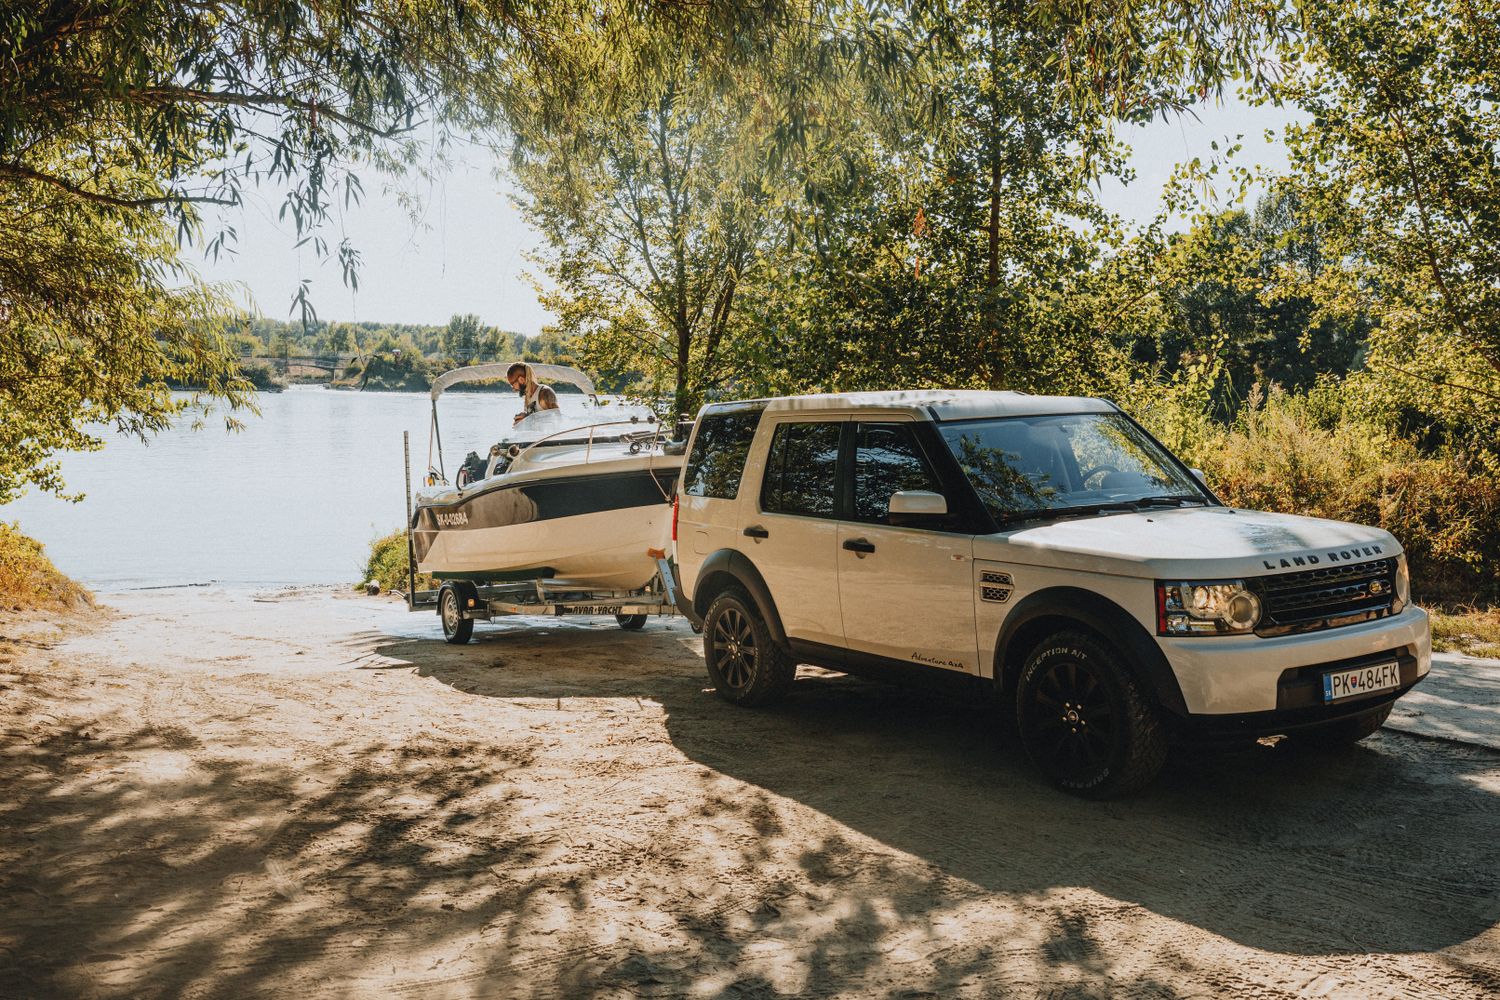
- 4-Pin Flat — The basic setup on small utility trailers, jet ski trailers, and lightweight boat trailers. Carries running lights, left turn/brake, right turn/brake, and ground. No power for brakes or a battery.
- 5-Pin Flat — Adds a fifth wire for surge brake disable (common on boat trailers when backing into the water).
- 6-Pin Round — Older standard. Adds electric brake control and a 12V auxiliary line. Mostly found on horse trailers and older RVs.
- 7-Pin RV Blade — The modern heavy-duty connector. Carries everything: running lights, both turn signals, brakes, ground, reverse, and 12V auxiliary for charging the trailer battery and powering a breakaway switch.
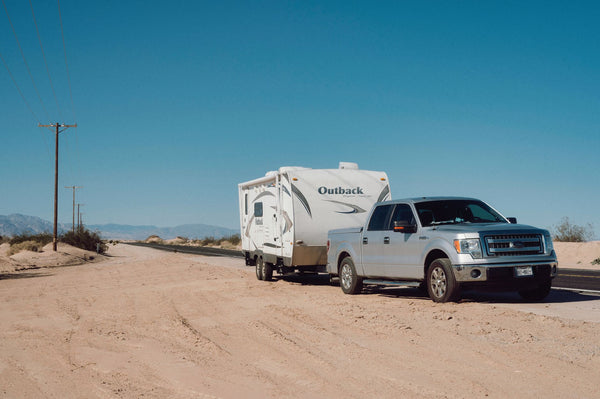
If you tow anything with electric brakes (most travel trailers, larger cargo trailers, dual-axle equipment trailers), you have a 7-pin connector and a brake controller in the tow vehicle. If you're just hauling a small boat or a single-axle utility trailer, you probably have a 4-pin.
The Standard Wire Color Code
Every trailer in North America uses the same color code. Memorize this — it makes everything easier.
- White — Ground
- Brown — Tail / running / marker lights
- Yellow — Left turn signal and left brake
- Green — Right turn signal and right brake
- Blue — Electric brakes (7-pin only)
- Black — 12V auxiliary / battery charge (7-pin only)
- Purple — Reverse / backup lights (7-pin only)
If your trailer's wiring doesn't match this — and a lot of homemade or imported trailers don't — you can rewire it to standard in an afternoon. It'll save you a headache every time something needs replacing.
The 5 Most Common Trailer Light Problems (and How to Fix Them)
1. No Lights at All
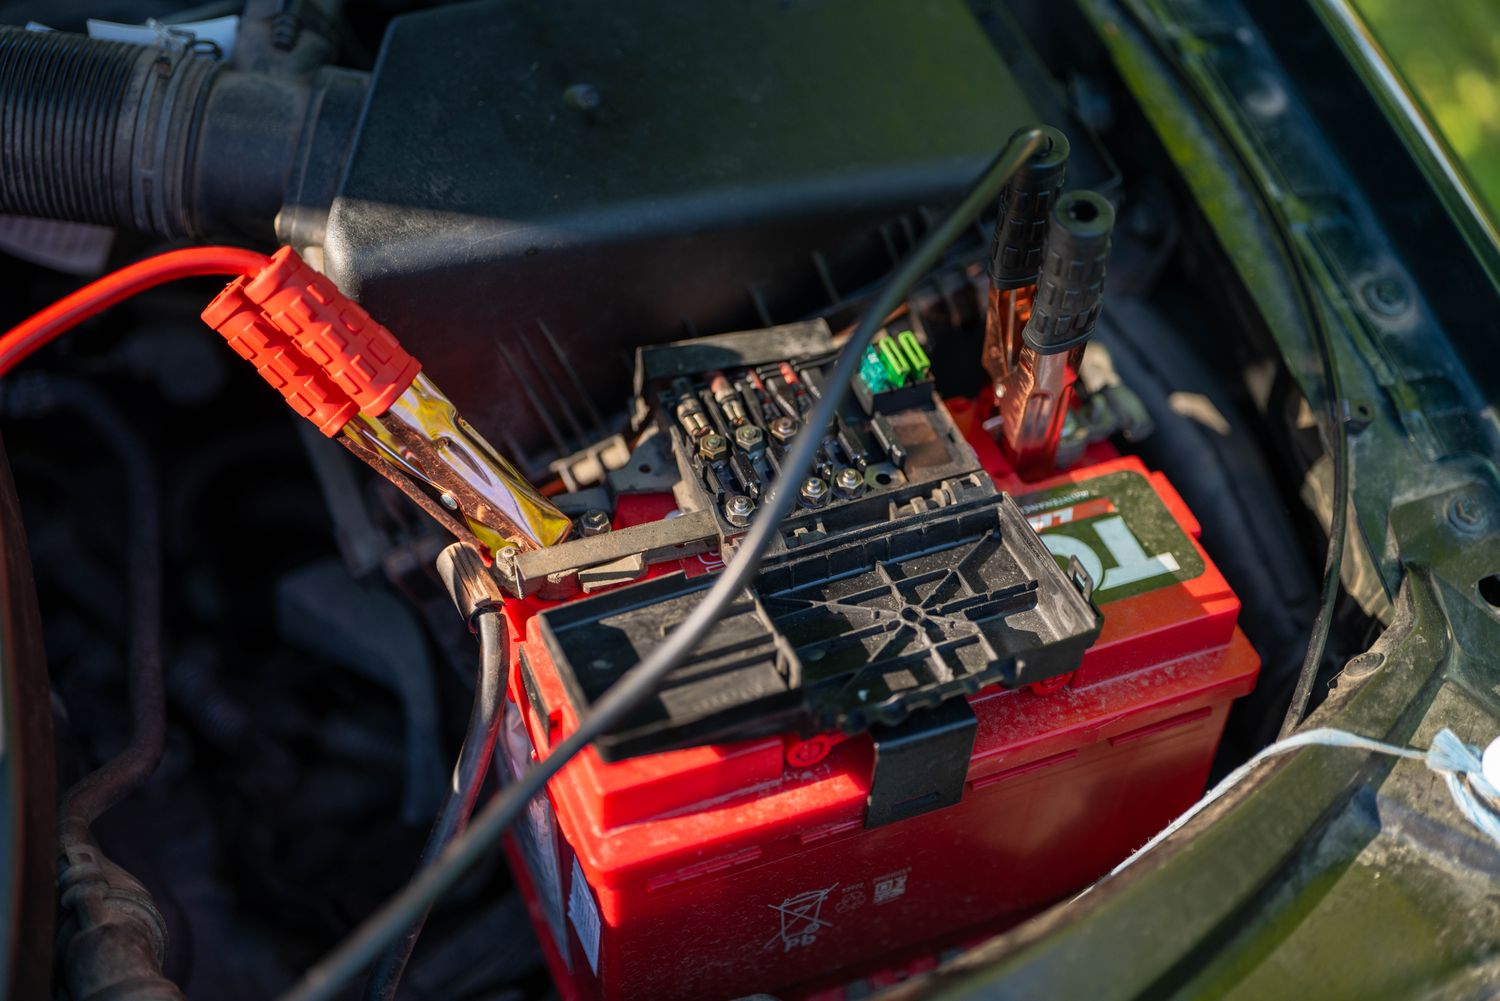
You plug in and get nothing — no markers, no brakes, no signals. Before you tear into the trailer, check the tow vehicle. Pull the trailer plug out and stick a multimeter (or a test light) into the brown pin while a helper holds the headlights on. No voltage? The fuse for the trailer circuit in your tow vehicle is blown. Replace it — it's usually a 20A or 30A fuse labeled "trailer" or "TOW" in your fuse box.
If the tow vehicle is sending power but the trailer is dead, it's almost always the ground wire (white). The ground connects to the trailer frame via a single bolt. Loosen it, scrape the frame down to bare metal, add a star washer, retighten, and seal it with dielectric grease. About 70% of "dead trailer" calls end here.
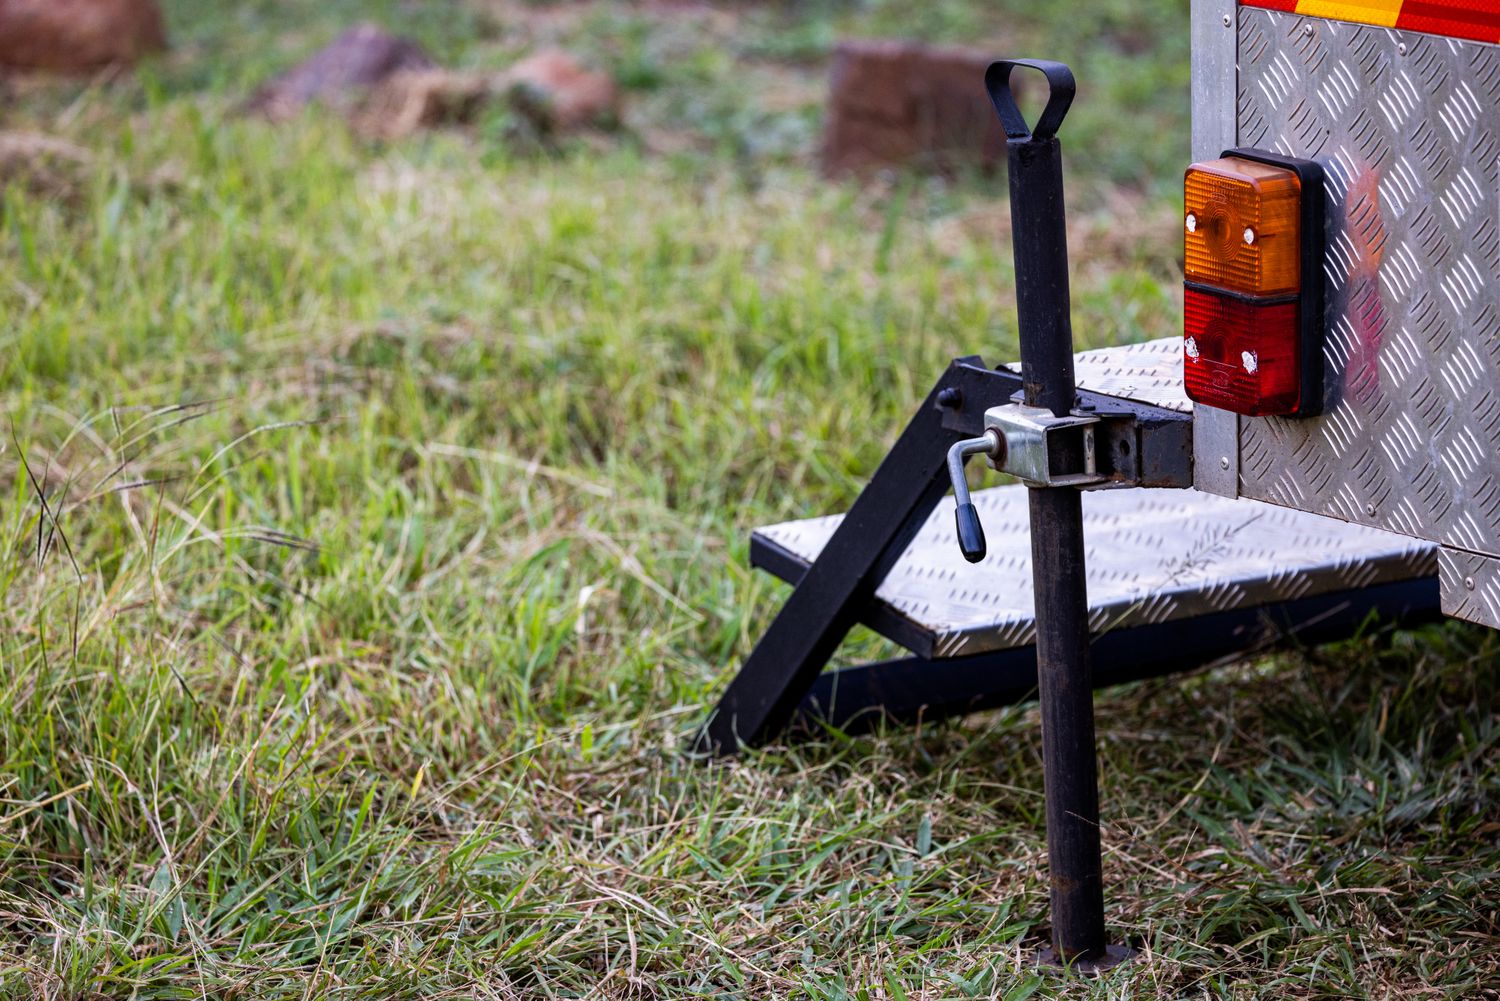
2. One Side Works, the Other Doesn't
Marker lights work, but the left turn signal is dead while the right one's fine. That's almost certainly a broken wire or a corroded bulb socket on the dead side. Pull the bulb, check the socket for green corrosion (use a brass brush and a shot of contact cleaner), and check the wire where it enters the housing — most trailer light wires snap right at the strain point.
3. Lights Are Dim or Flicker
Dim lights almost always mean a bad ground. The current is finding a path back to the tow vehicle through the hitch ball or the trailer frame instead of the ground wire — which is high-resistance and dims everything. Clean the ground bolt and the connector pins, and the lights snap back to full brightness.
Flickering on rough roads? A wire is broken inside its insulation and only making contact when it shifts. Run your fingers along the wiring loom — anywhere it kinks, sags, or rubs the frame is the suspect.
4. Backwards Blinkers
Left turn signal on the tow vehicle lights up the right trailer light? Your green and yellow wires are swapped somewhere — usually inside an aftermarket converter or a hand-wired plug. Easy fix once you find it.
5. Bulbs Keep Burning Out
If you're replacing the same bulb every few months, you have either water in the housing or a voltage spike from a bad ground. Pop the lens, check for moisture, replace the gasket, and inspect the ground connection. Switching to sealed LED trailer lights solves both problems — no filaments to vibrate apart, no water damage, and they pull a tenth of the current so a borderline ground will still light them up.
Tools You Need for Trailer Wiring Diagnosis
You don't need a shop full of gear. A basic kit covers 95% of trailer electrical work:
- Multimeter — A $25 digital multimeter is enough. You're measuring 12V DC and continuity.
- Test light — A simple 12V test light is faster than a multimeter for quick checks. Probe a pin, ground the clip, and look for a glow.
- Wire strippers and crimping tool — For repairs and replacing connectors.
- Heat-shrink butt connectors — These have adhesive that melts and seals when you heat them. They're a thousand times better than standard butt connectors on a trailer because they're waterproof.
- Dielectric grease — Pack every connection with it. Stops corrosion before it starts.
- Wire brush and contact cleaner — For cleaning corroded ground points and plug pins.
- Trailer plug tester — A $15 plug-in tester that lights up to show which circuits are live. Cuts diagnosis time in half.
The Step-by-Step Diagnostic Process
When something stops working, follow this order. It's the same process a trailer shop uses, and it works every time.
- Test the tow vehicle first. Plug a trailer plug tester (or multimeter) into the tow vehicle's connector and verify every circuit is sending power. If the tow vehicle is dead, the trailer can't possibly work — fix that first.
- Check the ground. Loosen the ground bolt, scrape bare metal, retighten with dielectric grease. Do this before doing anything else.
- Inspect the trailer plug. Pull it apart if it's a screw-together type and look for corrosion on the pins. Clean with a wire brush.
- Trace the bad circuit. If only one light is out, work from the plug toward the bulb. Probe each junction with the test light. The first spot where power is missing is where the break is.
- Repair with heat-shrink connectors. Never use a standard butt connector on a trailer. They corrode and fail within a year.
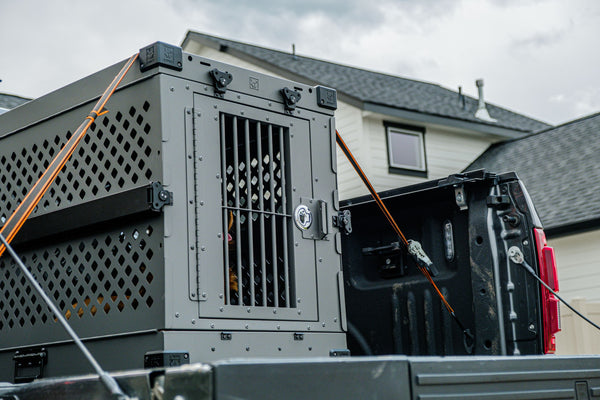
Securing the Load Once the Lights Work
Wiring is one half of safe towing. The other half is making sure what's on the trailer doesn't move. Cargo that shifts in transit changes the trailer's weight balance, can break running lights from the inside, and — at worst — comes off the trailer at highway speed. Once you've sorted the electrical, give every load the strap test: heavy duty ratchet straps over the load, hooked to dedicated tie-down points on the trailer frame (not the rails, not the fenders), cranked snug but not so hard that you crush the cargo. Check them at the first fuel stop. They settle.

When to Upgrade vs. Repair
If you've had to repair the same trailer's wiring more than twice in a season, it's time to rip and replace. Trailer wiring kits run $25–$60 at any auto parts store and come with the plug, wire run, junction blocks, and ground hardware. An afternoon of work and you'll have a fresh, sealed system instead of chasing corrosion every time you tow.
Two upgrades that pay for themselves:
- LED lights everywhere. They draw a fraction of the current, survive vibration, and last for years instead of months. Most LED kits are sealed and waterproof from the factory.
- A quality 7-way plug with a positive lock. Cheap plugs back out on bumps. A solid lock keeps the connection tight and reduces corrosion at the pins.
Pre-Tow Checklist (Five Minutes)
Before every tow, run through this. It takes less time than buckling your seat belt and prevents the embarrassment of getting pulled over for a dead brake light.
- Plug in the trailer and lock the connector.
- Walk to the back and verify: running lights, left turn, right turn, brake lights, and reverse (if equipped).
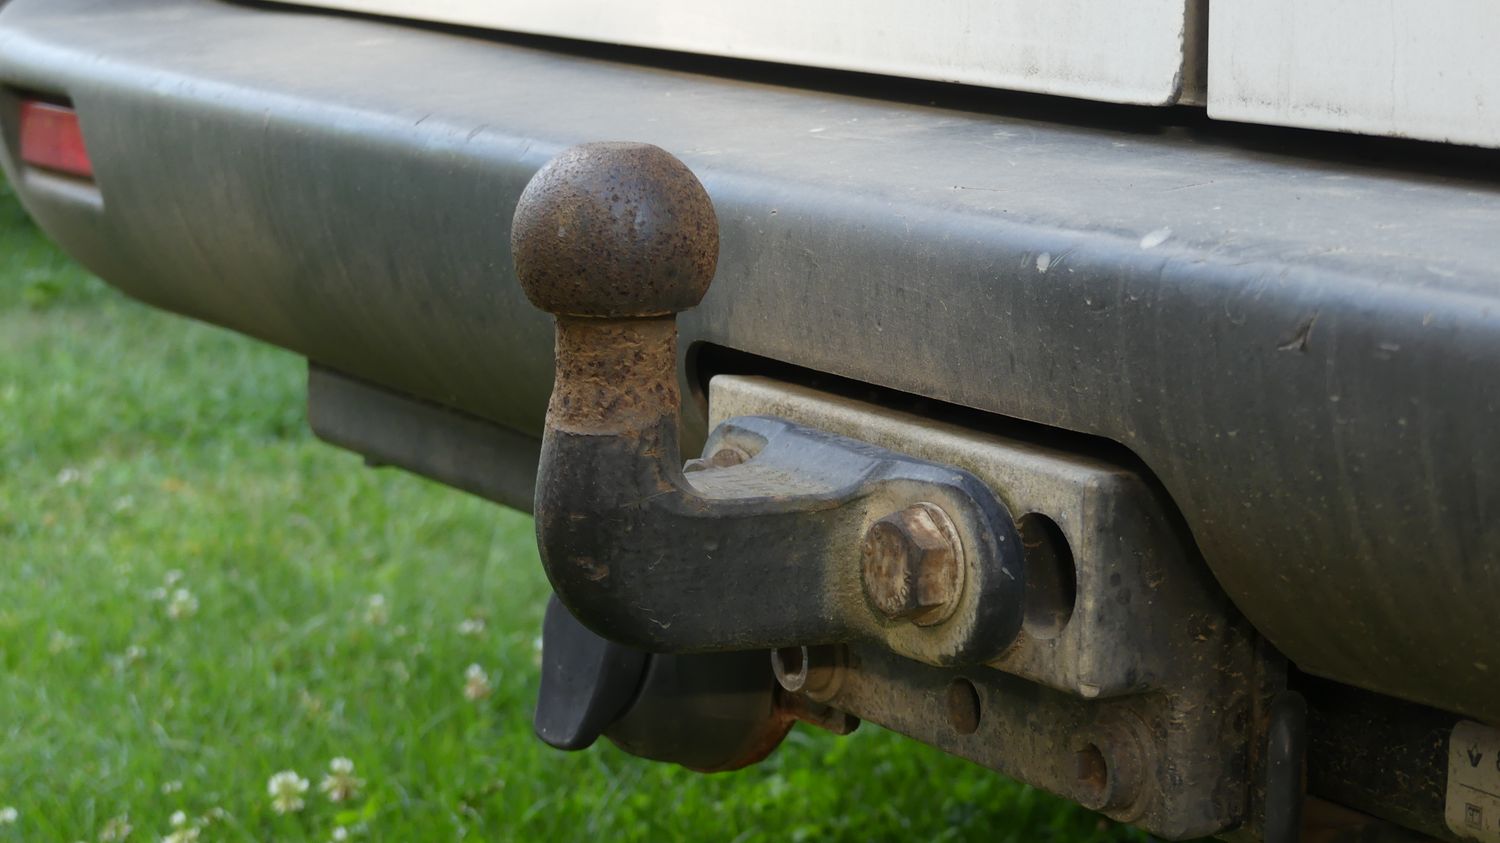
- Check the tongue weight and coupler latch.
- Confirm safety chains are crossed under the tongue.
- Test the brake controller (gentle pull on the slide, feel the trailer brakes engage) if you have electric brakes.
Don't Skip the Ground
If you take one thing from this article, take this: the ground bolt is the single most important connection on your trailer. It's where 90% of problems start, and it's the first thing to check, the easiest to fix, and the cheapest to maintain. Scrape it down to bare metal once a season, hit it with dielectric grease, and you'll avoid the vast majority of the headaches that send people to the trailer shop with $200 invoices for what's a five-minute driveway job.
Trailer wiring isn't complicated. It's just neglected. Spend 15 minutes understanding the color code, keep a multimeter and some heat-shrink connectors in the truck, and you'll be the one your buddies call when their trailer plug goes dark on the way to the lake. For more on hauling and trailer safety, check out our guides on securing loads in pickup trucks and SUVs and our complete lineup of tie-down and cargo straps to keep your load locked in.