Spring is here, and if your motorcycle has been sitting in the garage all winter, you can't just throw a leg over the saddle and ride. Months of inactivity take a toll on everything from tires to fluids, and skipping a proper pre-season inspection is a fast track to mechanical problems — or worse, a dangerous ride. Whether you're pulling the cover off a sport bike, cruiser, or adventure tourer, this checklist will get you road-ready and confident before that first spring ride.
Inspect and Inflate Your Tires
Tires are your only contact with the road, and after months of sitting, they deserve your full attention first. Motorcycle tires lose pressure naturally over time — expect to find them significantly underinflated after winter storage. Low tire pressure affects handling, braking distance, and tire wear, all of which are amplified on two wheels where stability margins are already slim.
Start by checking the sidewall or your owner's manual for the manufacturer's recommended PSI. Use a quality tire pressure gauge — pencil-style gauges are unreliable for the precision motorcycles demand. A digital gauge like the JACO ElitePro Digital Tire Pressure Gauge gives you accurate readings down to 0.1 PSI, which matters when your recommended range might be as narrow as 32–36 PSI front and 36–42 PSI rear.

Beyond pressure, inspect the rubber itself. Look for cracks, flat spots from sitting in one position, bulges, or any objects embedded in the tread. Check tread depth — most motorcycle tires have wear indicators built into the grooves. If the tread is flush with those indicators, it's time for new rubber before you ride.
Check All Fluids
Fluids degrade over time, even when the engine isn't running. Your pre-season fluid check should cover:
- Engine oil: If you didn't change the oil before storage, do it now. Old oil contains combustion byproducts and moisture that corrode internal components. Check both level and color — dark, gritty oil needs replacing regardless of mileage.
- Coolant: For liquid-cooled bikes, verify the coolant level in the overflow reservoir and check for leaks around hose connections. If it's been more than two years since a coolant flush, now's the time.
- Brake fluid: This one's critical. Brake fluid is hygroscopic, meaning it absorbs moisture from the air. Over winter, that moisture content can increase enough to lower the fluid's boiling point and reduce braking effectiveness. Check the sight glass on both front and rear master cylinders. If the fluid looks dark or cloudy, flush and replace it.
- Hydraulic clutch fluid: If your bike has a hydraulic clutch, inspect it the same way you check brake fluid.
Battery Health
A dead or weak battery is the most common reason motorcycles won't start after winter. If you kept the battery on a tender or trickle charger during storage, you're likely in good shape — just verify the voltage with a multimeter. A fully charged 12V motorcycle battery should read 12.6V or higher. Anything below 12.4V needs charging before you try to start the engine.
If the battery sat without a tender, it may have sulfated. Try a slow charge first. If it won't hold above 12.4V after a full charge cycle, replace it. Attempting to ride with a weak battery puts extra strain on the charging system and can leave you stranded.
While you're at it, clean the terminals. A wire brush removes corrosion, and a thin coat of dielectric grease prevents future buildup. Make sure connections are snug — vibration loosens them over time.
Chain, Belt, or Shaft Drive Maintenance
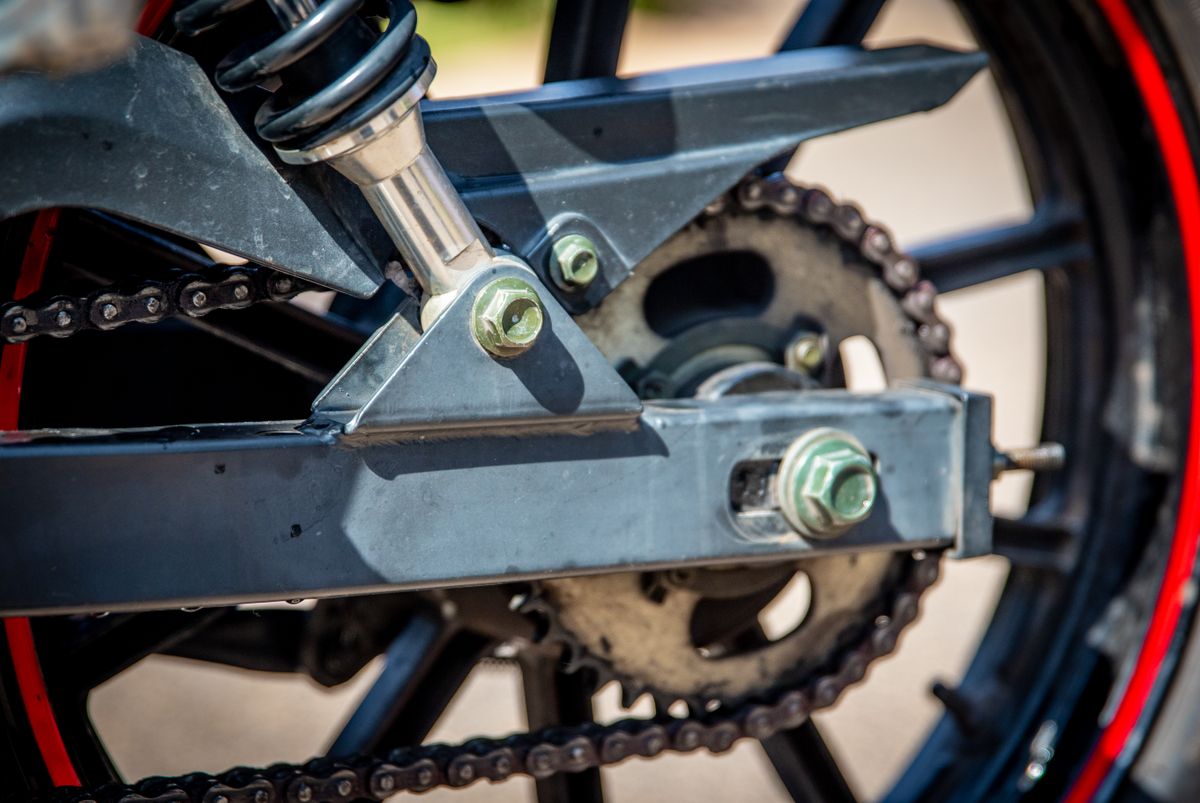
Your drive system transmits power to the rear wheel, and neglecting it affects both performance and safety.
Chain drive: Chains stretch and dry out during storage. Clean the chain with a dedicated chain cleaner (not WD-40, which strips the O-ring lubricant), then apply fresh chain lube. Check tension by pushing the chain up and down at the midpoint of the lower run — your owner's manual specifies the acceptable slack range, typically 25–35mm. Also inspect the sprockets for hooked, worn, or missing teeth.
Belt drive: Inspect for cracks, fraying, or missing teeth. Check tension per your service manual. Belts generally require less maintenance than chains but still need visual inspection each season.
Shaft drive: Check the gear oil level in the final drive housing. Look for leaks around seals. Shaft-driven bikes are the lowest maintenance option, but they're not maintenance-free.
Brakes: Pads, Rotors, and Lines
Your brakes sat unused for months, and the first ride isn't where you want to discover a problem. Visually inspect the brake pads through the caliper windows — most pads have wear indicators or grooves that disappear as the pad material thins. If you're below 2mm of pad material, replace them before riding.
Check the rotors for scoring, warping, or rust. Surface rust from storage is normal and will wear off during the first few stops, but deep scoring or a pulsing feel when braking indicates rotor damage.
Inspect brake lines for cracking, swelling, or leaks — especially at the fittings. If your bike still has original rubber lines and it's more than five years old, consider upgrading to braided stainless steel lines for better feel and durability.
Lights, Electricals, and Controls
A complete electrical check takes five minutes and could save your life. Work through each system:
- Headlight (high and low beam)
- Tail light and brake light (front brake and rear brake independently)
- Turn signals (all four, verify flash rate is correct)
- Horn
- Instrument cluster (all warning lights illuminate during ignition, then go out)
Test the throttle — it should snap closed when released. Check clutch and brake lever free play and adjust if needed. If your bike has cables rather than hydraulic controls, this is a good time to lubricate them.
Coolant Hoses, Air Filter, and General Inspection
Do a walk-around and look for anything that seems off. Critters love to nest in airboxes and exhaust pipes over winter. Remove the air filter and inspect it — clean or replace as needed. A clogged filter restricts airflow and hurts both performance and fuel economy.
Check coolant hoses and fuel lines for cracking, hardening, or soft spots. Squeeze them — they should be firm but pliable, not brittle or mushy. Look under the bike for any signs of fluid leaks on the ground.
Inspect the frame, swingarm, and suspension components for any signs of corrosion or damage. Bounce the front forks — they should move smoothly without sticking. Check fork seals for oil weeping.
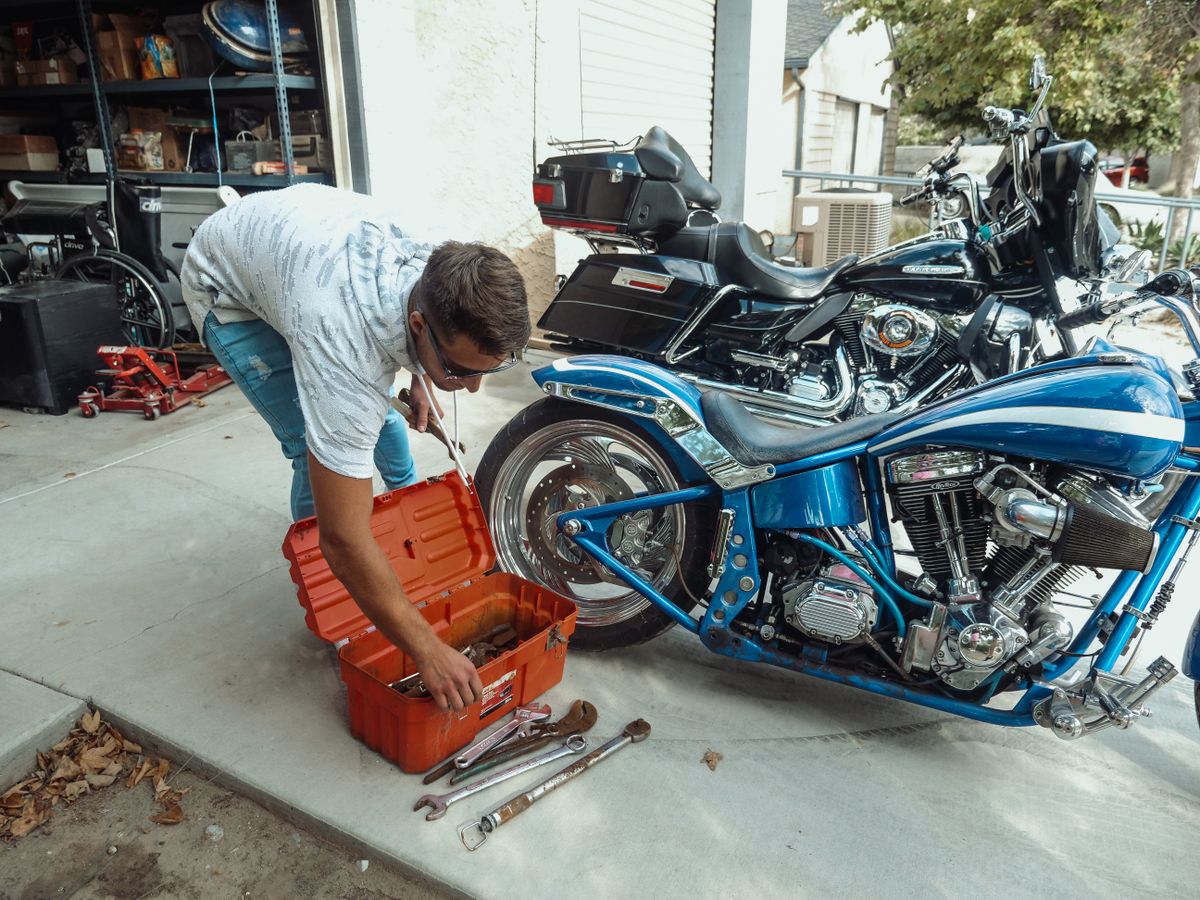
Pack a Basic Emergency Kit
Even with a perfect pre-season inspection, things happen on the road. A compact emergency kit gives you options when you're miles from the nearest shop. At minimum, carry:
- A tire repair kit — a plug kit and CO2 inflator can get you to the next service station after a puncture
- Basic tools: Allen keys, a small adjustable wrench, tire pressure gauge, electrical tape, zip ties
- A charged phone and roadside assistance information
The peace of mind alone is worth the small amount of space these items take in a saddlebag or tank bag.
Take a Short Shakedown Ride
Once everything checks out mechanically, resist the urge to blast off on a 200-mile ride. Your skills are rusty too. Take a short, low-speed ride through your neighborhood first. Pay attention to how everything feels — braking, shifting, steering response, engine temperature. Listen for unusual sounds. Stop after 15–20 minutes, do a quick visual check for leaks, and re-check your tire pressure (it changes as tires warm up).
This shakedown ride also wakes up your muscle memory. After a winter off, your reaction times are slower and your cornering instincts need recalibrating. Give yourself a few easy rides before pushing pace or tackling twisty roads.
Ride Ready, Ride Safe
A proper spring prep takes an hour or two in the garage and saves you from breakdowns, unsafe conditions, and expensive repairs down the line. Work through this checklist methodically, don't skip steps, and you'll roll into riding season with a machine that's as ready as you are. The road's been waiting — now go enjoy it.