If you've spent any time in the mountain biking world, you've probably heard riders debating tubeless versus tubed tires. It's one of those topics that sparks real opinions — and for good reason. Your tire setup affects everything from grip and comfort to how you handle flats on the trail. Whether you're building up your first serious mountain bike or thinking about making the switch, here's what you actually need to know.

How Traditional Tubed Tires Work
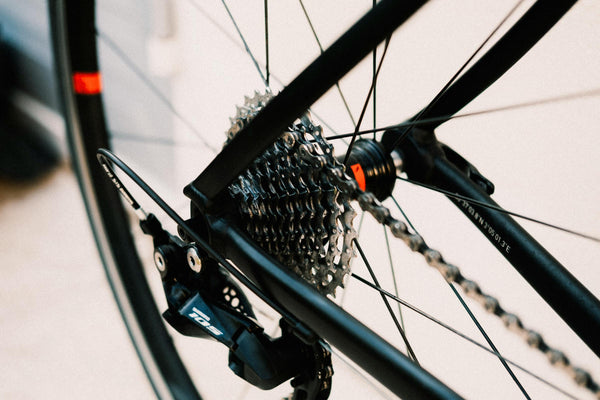
Tubed tires are the setup most of us grew up with. A rubber inner tube sits inside the tire, inflated through a valve stem that pokes through the rim. When you pump air in, the tube expands and presses the tire bead against the rim, creating your seal.
It's simple, proven, and it works. Most entry-level and mid-range mountain bikes still ship with tubes because they're easy to service and don't require any special rim preparation. If you get a flat, you pull the tire off, swap or patch the tube, and you're rolling again.
The downside? Tubes add rotational weight, they're vulnerable to pinch flats (also called snake bites) when you hit rocks or roots hard, and they limit how low you can run your tire pressure before risking that pinch.
How Tubeless Tires Work
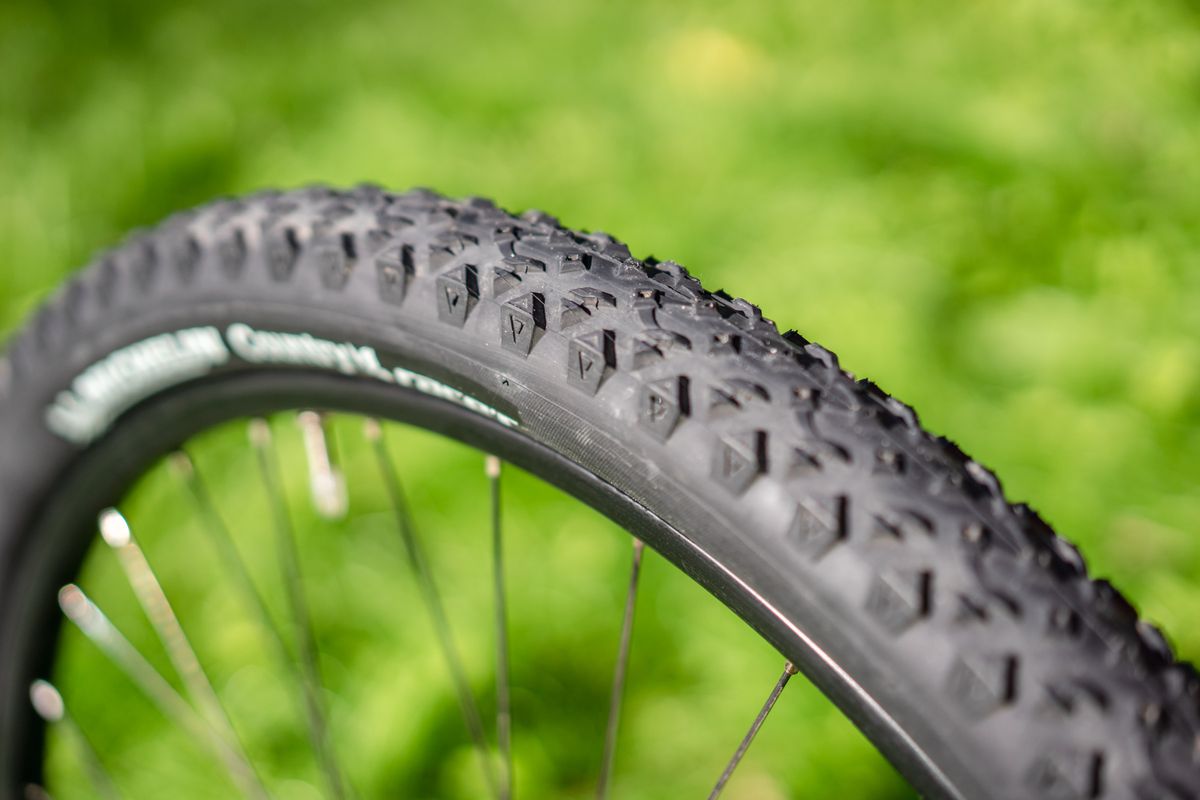
Tubeless setups ditch the inner tube entirely. Instead, the tire seats directly against a tubeless-compatible rim, sealed with rim tape and a tubeless valve stem. Liquid tire sealant inside the tire fills small punctures automatically as you ride.
The concept isn't new — tubeless has been standard in the automotive world for decades. Mountain biking adopted it because the benefits on rough terrain are significant. Without a tube to pinch, you can run lower pressures for better grip and comfort without the constant fear of flatting on every rock garden.
The Case for Going Tubeless
The biggest advantage is puncture resistance. That liquid sealant inside your tire works like a self-healing system. Small thorns, goatheads, and minor punctures seal themselves before you even notice them. For riders in areas with thorny vegetation or rocky trails, this alone can be worth the switch.
Lower tire pressure is the other game-changer. With tubes, dropping below about 25 PSI on a mountain bike gets risky — hit a square edge hard enough and you'll pinch the tube between the tire and rim. Tubeless lets you comfortably run 20–22 PSI (or even lower on plus-size tires), which dramatically improves traction on loose surfaces, roots, and technical terrain.
There's also a weight savings. Inner tubes typically weigh 150–250 grams each. Sealant adds some weight back (usually 60–90 grams per tire), but the net reduction is noticeable — especially because it's rotational weight, which affects acceleration and handling more than static weight.
The Case for Keeping Tubes
Tubes aren't obsolete. They have genuine advantages that matter depending on how and where you ride.
Simplicity is the big one. Tubed tires are dead simple to set up, maintain, and repair. No sealant drying out, no messy re-applications, no wrestling with stubborn beads that won't seat. You carry a spare tube and a pump, and you can fix almost any flat in 10 minutes.
Cost is lower. Tubes are cheap — usually $5–10 each. Tubeless conversion kits, sealant, tape, and valves add up. If you're on a budget or running an older bike, tubes make financial sense.
Compatibility is universal. Any tire works with a tube. Tubeless requires tubeless-ready (or tubeless-compatible) tires AND rims. Mixing non-tubeless components can lead to unreliable seals and safety issues.
Less maintenance. Tubes don't have sealant that dries out every 2–6 months. You inflate them and forget about them until something goes wrong.
Making the Switch: What You Need
If you decide to go tubeless, here's the gear checklist:
- Tubeless-ready rims and tires — Look for "TLR" or "Tubeless Ready" markings. Don't try to convert non-tubeless components.
- Tubeless rim tape — Covers the spoke holes in your rim to create an airtight seal. Match the tape width to your internal rim width.
- Tubeless valve stems — Replace the tube's valve with a dedicated tubeless valve that threads directly into the rim.
- Tire sealant — Latex-based sealant (like Stan's NoTubes or Orange Seal) goes inside the tire. Use the amount recommended for your tire size.
- Floor pump or air compressor — Seating tubeless beads sometimes requires a burst of high-volume air. A good floor pump usually works; a compressor makes it easier.
The conversion process involves taping the rim, installing the valve, mounting the tire, adding sealant, and inflating until the bead pops into place. It's not hard, but it can be messy the first time.
Maintaining Your Tire Pressure
Whether you ride tubed or tubeless, checking tire pressure before every ride is essential. Running the right PSI for your weight, terrain, and tire size makes a bigger difference than almost any upgrade you can buy.
For mountain bikers, a quality pressure gauge that reads in 1 PSI increments is important — the difference between 22 and 26 PSI is huge on the trail. If your bike uses Presta valves (most mountain bikes do), make sure your gauge is Presta-compatible. The JACO BikePro Presta Tire Pressure Gauge reads up to 60 PSI with precision that matters at low pressures — exactly the range where mountain bike tires live.

Which Setup Is Right for You?
Here's a simple framework:
Go tubeless if:
- You ride technical trails with rocks, roots, and drops
- You want to run lower pressures for better grip
- You're tired of fixing pinch flats
- Your rims and tires are tubeless-ready
- You ride frequently enough to keep sealant fresh
Stick with tubes if:
- You ride mostly smooth trails or bike paths
- You prefer simple, low-maintenance setups
- Your current wheels aren't tubeless-compatible
- You ride infrequently (sealant dries out between rides)
- You're on a tight budget
The Bottom Line
Tubeless isn't automatically better — it's better for certain riders and certain conditions. If you're pushing into technical terrain and want every advantage in grip and flat protection, tubeless delivers. If you value simplicity and your current setup works, there's nothing wrong with tubes.
The best upgrade is the one that matches how you actually ride. And regardless of your tire setup, keeping your pressure dialed with a reliable gauge is the single easiest way to ride faster, grip harder, and flat less. Get out there and ride.