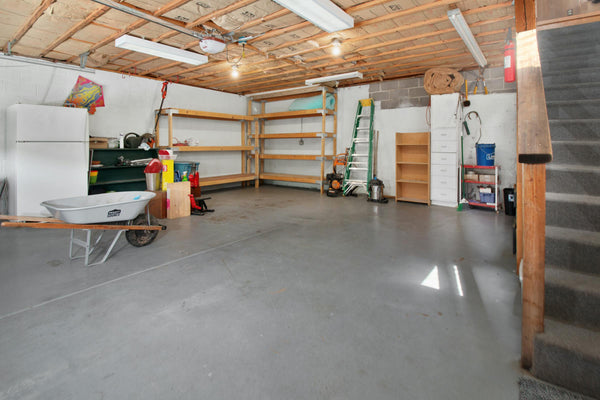
There’s something deeply satisfying about walking into a clean, organized garage. Everything has a place. Tools are within arm’s reach. You can actually park your car inside. Yet for most of us, the garage is the one room that slowly swallows everything the rest of the house rejects—holiday decorations, half-finished projects, mystery boxes from three moves ago.
Spring is the perfect reset. The weather is warming up, daylight lasts longer, and there’s real motivation to reclaim that space before summer projects, road trips, and weekend adventures kick into high gear. Whether you use your garage as a workshop, a gear staging area, or just a place to keep the car dry, this guide walks you through a practical, weekend-friendly approach to getting it dialed in.
Start With the Purge: Everything Out
Before you organize anything, you need to see what you actually have. Pull everything out of the garage—yes, everything. Lay it on the driveway. This is uncomfortable, but it’s the step most people skip, and it’s the reason most garage cleanouts fail within six months.
Sort into four piles:
- Keep: Things you’ve used in the past 12 months or will definitely need this season
- Donate/Sell: Functional items you don’t use anymore
- Trash: Broken, rusted, or genuinely useless items
- Relocate: Things that belong in the house, shed, or storage unit
Be honest. That exercise bike collecting dust since 2019? Donate pile. The three half-empty cans of paint for a color you no longer have on any wall? Dispose of properly at your local hazardous waste facility. The goal is to only bring back items that earn their square footage.
Zone Your Garage for How You Actually Use It

Think of your garage like a kitchen—different zones for different functions. Mapping out zones before you start putting things back prevents the inevitable drift back to chaos. Common zones include:
- Vehicle zone: Clear floor space for parking, with enough room to open doors
- Workbench zone: A dedicated surface for repairs, projects, and tinkering
- Gear storage zone: Seasonal equipment, camping gear, sports equipment, recovery gear
- Tool zone: Hand tools, power tools, pneumatic equipment, and accessories
- Bulk storage zone: Seldom-used items, holiday decorations, archived boxes (high shelves or overhead)
The key principle: frequency dictates accessibility. Items you use weekly should be at arm’s reach. Seasonal gear goes on higher shelves. Things you touch once a year can live overhead or in the back corner.
Wall Systems: Your Best Friend
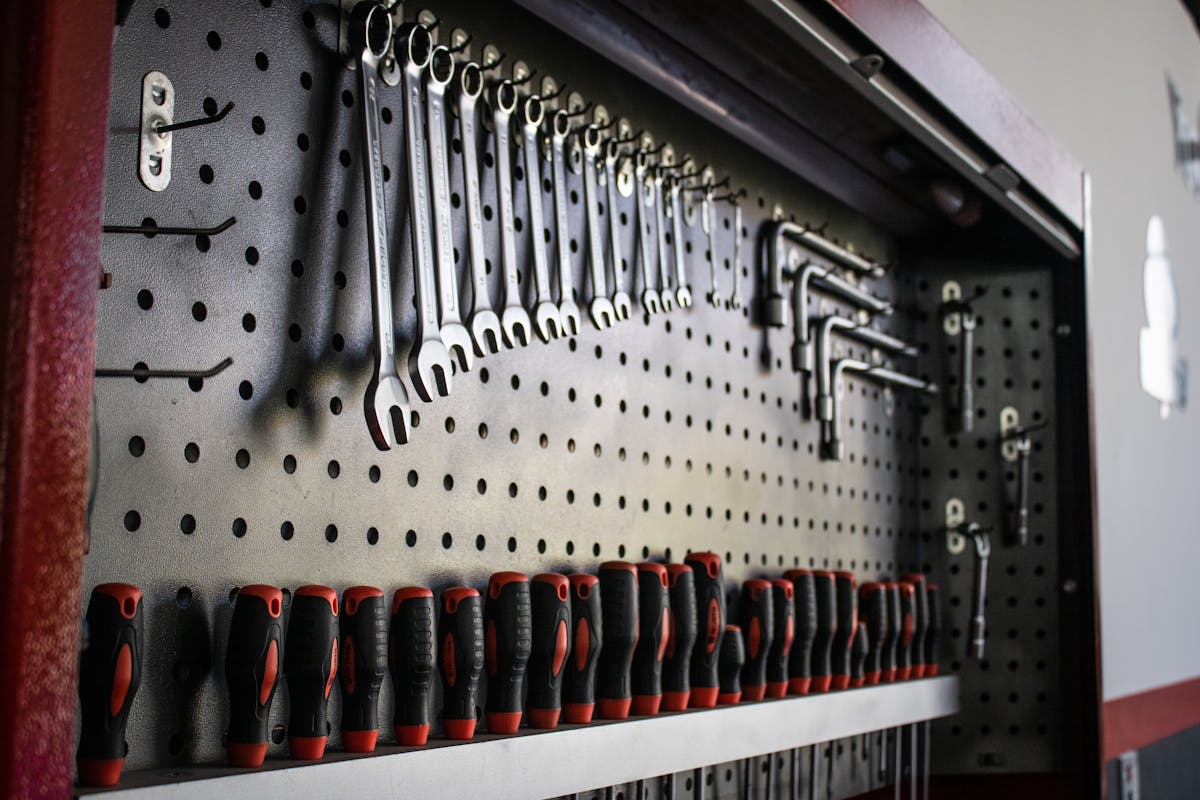
Floor space is premium real estate in a garage. The more you can move onto walls, the more functional the space becomes. Three wall systems dominate the garage organization world:
Pegboard: The classic. Affordable, endlessly configurable, and perfect for hand tools. A 4’x8’ sheet of pegboard costs under $30 and can hold dozens of tools. Outline your tools with a marker so you always know what goes where (and what’s missing).
Slatwall panels: A step up from pegboard. These accept specialized hooks, bins, and shelves that click in and slide along the slots. More polished-looking and can handle heavier items. Expect to spend $15-25 per linear foot.
French cleats: The DIY favorite. A series of angled wood strips that let you hang custom tool holders, shelves, and bins. Extremely strong, easy to rearrange, and you can build the whole system from a sheet of plywood for under $50.
Whichever system you choose, install it at a height that makes sense for your workflow. Most people mount wall systems between 48 and 72 inches from the floor, leaving room below for a workbench or larger equipment.
Straps, Hooks, and Overhead: Taming Bulky Gear

Bikes, ladders, kayaks, lumber, and recovery gear are the space-killers. Left on the floor, they eat up half your garage. The solution? Go vertical and overhead.
- Ceiling-mounted storage racks: Perfect for seasonal totes, camping gear, and anything you don’t need daily. Most overhead racks support 250-600 lbs and mount directly to ceiling joists.
- Bike hooks: A simple $8 screw-in hook gets a bike off the floor and onto the wall or ceiling. For multiple bikes, consider a pulley system or a vertical wall rack.
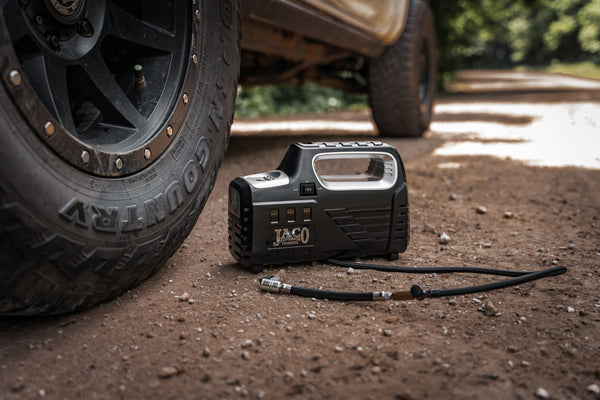
- Heavy-duty hooks and straps: For securing awkward items like extension cords, air hoses, and recovery straps to the wall. Quality ratchet straps like the JACO line do double duty—they’re essential for hauling and towing, but when they’re not on the road, they need a dedicated home in your garage to prevent tangling and stay ready for the next trip.
Pro tip: Use labeled bins or gear storage pouches for smaller recovery and automotive accessories. Toss your tire repair kit, tire gauge, tow hooks, and D-ring shackles into one bag, and you always know where everything is when it’s time to hit the trail.
The Workbench: Command Center of the Garage
If you don’t have a dedicated workbench, spring is the time to set one up. It doesn’t need to be elaborate—a solid-core door on two sawhorses works surprisingly well as a starter bench. What matters more is what surrounds it:
- Task lighting: A cheap LED shop light ($20-30) mounted above the bench makes an enormous difference. You can’t do precision work in garage-level ambient light.
- Power: At minimum, a surge-protected power strip mounted to the bench edge. If you’re running air tools, keep your compressor and air hose accessible but out of the walkway—a wall-mounted hose reel keeps things tidy.
- Immediate-reach tools: Mount your most-used hand tools on pegboard or magnetic strips directly above the bench.
- Trash and recycling: A small bin right next to the bench. Sounds obvious, but it eliminates the “I’ll throw it away later” pile.
Air Tools and Pneumatic Gear: Keep Hoses Under Control

If you run a compressor in your garage—for tire inflation, impact wrenches, brad nailers, or blowing out dust—hose management is critical. A tangled air hose on the floor is a tripping hazard and a frustration multiplier.
- Retractable hose reels: Mount one on the wall or ceiling and you’ll never coil a hose by hand again. They range from $40 to $150 depending on length and quality.
- Quick-connect fittings: Standardize all your pneumatic tools with quick-connect fittings so you can swap between tools in seconds without fumbling with threaded connections.
- Hybrid hoses: If your old rubber hose is stiff and kinked, a hybrid polymer hose like the JACO FlexPro stays flexible in cold weather and lies flat, making it much easier to coil and store.
Dedicate one section of wall near the compressor for all pneumatic accessories: hoses, quick couplers, blow guns, tire inflators, and chucks. When everything lives in one zone, setup time drops to almost nothing.
Seasonal Storage Strategy
One of the biggest reasons garages stay cluttered is the seasonal shuffle. Winter gear comes out, summer gear goes in, and somehow nothing ever makes it back to the right spot. Build a system that anticipates the rotation:
- Clear bins with labels: Forget cardboard boxes. Clear plastic bins let you see what’s inside without opening them. Label every bin on two sides (front and top) so you can identify them whether they’re on a shelf or stacked overhead.
- Seasonal rotation schedule: Designate one shelf or section as the “active season” zone. When the seasons change, rotate bins in and out rather than digging through everything.
- Camping and road trip gear: Keep a pre-packed bag or bin with essentials that stay together: recovery straps, tire pressure gauges, first aid kit, flashlights, and jumper cables or a portable jump starter. When it’s time to go, you grab one bag and you’re set.
Maintenance Habits That Keep It Organized
The best garage organization system in the world fails without maintenance habits. Build these into your routine:
- Five-minute rule: At the end of every project or work session, spend five minutes putting tools back where they belong. This single habit prevents 90% of garage clutter.
- Monthly sweep: Once a month, do a quick walkthrough. Return misplaced items, clear the workbench, and sweep the floor. Fifteen minutes, max.
- One-in-one-out: For every new tool or piece of gear you bring in, something should leave. This keeps your space from gradually creeping back toward chaos.
- Annual deep clean: Every spring, repeat a lighter version of the full purge. It doesn’t take nearly as long after the first one.
Your Weekend Game Plan
Here’s a realistic weekend schedule to tackle the whole project:
Saturday morning (3-4 hours): Full purge. Everything out, sort into piles, dispose of or donate what you don’t need. Clean the empty garage—sweep, hose down if needed, patch any wall damage.
Saturday afternoon (2-3 hours): Install wall systems (pegboard, slatwall, or cleats). Mount overhead storage if using it. Set up zones on the floor with tape or just a mental map.
Sunday morning (2-3 hours): Put everything back, zone by zone. Hang tools, organize bins, set up the workbench area. Label everything.
Sunday afternoon (1 hour): Fine-tune. Step back, look at the flow. Move anything that doesn’t feel right. Take a photo of the finished product—it’ll motivate you to maintain it.
A well-organized garage isn’t just about aesthetics. It saves you time every single day—no more digging for that 10mm socket, no more tripping over extension cords, no more wondering where the tire gauge went. This spring, give your garage the attention it deserves. You’ll be glad you did every time you walk in there.