
The camping season winds down, but the work isn't over yet. If you park your RV or travel trailer for the winter without prepping it first, you're gambling with some of the most expensive repairs an owner can face. A single freeze can crack water lines, split the water pump, and turn a quiet off-season into a spring full of leaks and mold.
The good news: winterizing an RV is a straightforward weekend project. Work through this step-by-step checklist and your rig will be ready to roll the moment the weather breaks. Here's exactly how to do it right.
Why Winterizing Matters
Water expands roughly 9% when it freezes. Inside a sealed pipe, water heater, or pump, that expansion generates enough force to crack fittings and burst lines. Because RV plumbing snakes through walls, floors, and cabinets, a hidden crack can leak all season before you ever notice it.
Beyond the plumbing, cold storage invites dead batteries, pest infestations, fuel problems, and flat-spotted tires. Winterizing tackles all of it in one pass so you protect your investment and avoid a costly spring surprise.
1. Drain the Water System Completely
Start with the plumbing — it's where the most damage happens. Empty every drop of water from the system:
- Drain the fresh water holding tank.
- Dump and flush the gray and black tanks, then rinse the black tank thoroughly.
- Open the low-point drain lines to let the fresh water lines empty.
- Drain the water heater — but only after it has cooled and the internal pressure is relieved. Never drain a hot, pressurized tank.
- Open all faucets (hot and cold), including the outside shower and toilet valve, to let air push the remaining water out.
Once everything is drained, close the drains and faucets back up.
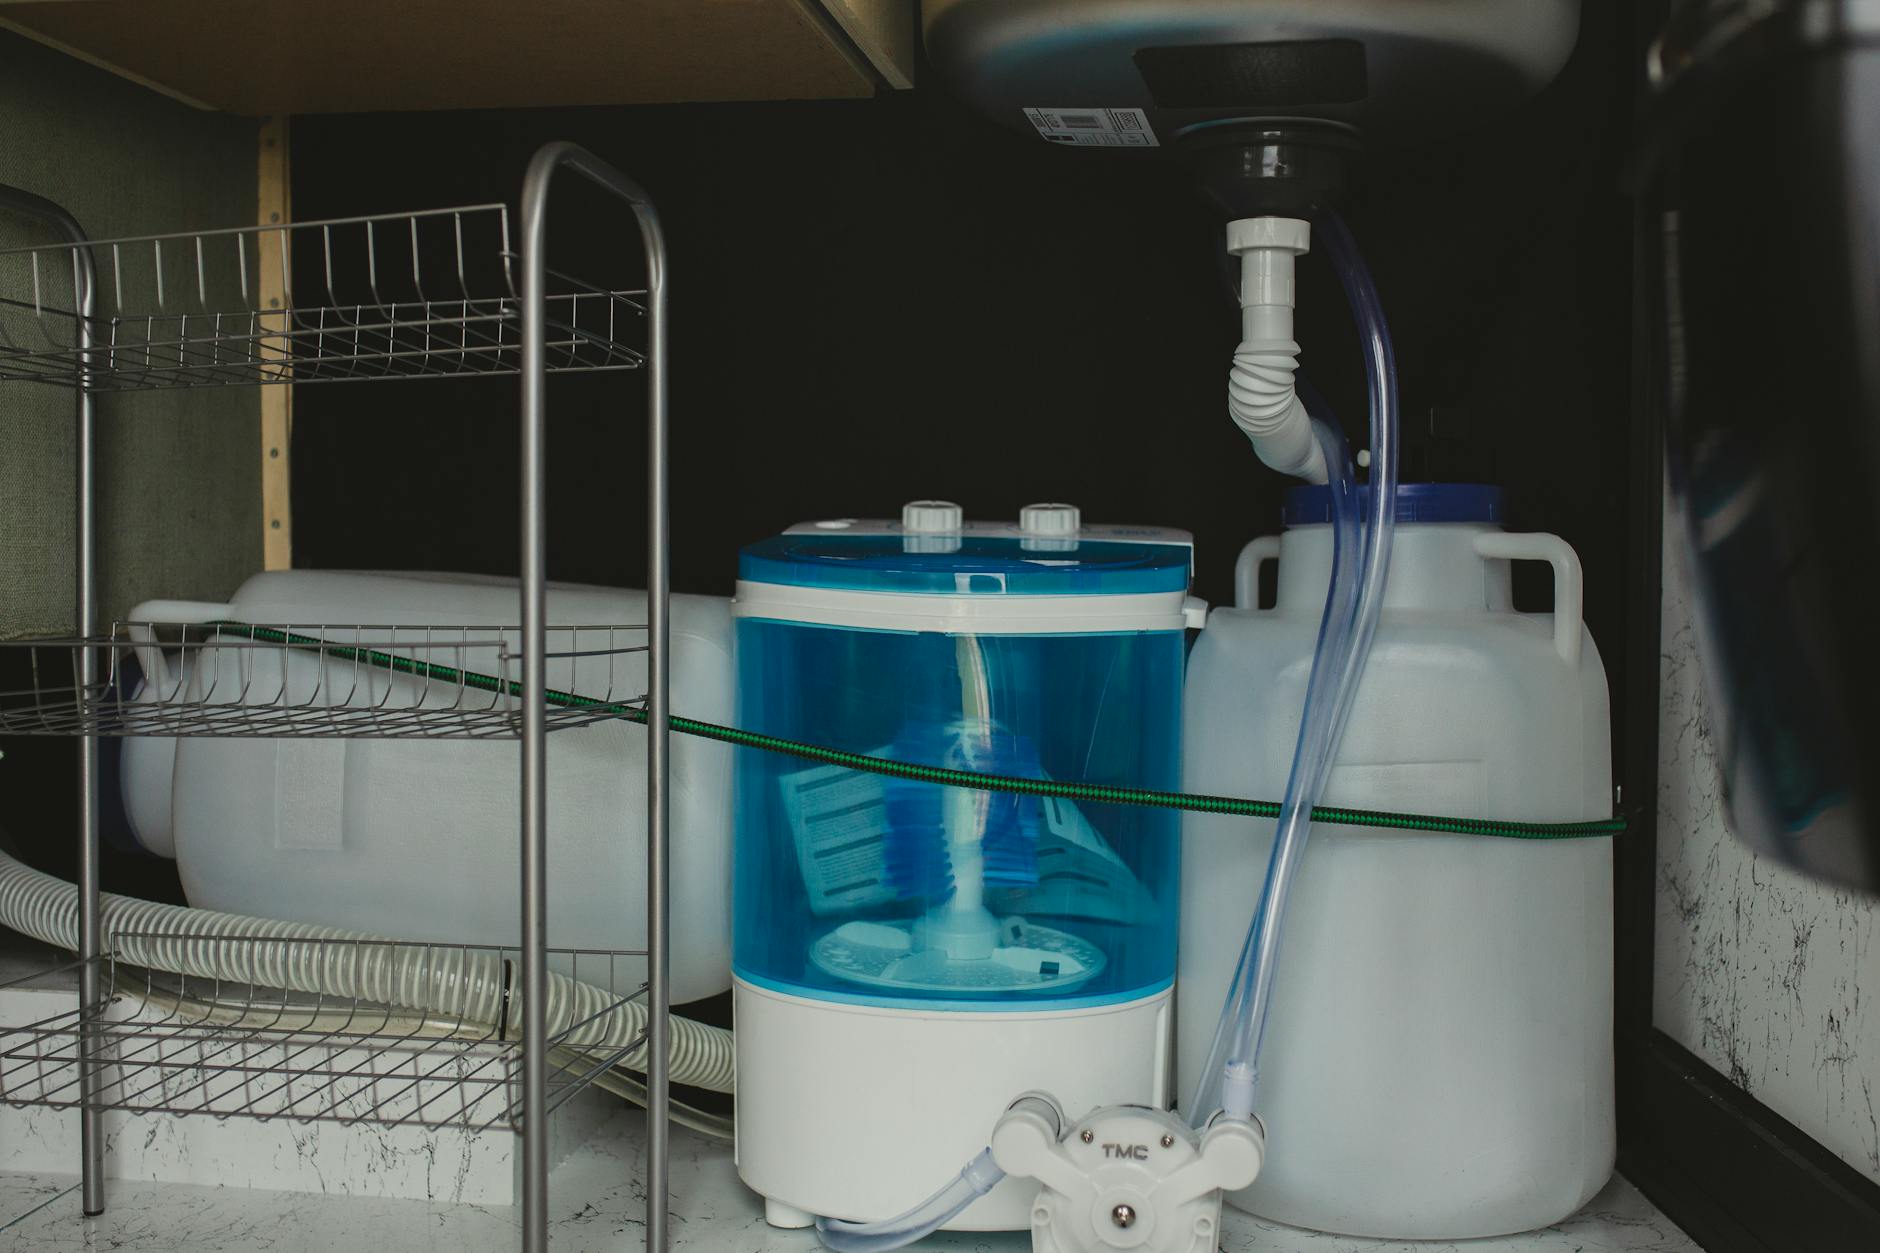
2. Bypass the Water Heater and Add Antifreeze
You don't want to waste 6–10 gallons of antifreeze filling the water heater, so engage the water heater bypass valve first (most modern RVs have one installed). Then pump non-toxic RV antifreeze — the pink stuff, never automotive antifreeze — through the system.
Use the water pump's winterizing kit or a hand pump to draw antifreeze in, then open each faucet one at a time until pink fluid flows out. Don't forget the shower, toilet, outside shower, and ice maker line. Finish by pouring a cup of antifreeze down each drain to protect the P-traps, and a bit in the toilet bowl.
3. Protect the Tires
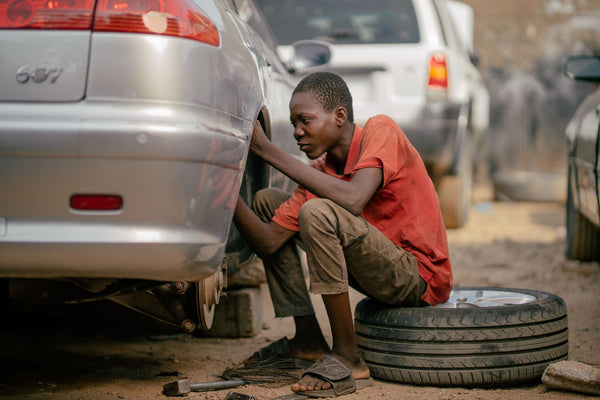
Tires are one of the most overlooked casualties of winter storage. Cold temperatures drop tire pressure, and a rig sitting in one spot for months develops flat spots and sidewall stress. Underinflated tires are also far more prone to dry rot and cracking.
Before storage, inflate all tires — including the spare — to the pressure listed on the RV's placard, which is often much higher than a passenger vehicle. A reliable high-range gauge is essential here, since many standard gauges top out below what heavy trailer and motorhome tires require. Cover the tires to block UV rays, and if possible, move the rig a few inches every month or park on boards to reduce flat-spotting.

For a deeper dive on keeping your rig's tires healthy year-round, see our guide on managing your RV's tire pressure.
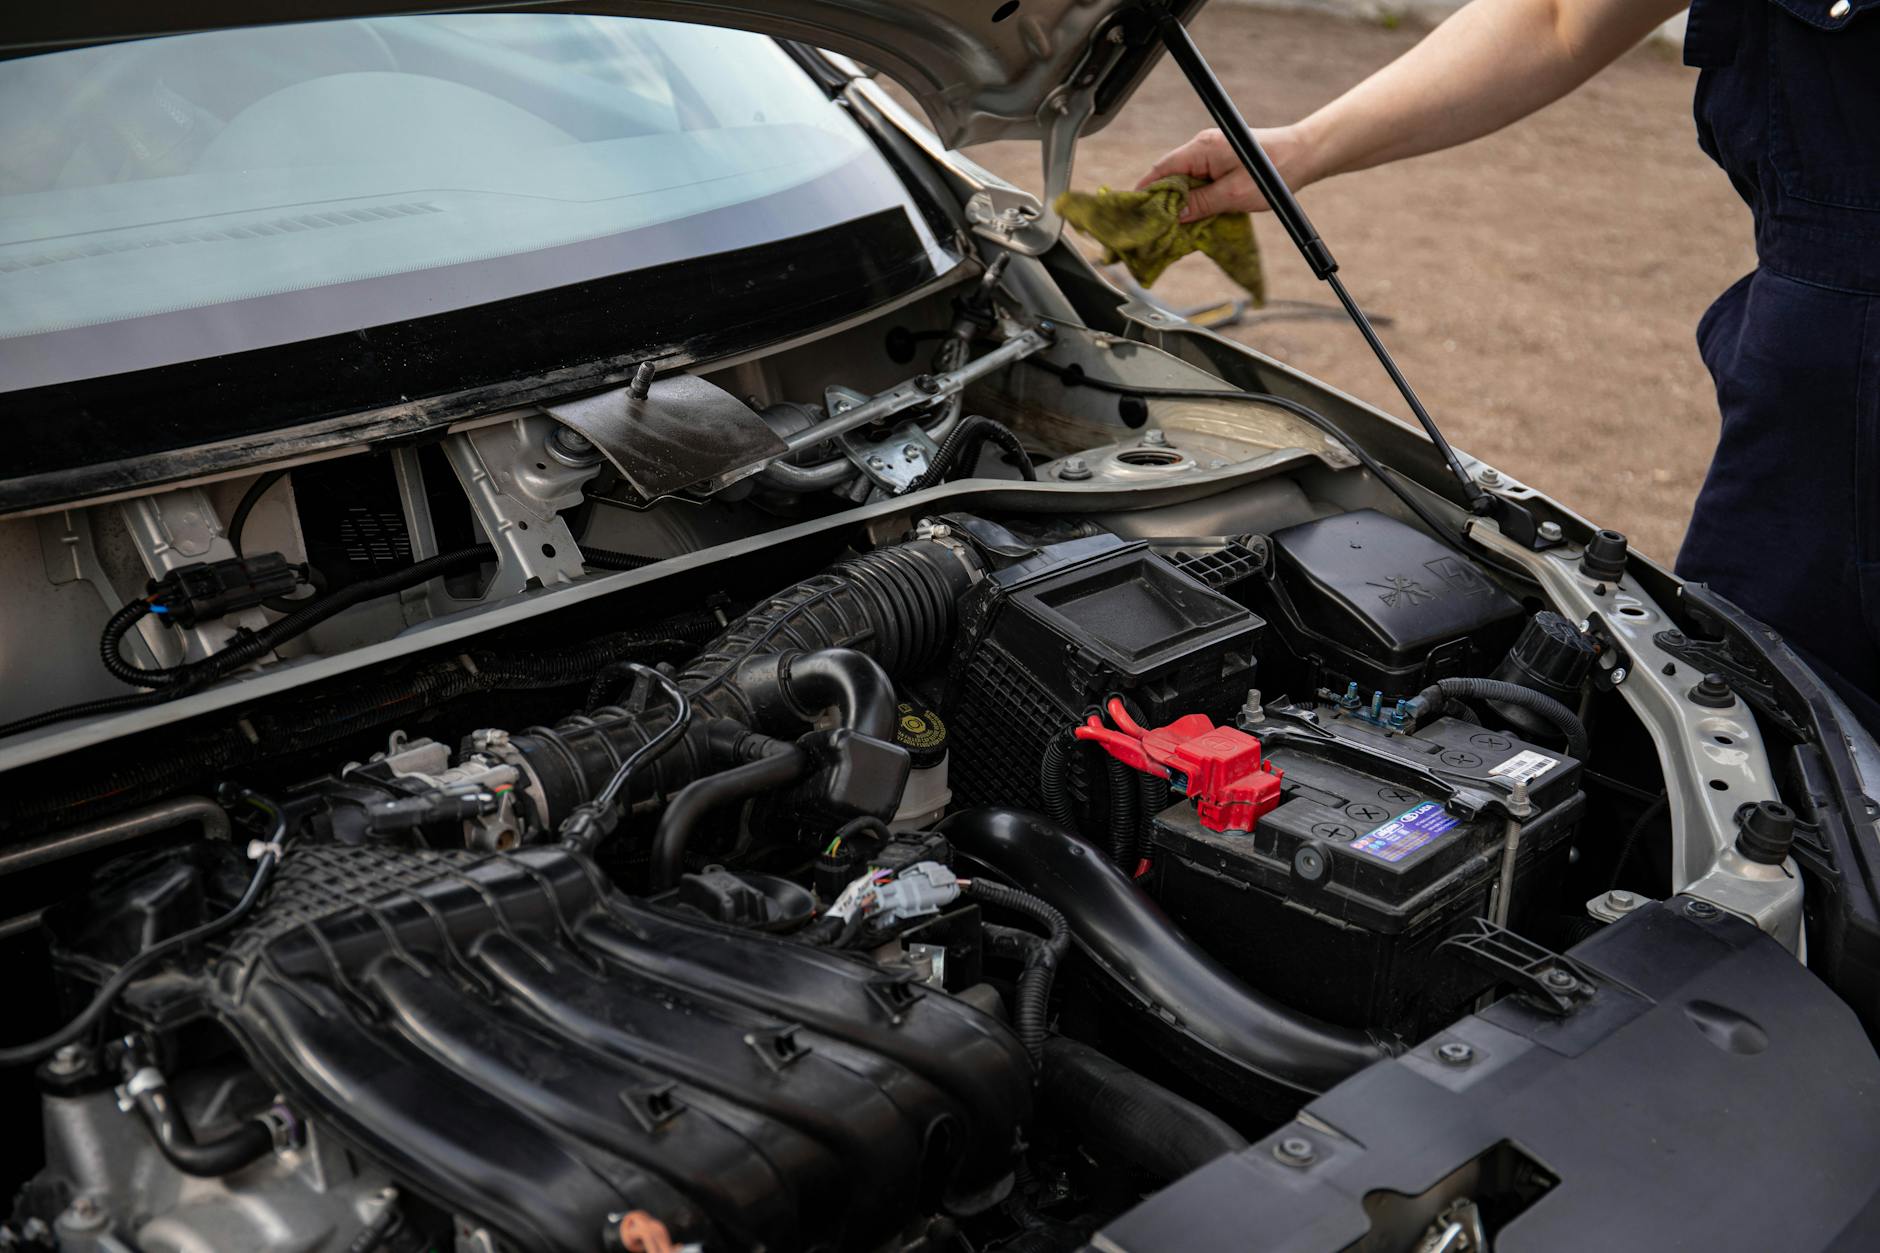
4. Care for the Battery
Cold weather and idle batteries don't mix. A discharged battery can freeze and be permanently ruined, and even a healthy battery slowly self-discharges over months of storage.
The safest approach is to fully charge the battery, disconnect it, and store it somewhere cool and dry — a garage or basement, off a concrete floor. If you'd rather leave it in place, connect a quality trickle charger or battery maintainer to keep it topped off. Check the charge every month or so and top up as needed.
5. Clean and Prep the Interior
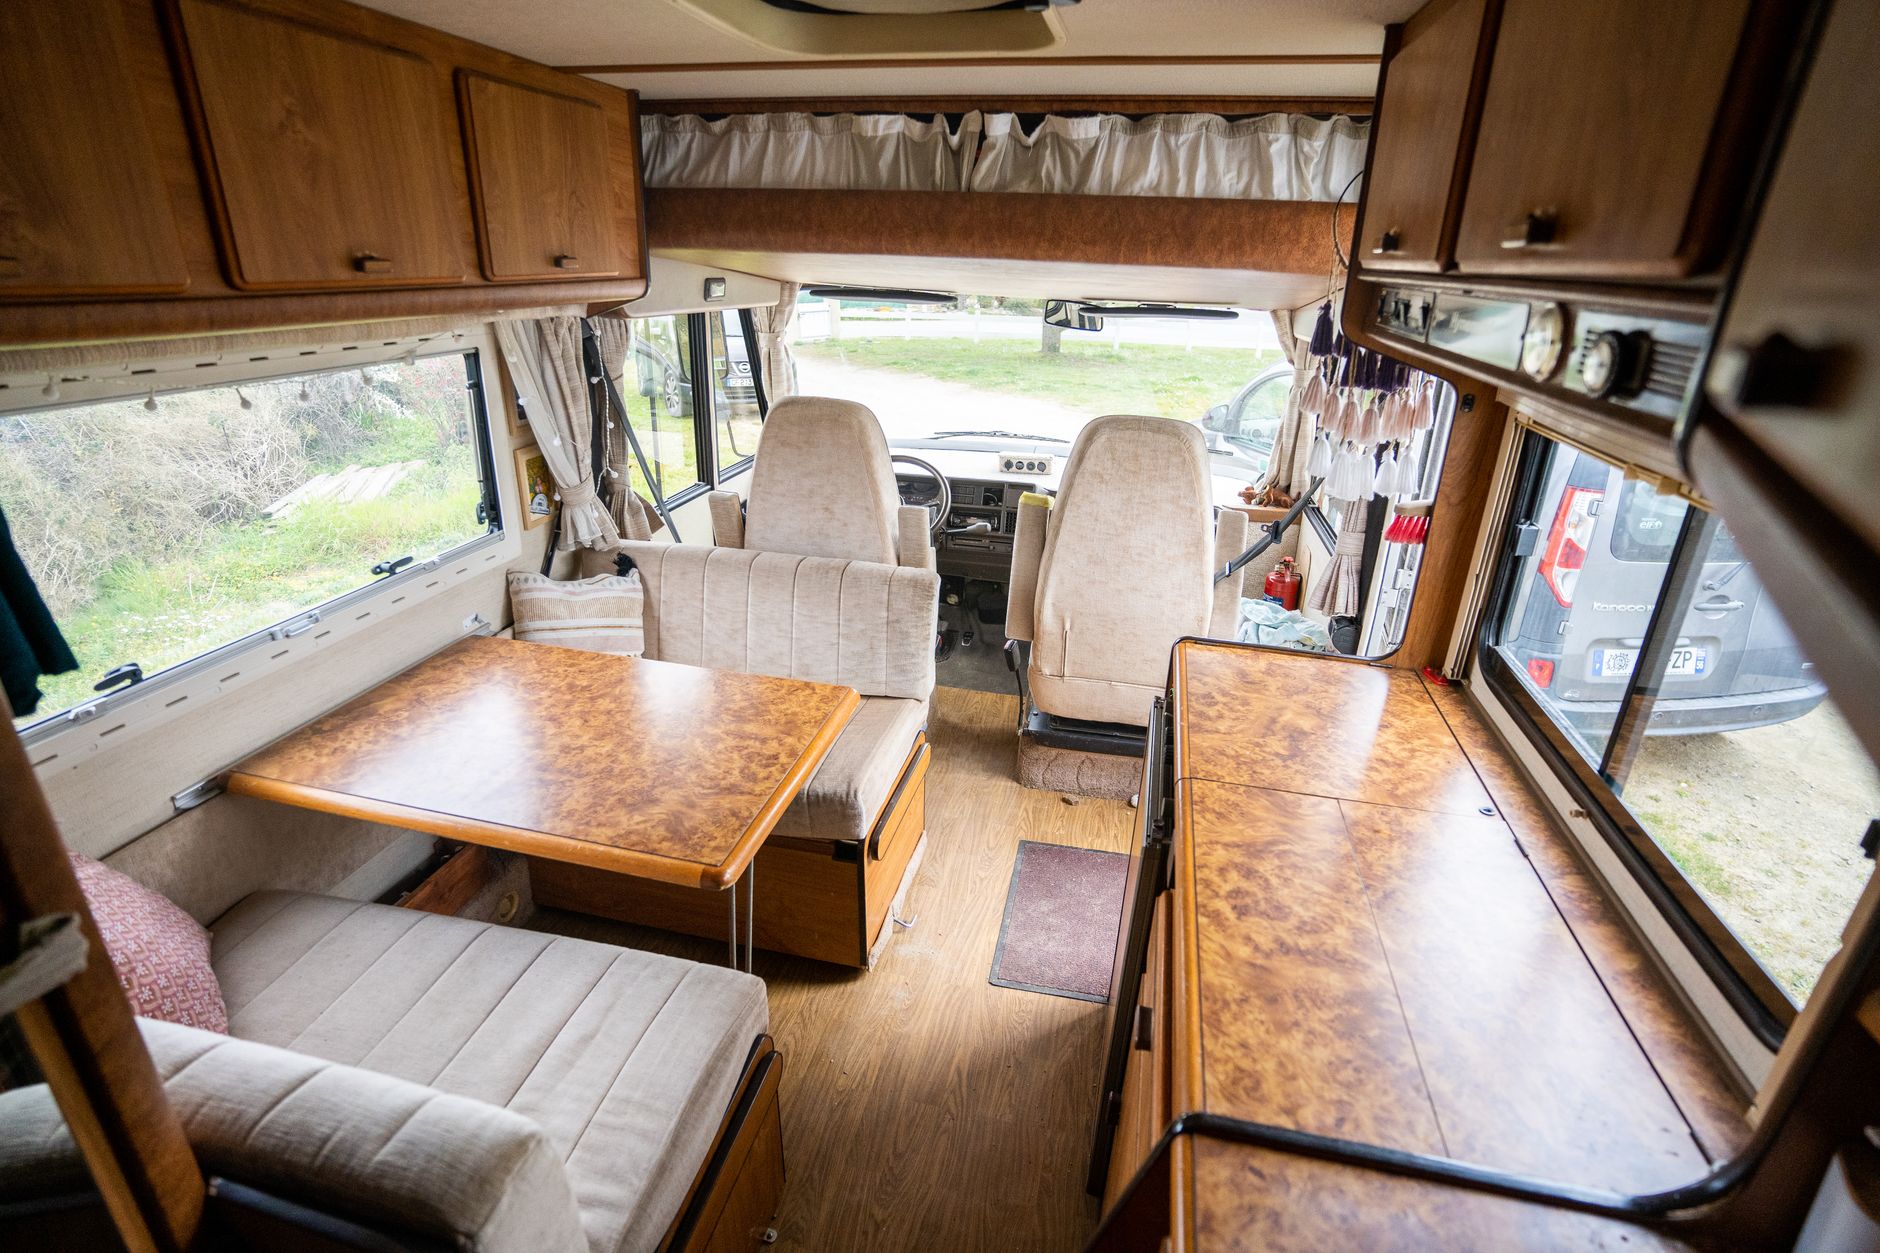
A clean interior is a happy interior come spring. Take an afternoon to:
- Remove all food — even sealed pantry items attract rodents.
- Empty and defrost the refrigerator and freezer, then prop the doors open to prevent mildew and odor.
- Wipe down counters, cabinets, and the bathroom.
- Vacuum floors, cushions, and upholstery.
- Leave a few moisture absorbers (or an open box of baking soda) to fight dampness.
6. Seal Out Pests
Mice and insects love a warm, undisturbed RV. Inspect the exterior for any gaps — around plumbing lines, wiring, and vents — and seal them with steel wool or expanding foam. Close roof vents (or add vent covers), and consider natural deterrents like peppermint oil or dryer sheets inside cabinets. Do not leave poison bait inside, which can leave you with a dead-rodent smell to hunt down in spring.
7. Protect the Exterior and Engine
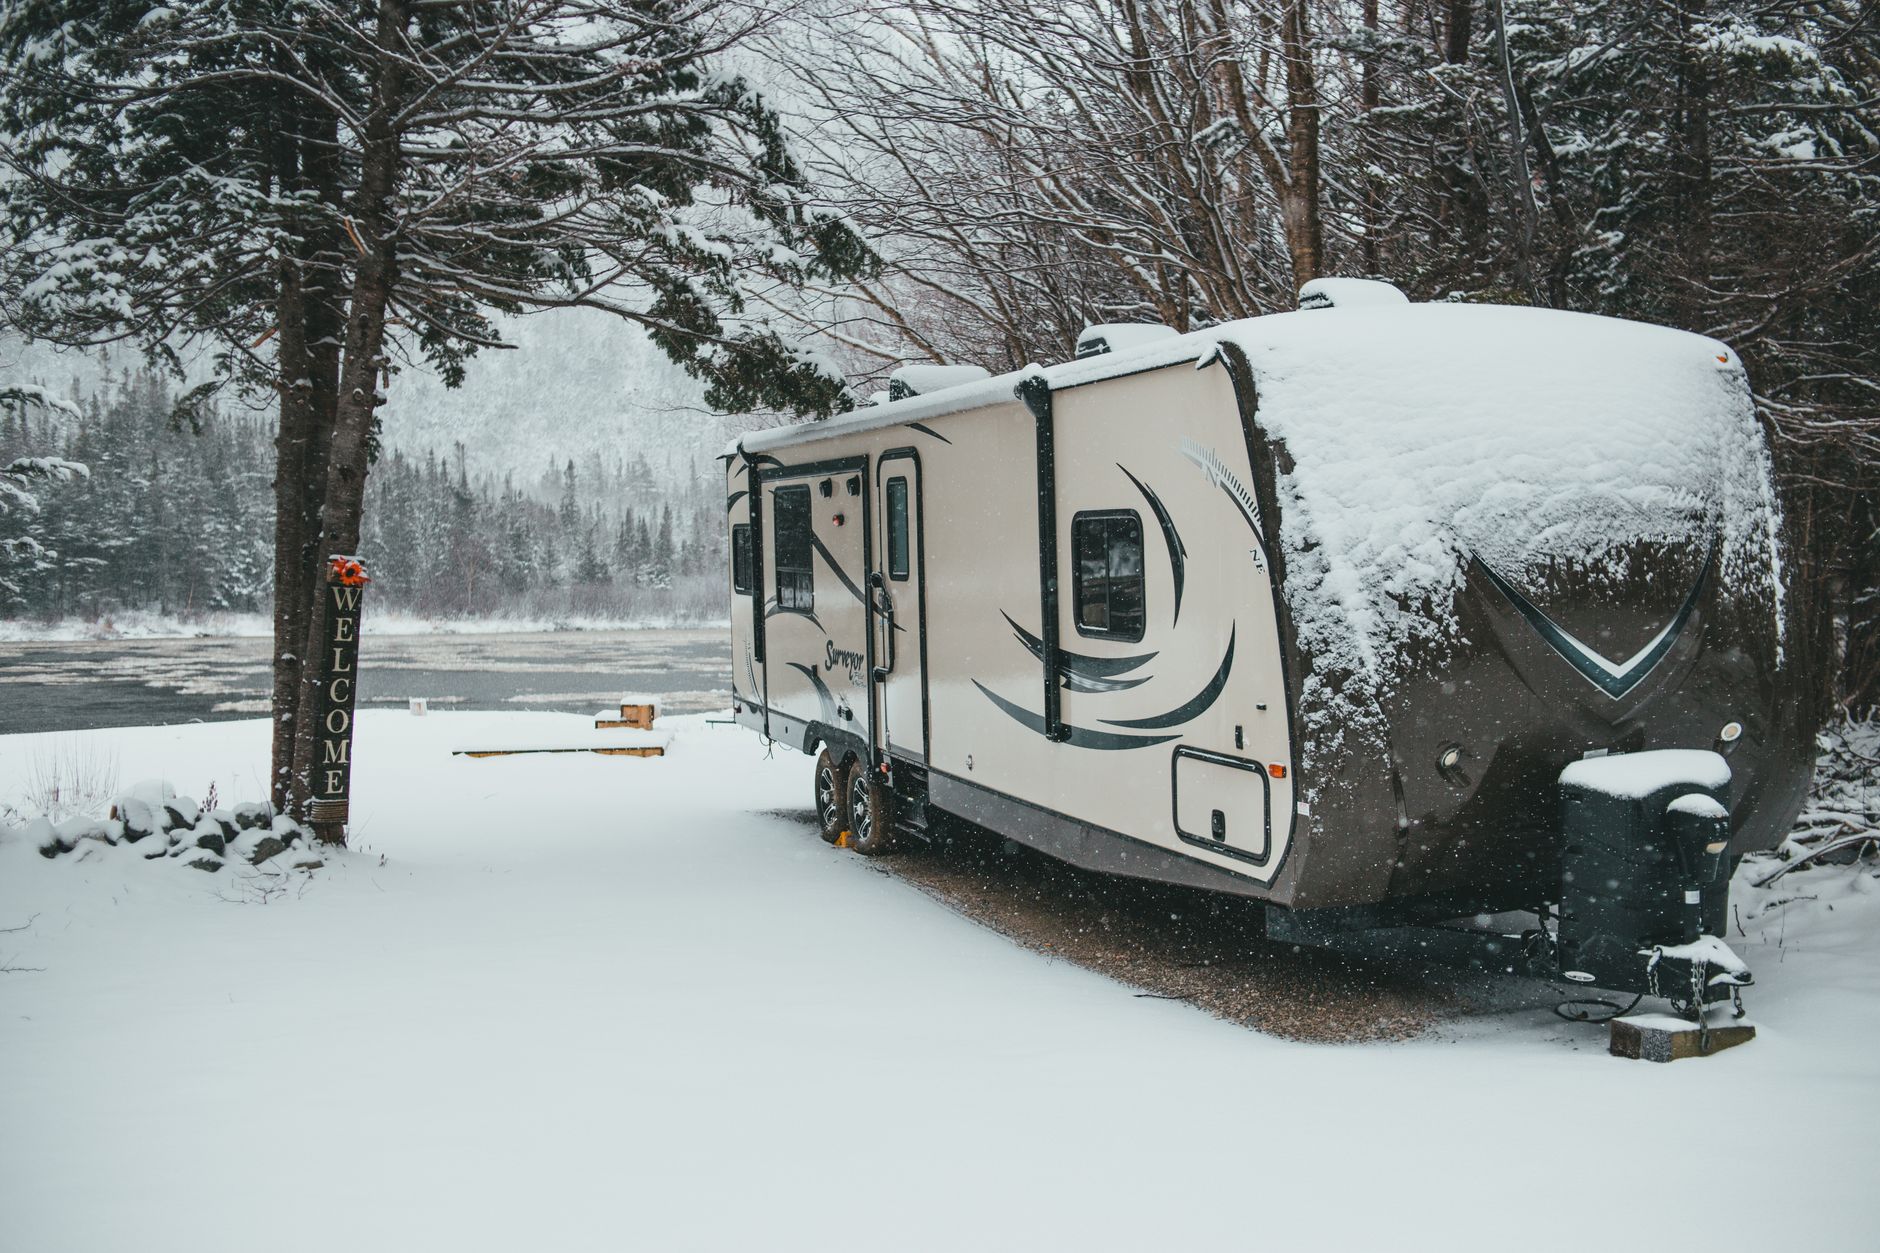
Give the exterior a good wash and wax to shield the finish from winter grime, then inspect and reseal any cracked roof or seam caulking before moisture gets in. A breathable RV cover keeps snow, ice, and UV off the roof and paint — avoid plastic tarps, which trap condensation.
For motorized RVs, top off the fuel tank and add a fuel stabilizer, then run the engine briefly to circulate it. Check antifreeze/coolant levels, and follow your owner's manual for any engine-specific storage steps. Finally, chock the wheels and take it off the parking brake to prevent the brakes from seizing.
Your Spring Payoff
Winterizing takes a weekend; skipping it can cost thousands. Drain the water system, add antifreeze, protect the tires and battery, clean the interior, seal out pests, and cover it up — and you'll roll into next season with a rig that starts right and stays leak-free.
Before your first trip, run through our complete RV and travel trailer pre-trip inspection checklist to make sure everything you buttoned up in the fall is road-ready again. A little care now means more time on the road later.