

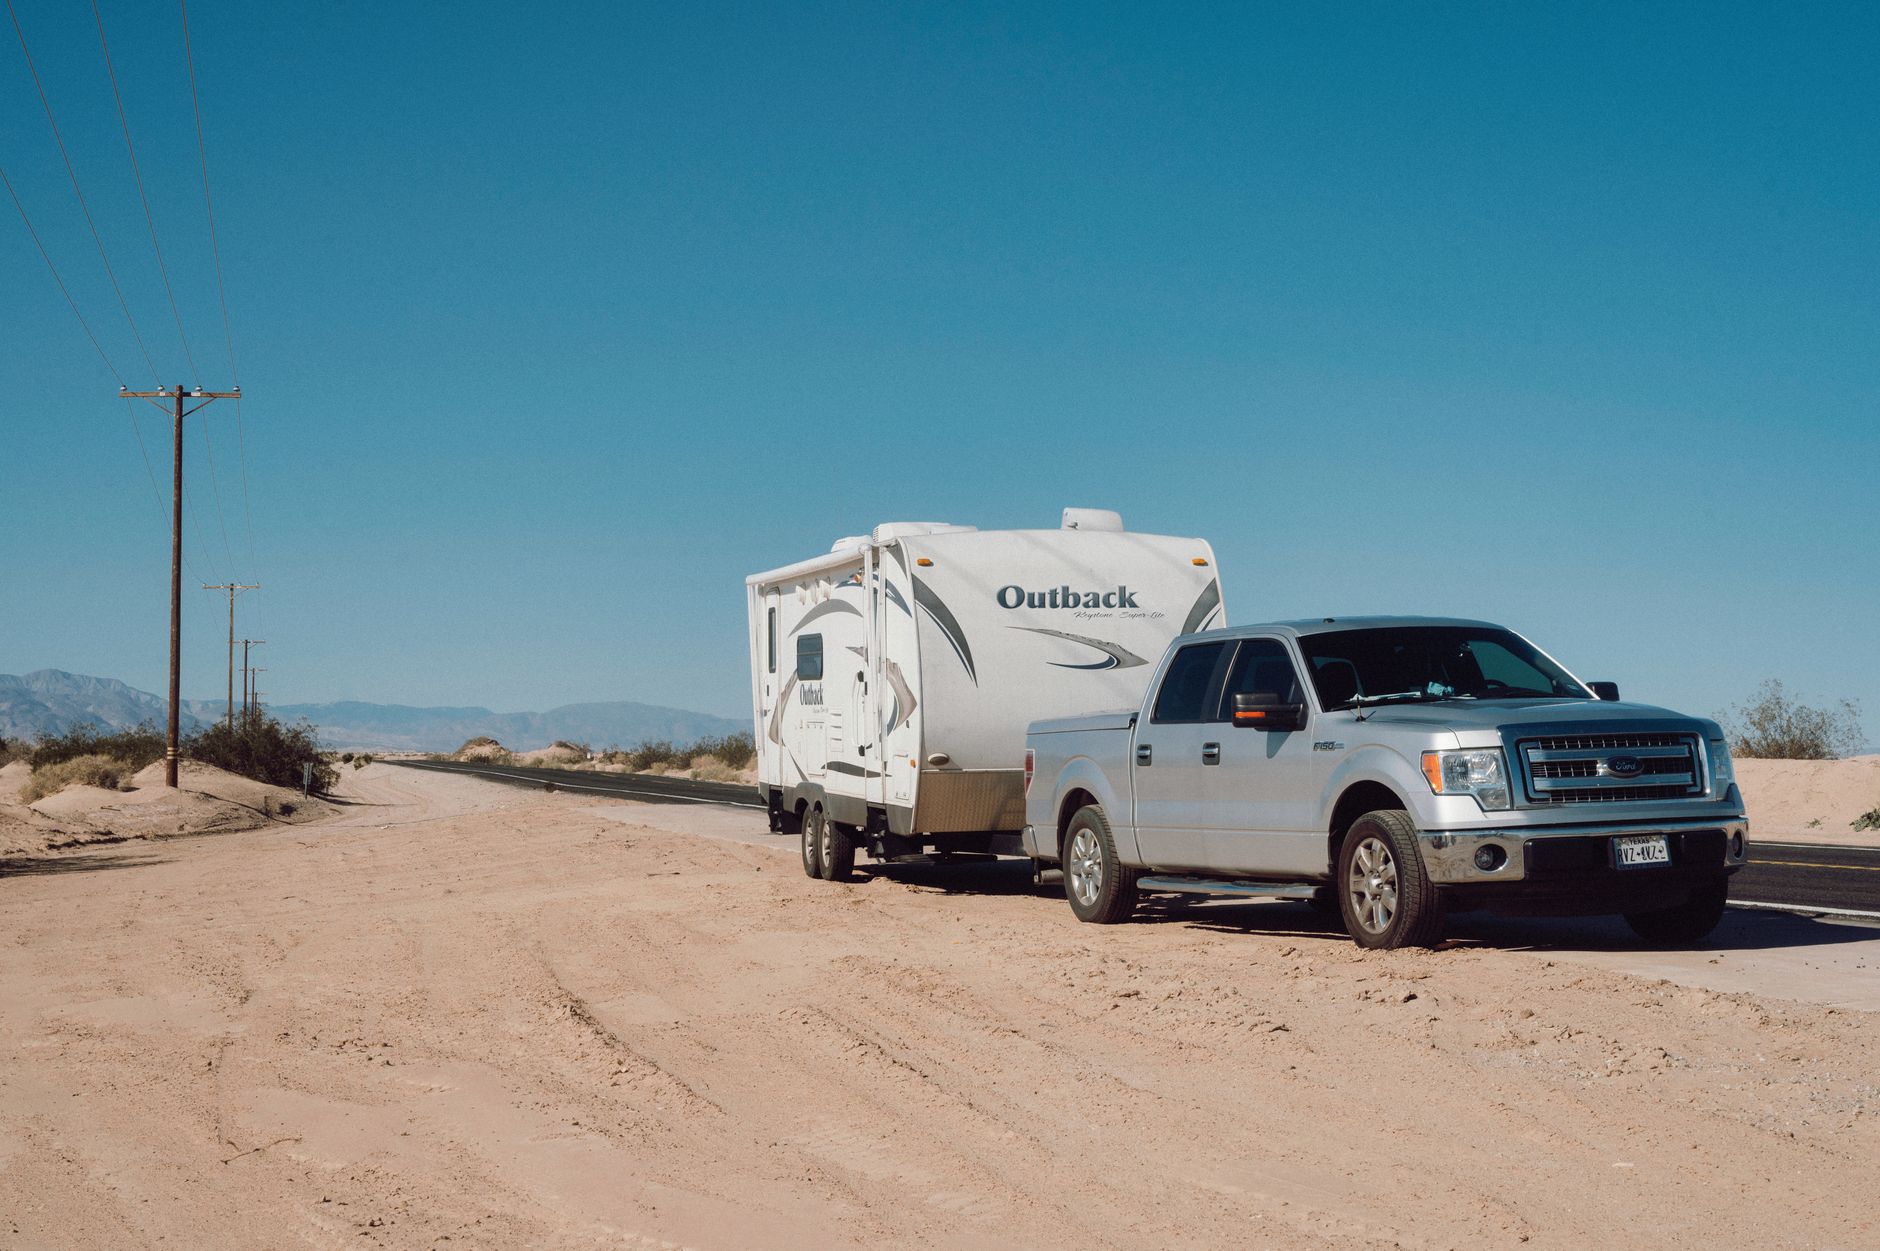
More than half of all trailer breakdowns trace back to something the owner could have caught in five minutes with a flashlight. A blown bearing, a bald tire, a coupler that never fully latched — these aren't freak accidents. They're skipped checks. Whether you're hauling a boat to the lake, a UTV to the trailhead, or a load of lumber across town, a consistent pre-trip trailer inspection is the difference between an uneventful drive and a white-knuckle emergency on the shoulder.
Use this 12-point checklist every single time you hitch up. It takes about ten minutes and covers the systems most likely to fail: bearings, brakes, lights, tires, and your connection to the tow vehicle. Print it, save it to your phone, or just commit it to memory — but never skip it.
1. Coupler and Hitch Ball Connection
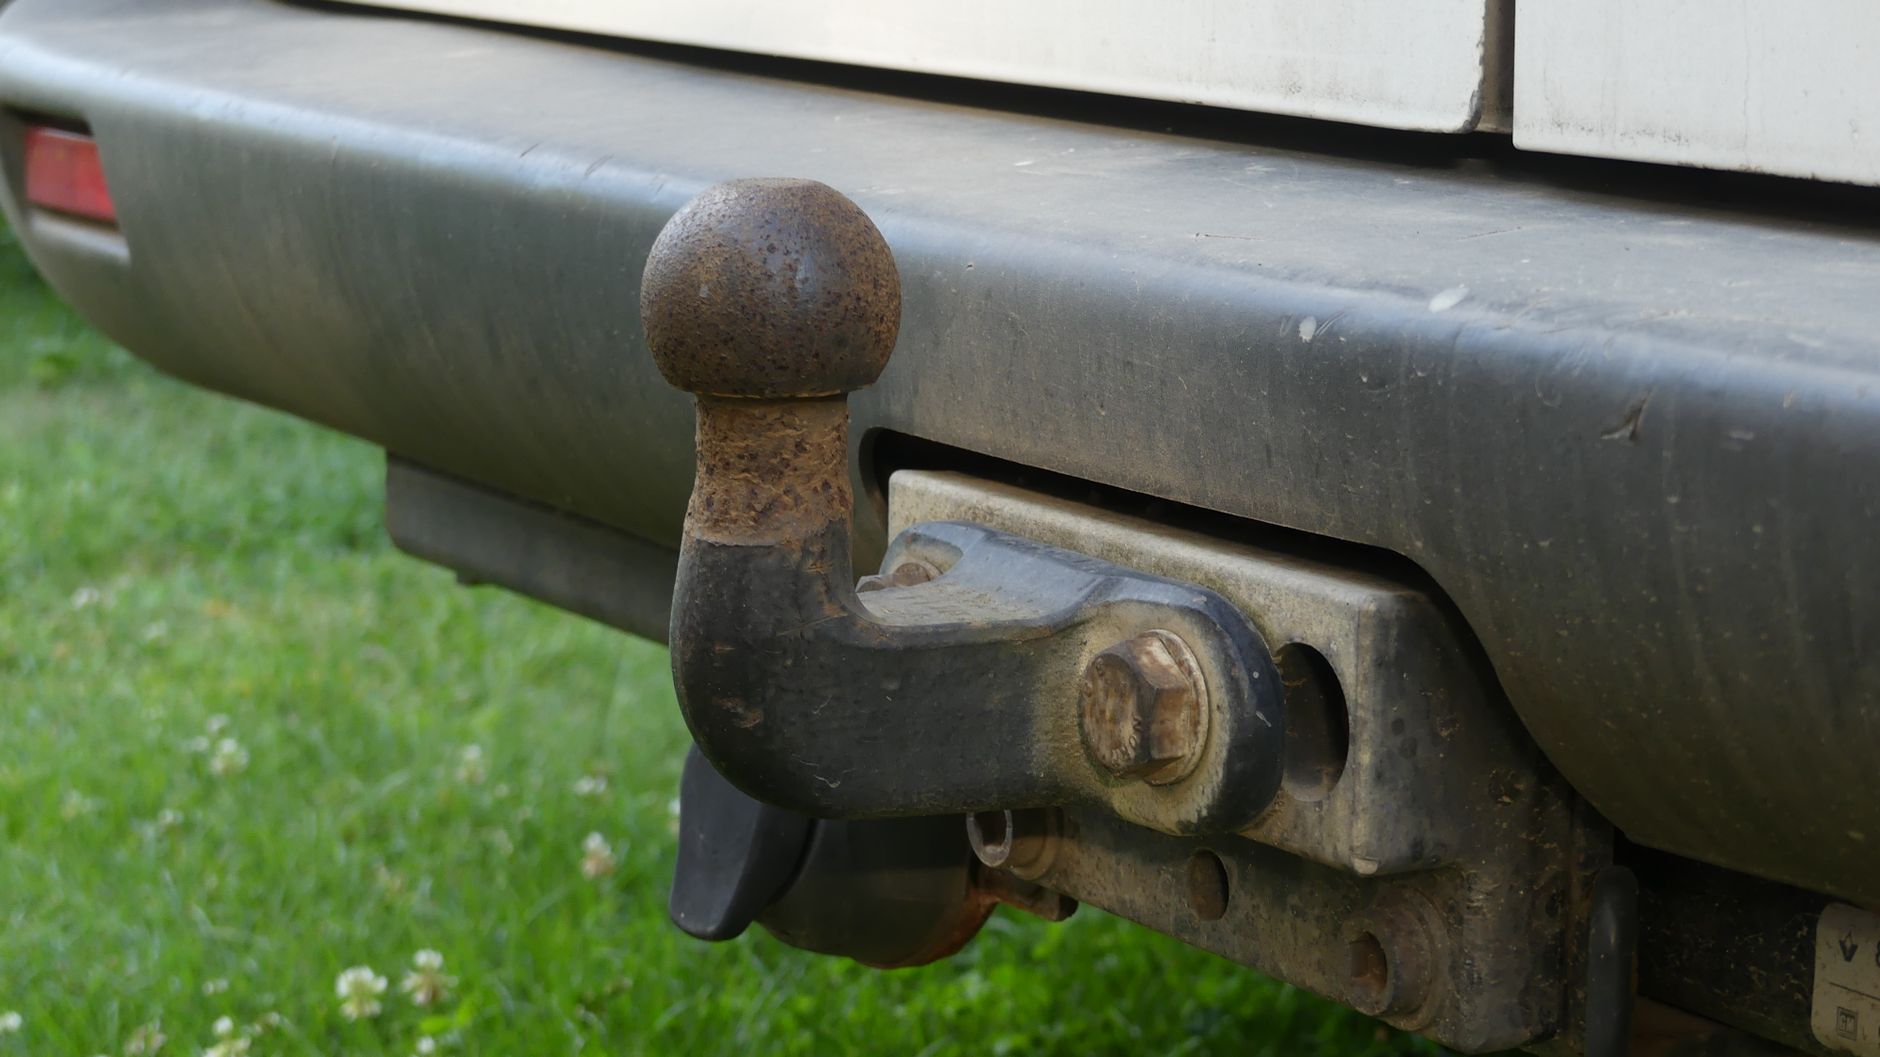
Start where trailer meets truck. Confirm the coupler is fully seated on the ball and the latch is locked down — not just resting. Insert a safety pin or lock through the latch so it can't bounce open on a rough road. Verify the ball size stamped on the coupler matches your hitch ball (a 2" coupler on a 1-7/8" ball is a recipe for separation).
2. Safety Chains
Cross your safety chains under the coupler in an X pattern. If the trailer ever comes off the ball, that X cradles the tongue and keeps it from digging into the pavement. Leave just enough slack to allow full turns, but not so much that the chains drag. Check the hooks and clips for wear, and make sure the latches are closed.
3. Breakaway Cable and Battery
If your trailer has electric brakes, it has a breakaway system — a small cable that triggers the trailer brakes if it detaches from the tow vehicle. Confirm the cable is attached to the truck (not the hitch that would leave with the trailer) and that the breakaway battery holds a charge. A dead breakaway battery means a runaway trailer has zero brakes.
4. Tire Pressure — Every Tire, Including the Spare
Trailer tires live a hard life: they sit for months, then get loaded and run at highway speed. Underinflation is the number one cause of trailer tire blowouts. Check every tire cold, before you drive, against the pressure molded into the sidewall — not the vehicle placard. Don't forget the spare; a flat spare is just dead weight.

5. Tire Tread and Sidewall Condition
Pressure is only half the story. Eyeball each tire for cracking, dry rot, bulges, and uneven wear. Trailer tires often "age out" before they wear out — if the tread looks fine but the rubber is five-plus years old and cracking at the sidewall, replace it. Run a tread depth gauge across each tire; anything under 4/32" on a trailer is living on borrowed time.

6. Lug Nuts and Wheels
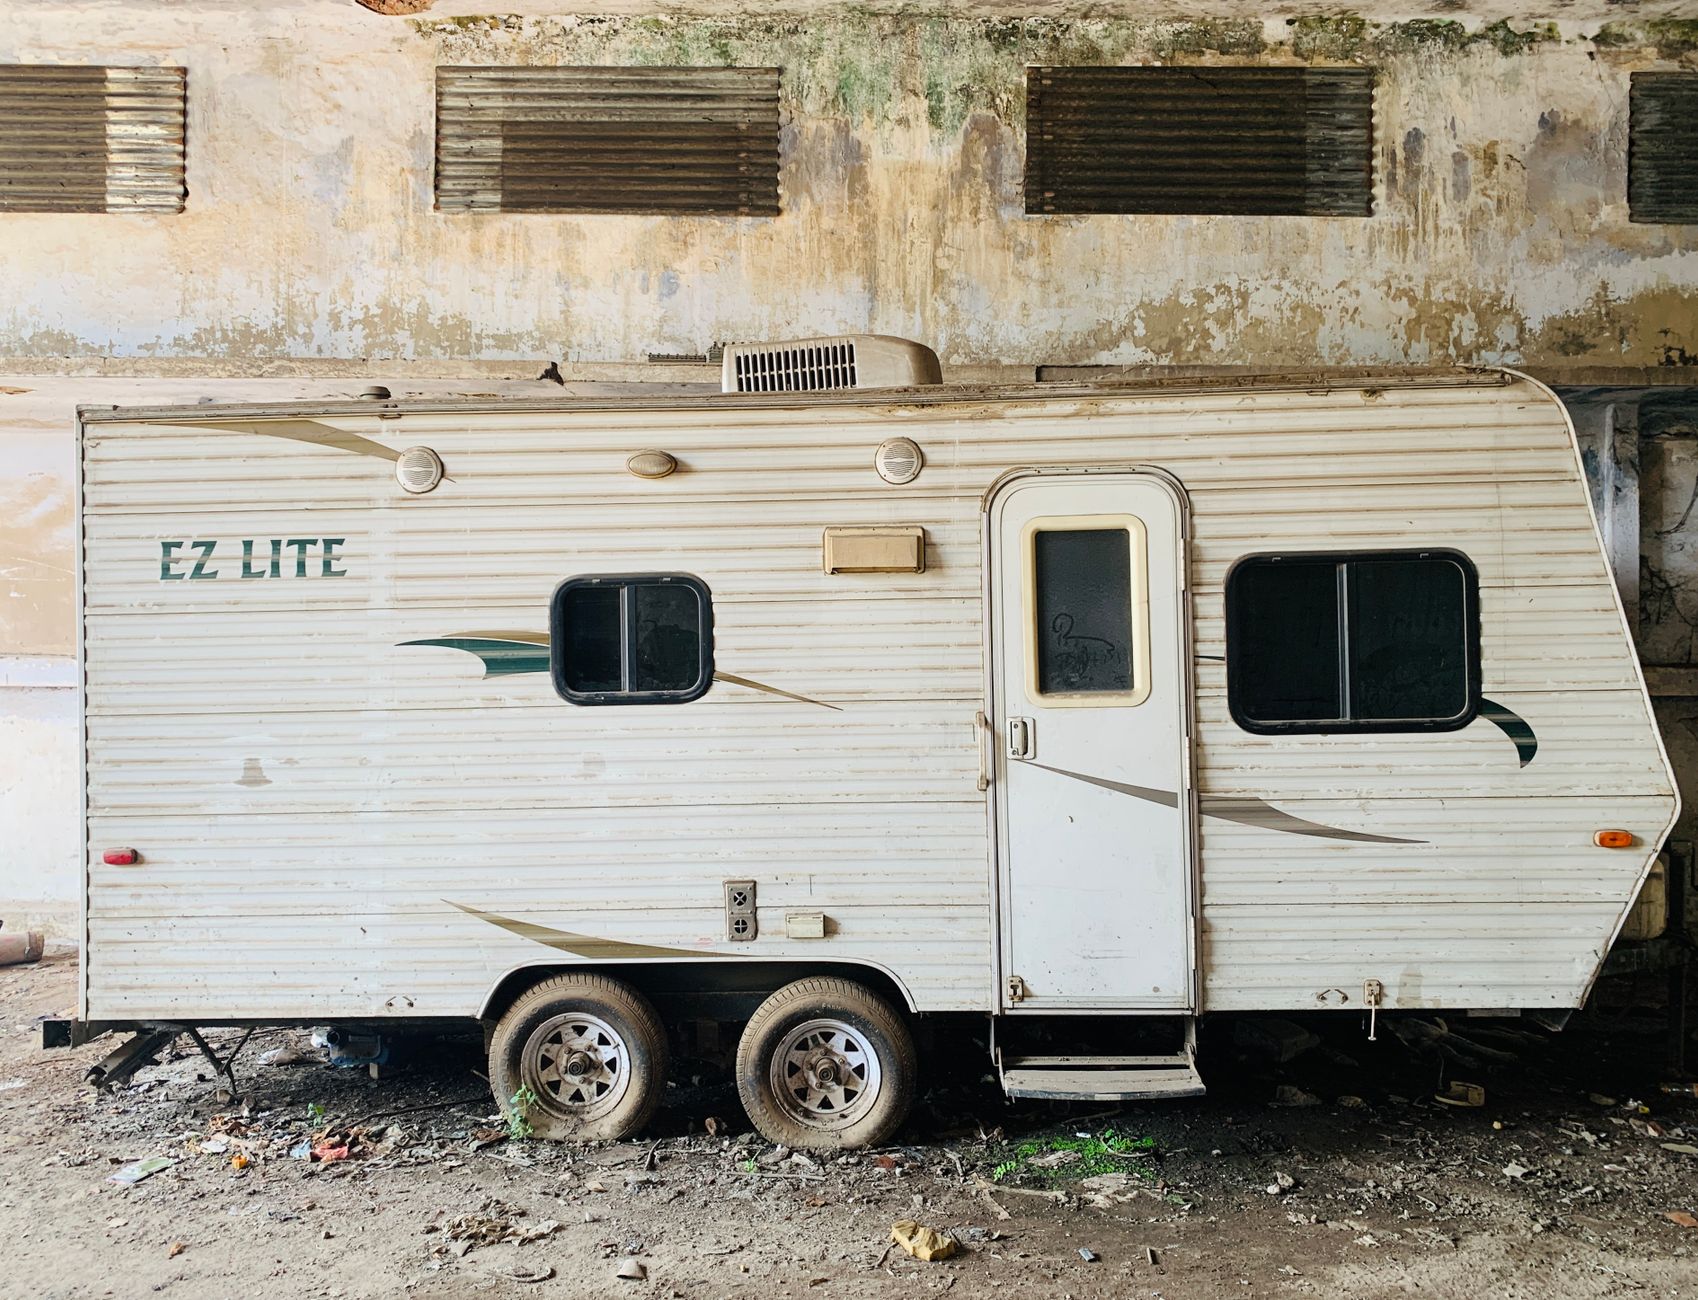
Trailer lug nuts loosen over time, especially on new wheels or after a tire change. Walk each wheel with a torque wrench and confirm the lugs are at the manufacturer's spec. Look for rust streaks radiating from the lug holes — a telltale sign of loose or over-torqued fasteners. Give each wheel a firm shake to check for play that could signal a bearing problem.
7. Wheel Bearings and Hubs
Bearings are the silent killers of trailer trips. Before a long haul, feel each hub after a short drive — a hub that's too hot to touch is a bearing about to fail. Check for grease leaking onto the back of the wheel, and listen for growling or grinding on your first few miles. Repack bearings annually or every 12,000 miles, and carry a spare hub kit for long trips.
8. Trailer Brakes
If your trailer has electric or surge brakes, test them before you leave the driveway. With electric brakes, use the manual slider on your brake controller at low speed and feel for the trailer pulling back. Adjust gain so the trailer brakes engage firmly without locking up. Never assume the brakes work just because they worked last season.
9. Lights and Electrical Connection
Plug in the 4-, 5-, or 7-pin connector and run through every function: running lights, brake lights, left and right turn signals, and reverse lights if equipped. Have a helper confirm, or use a reflection off a garage door. Corroded pins are the usual culprit for flickering lights — a shot of dielectric grease on the connector goes a long way.

10. Cargo Securement
A properly loaded trailer carries about 60% of its weight forward of the axle, giving you 10-15% tongue weight. Too little tongue weight causes dangerous sway; too much overloads the hitch. Once loaded, lock everything down with rated tie-downs and give each strap a tug. Loose cargo shifts, and shifting cargo turns a stable trailer into a pendulum.

11. Suspension, Frame, and Fasteners
Take a knee and look under the trailer. Inspect leaf springs, shackles, and U-bolts for cracks or rust. Check the frame welds around the tongue and axle mounts. Confirm the jack and any stabilizers are fully retracted and secured. It's a 60-second look that can catch a failing spring hanger before it drops an axle on the interstate.
12. Final Walkaround and Mirror Check
Before you roll, do one last lap. Confirm the jack is up, chocks are stowed, doors and ramps are latched, and nothing is left leaning against the trailer. Adjust your tow mirrors so you can see the trailer's rear corners. Then pull forward a few feet and stop to confirm the brakes bite and nothing shifts. Now you're ready.
Make It a Habit, Not a Chore
The best trailer owners don't rely on memory — they run the same routine every trip until it's automatic. Keep a small kit in your tow vehicle: a quality tire gauge, a tread depth gauge, a torque wrench, spare tie-downs, dielectric grease, and a flashlight. Ten minutes of inspection protects your cargo, your rig, and everyone sharing the road with you.
For more towing and hauling guides, browse the full JACO gear collection and check out our related post on solo vehicle self-recovery. Hitch up with confidence — and never skip the checklist.