Tire pressure is arguably the single most impactful adjustment you can make to your bike — and it costs nothing. Whether you're hammering pavement on a road bike, navigating rocky singletrack on a mountain bike, or floating over snow on a fat bike, dialing in the right PSI transforms your ride quality, grip, speed, and safety.
But here's the thing: there's no universal "perfect pressure." The ideal PSI depends on your bike type, tire width, rider weight, terrain, and even the weather. This guide breaks it all down so you can stop guessing and start riding smarter.
Why Tire Pressure Matters More Than You Think
Every time your tire contacts the ground, the air inside creates a "contact patch" — the small area of rubber that grips the surface. Tire pressure directly controls the size and shape of that patch:
- Too high: The contact patch shrinks. You get less grip, a harsher ride, and more vulnerability to punctures from sharp impacts.
- Too low: The contact patch expands. You gain grip but lose rolling efficiency, risk pinch flats, and the tire can squirm or even roll off the rim.
- Dialed in: The contact patch is optimized for your terrain. Maximum grip where you need it, efficient rolling where you don't.
Getting it right means faster rides, fewer flats, better control, and a more comfortable experience on any surface.
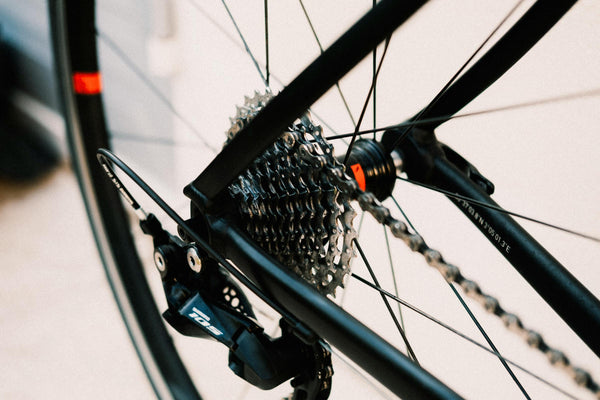
Road Bike Tire Pressure: Speed Meets Comfort
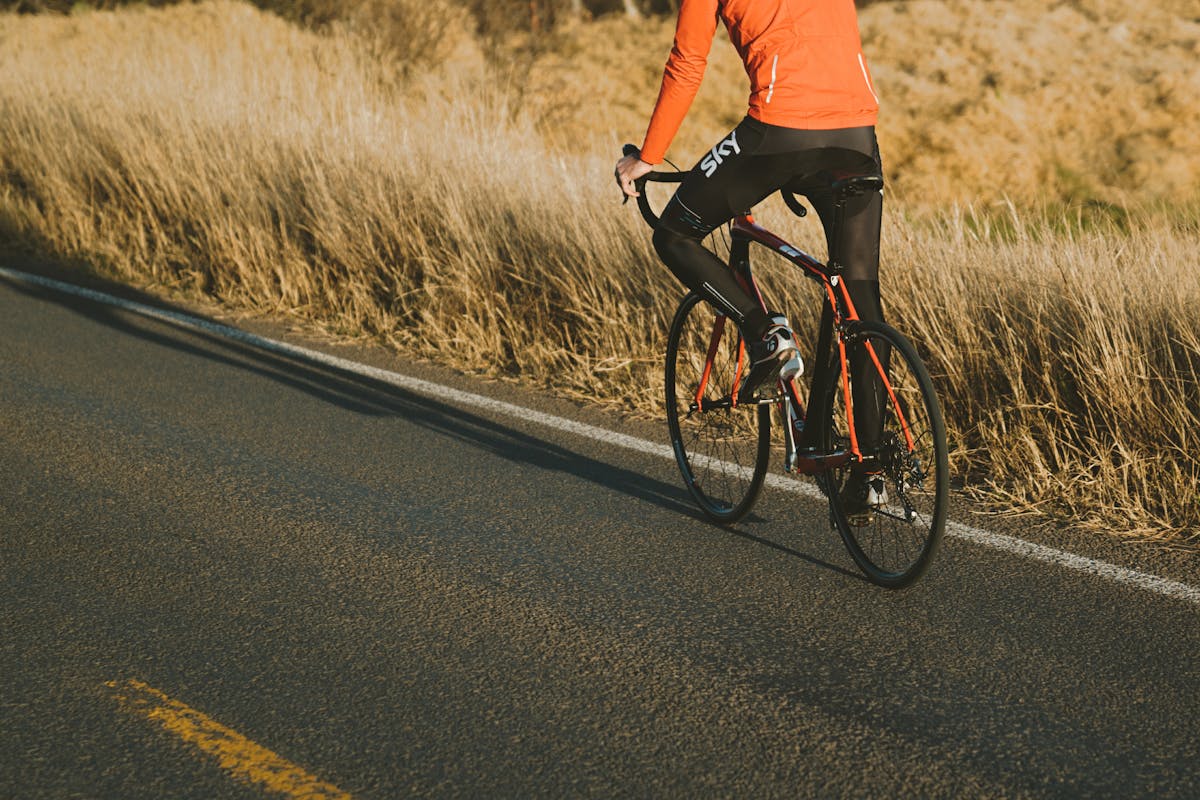
Road bikes run the highest pressures of any cycling discipline because their narrow tires (23mm–32mm) need more air to support rider weight and minimize rolling resistance on smooth pavement.
General Road Bike PSI Ranges
- 23mm tires: 90–120 PSI
- 25mm tires: 80–110 PSI
- 28mm tires: 70–100 PSI
- 32mm tires: 60–90 PSI
Rider weight matters significantly. A 140-lb rider on 25mm tires might run 80–90 PSI, while a 200-lb rider on the same tires needs 100–110 PSI. As a starting point, heavier riders should be toward the top of each range, lighter riders toward the bottom.
Situational Adjustments for Road Riding
- Wet roads: Drop 5–10 PSI from your dry baseline. Lower pressure increases the contact patch for better grip on slick surfaces.
- Rough chip-seal or cracked pavement: Drop 5–10 PSI. The tire absorbs vibration instead of transmitting it through the frame, which actually improves speed (less energy lost to vibration).
- Long descents: Don't exceed your tire's max PSI — heat from braking and friction can increase pressure during a ride. Start slightly lower if you know a hot, brake-heavy descent is coming.
- Cold weather: Tires lose approximately 1–2 PSI for every 10°F drop in temperature. If you inflate in a warm garage and ride in 30°F weather, you could be 5–10 PSI lower than expected.
- Tubeless vs. tubed: Tubeless road setups can safely run 5–10 PSI lower than tubed, since there's no inner tube to pinch flat.
Pro tip: The old-school advice of "pump to max PSI" is outdated. Modern research shows that slightly lower pressures — especially on wider tires — actually roll faster on real-world road surfaces because the tire conforms to imperfections rather than bouncing over them. The JACO RDX-160 Presta Tire Pressure Gauge reads up to 160 PSI and works with both Presta and Schrader valves, making it ideal for road cyclists who want precision.
Mountain Bike Tire Pressure: Grip Is Everything
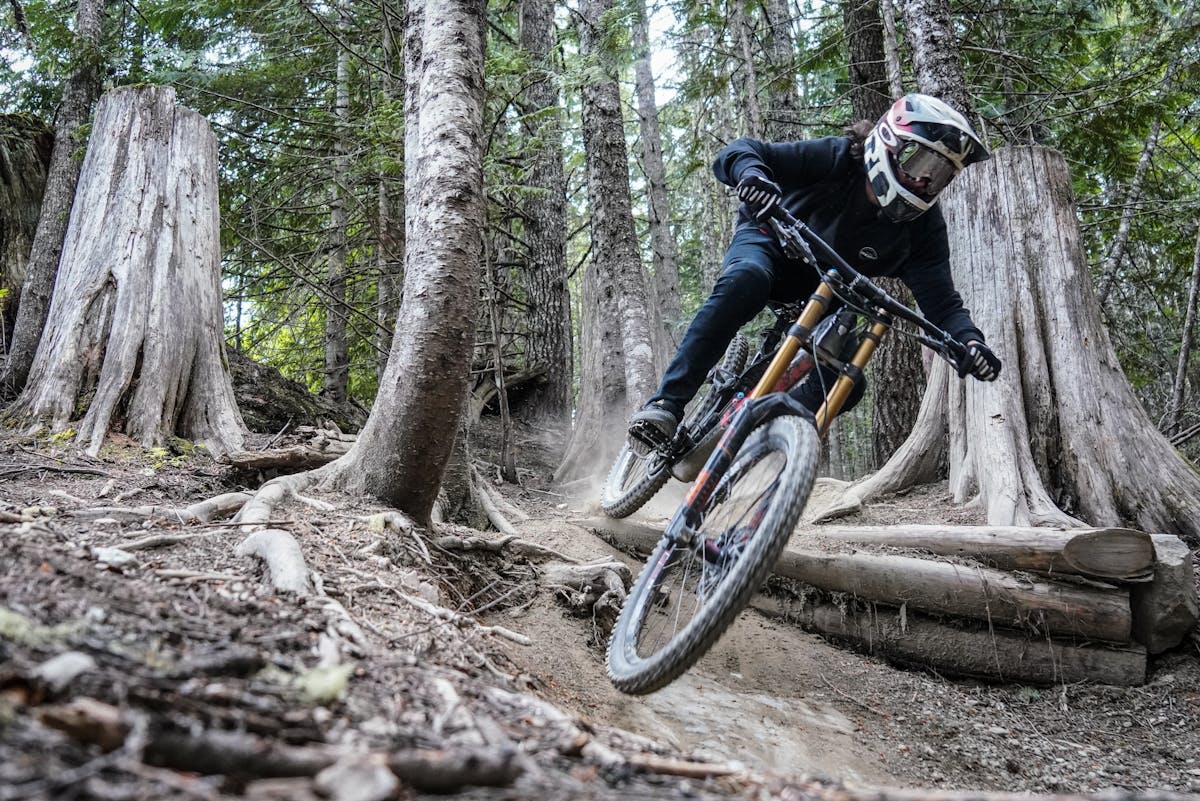
Mountain biking flips the script on tire pressure. Where road cycling optimizes for rolling speed, MTB optimizes for traction, control, and impact absorption. Running pressures that feel "normal" on a road bike would be dangerously high on the trail.
General Mountain Bike PSI Ranges
- Cross-country (XC): 25–35 PSI
- Trail: 22–30 PSI
- Enduro/All-Mountain: 20–28 PSI
- Downhill: 18–26 PSI
Most mountain bikers run the front tire 2–3 PSI lower than the rear. The front tire handles steering and cornering grip (where traction is critical), while the rear supports more of the rider's weight and handles pedaling forces.
Situational Adjustments for Mountain Biking
- Loose/sandy terrain: Drop 2–4 PSI below your baseline. The larger contact patch floats over loose material instead of digging in and washing out.
- Rocky/rooty trails: If running tubes, keep pressures moderate to avoid pinch flats. If tubeless, you can safely run 2–4 PSI lower for better rock compliance — the sealant handles small punctures.
- Wet/muddy conditions: Drop 2–5 PSI. Softer tires conform to wet rocks and roots, dramatically improving grip. This is one of the single biggest differences you can make on a wet ride.
- Hard-packed trails: Bump up 2–3 PSI from baseline. You don't need as much grip, and the higher pressure reduces rolling resistance on firm surfaces.
- Rider weight: Add roughly 1 PSI per 10 lbs over 160 lbs. A 200-lb rider should be toward the top of each range.
- Tire width: Wider tires (2.5"+) can run lower pressures than narrower ones (2.2") at the same rider weight.
A gauge designed for lower pressures makes a real difference here — standard automotive gauges aren't accurate in the 20–30 PSI range where mountain bikers live. The JACO MBX-60 Presta Tire Pressure Gauge was built specifically for this, with a 60 PSI max scale that gives you precise readings in the MTB sweet spot.
Fat Bike Tire Pressure: Low and Slow Wins the Race
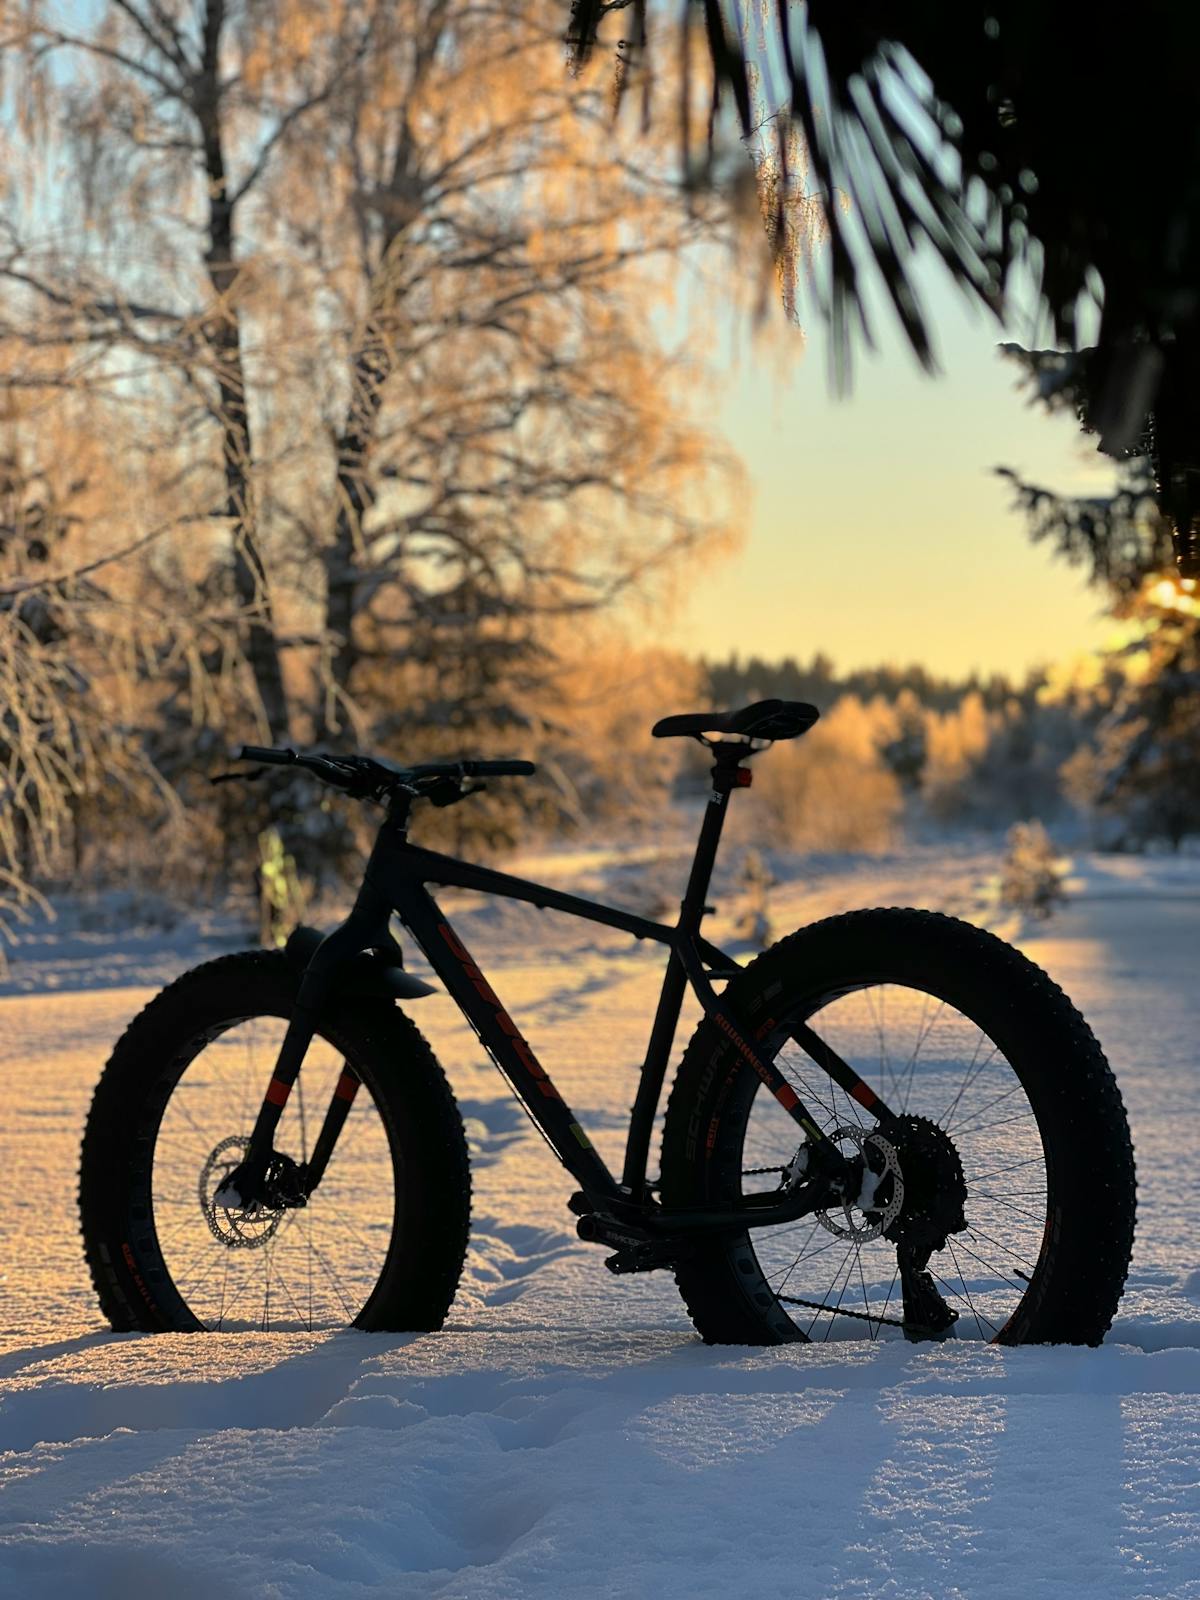
Fat bikes run the lowest pressures of any bicycle — often in single digits. Those massive 3.8"–5.0" tires are designed to float over soft surfaces like snow, sand, and mud, and air pressure is the primary tool for controlling how much the tire sinks versus floats.
General Fat Bike PSI Ranges
- Snow (packed): 5–10 PSI
- Snow (soft/fresh powder): 2–5 PSI
- Sand (beach): 4–8 PSI
- Hardpack/gravel: 8–15 PSI
- Mixed terrain: 6–12 PSI
Yes, you read that right — some fat bikers ride at 2–3 PSI. At pressures this low, the tire essentially becomes a balloon that molds around every surface contour, maximizing flotation.
Situational Adjustments for Fat Biking
- Fresh, unpacked snow: Go as low as you can without the tire folding or the rim hitting the ground. Start at 4 PSI and work down. Many riders find their sweet spot between 2–4 PSI.
- Groomed winter trails: You can run slightly higher (6–10 PSI) since the surface is firmer. This improves rolling efficiency without losing flotation.
- Soft beach sand: Similar to fresh snow — lower is better. 4–6 PSI keeps the tire footprint wide enough to stay on top of the sand.
- Transitioning surfaces: If your route mixes hard-packed sections with soft terrain, err on the lower side. It's easier to pedal on hardpack with soft tires than to sink in soft terrain with hard tires.
- Cold weather considerations: Fat biking and cold weather go hand-in-hand. Check pressure outdoors at riding temperature, not in your warm garage. A tire inflated to 5 PSI indoors at 68°F could drop to 3–4 PSI at 10°F.
Accurate measurement is critical at these pressures because the difference between 3 PSI and 6 PSI is the difference between floating and sinking. Standard gauges can't even read this range accurately. The JACO FTX-30 Low Pressure Presta Gauge maxes out at 30 PSI with fine graduations in the single-digit range — exactly where fat bikers need precision.
The Variables That Affect Every Rider
Regardless of your bike type, these factors always influence your ideal pressure:
- Rider weight (including gear): Heavier total weight = higher pressure needed. Don't forget your loaded backpack, hydration pack, or bikepacking bags.
- Tubeless vs. tubes: Tubeless setups can safely run 5–15% lower pressure. No tube means no pinch flats, and the sealant handles small punctures. If you're still on tubes, you need to keep pressures higher as a safety margin.
- Tire casing: Reinforced or "DH" casing tires support lower pressures better than lightweight XC casings. If you're running fragile race tires, keep pressures a bit higher.
- Front vs. rear: Most cyclists benefit from running the front tire slightly lower (2–5 PSI) than the rear. Weight distribution puts more load on the rear wheel, and the front benefits from extra grip for steering and braking.
- Elevation: At higher altitudes, lower atmospheric pressure means your tires effectively act slightly firmer. Drop 1–2 PSI if you're riding above 8,000 feet compared to sea level.
How to Find Your Personal Sweet Spot
Numbers are starting points, not gospel. Here's a simple process to dial in your ideal pressure:
- Start in the middle of the recommended range for your tire size and bike type.
- Ride your normal route and pay attention. Does the bike feel sluggish? Bouncy? Squirmy in corners? Do you feel every bump?
- Adjust by 2–3 PSI (road) or 1–2 PSI (MTB/fat) at a time. One direction per ride.
- Check for warning signs: If the tire squirms in corners, you're too low. If it bounces off obstacles or chatters on rough surfaces, you're too high.
- Lock it in once you find your sweet spot, and check it before every ride. Tires lose air naturally — even perfectly sealed tubeless setups lose 1–3 PSI per week.
The #1 rule: Always check pressure with an accurate gauge — never squeeze the tire and guess. Your thumb is not a calibrated instrument. A dedicated JACO BikePro Presta Tire Pressure Gauge takes the guesswork out entirely.
Quick Reference: Cycling Tire Pressure Cheat Sheet
| Bike Type | Tire Width | PSI Range | Front/Rear Split |
|---|---|---|---|
| Road (lightweight rider) | 25mm | 80–95 | F: -5 PSI |
| Road (heavier rider) | 25mm | 95–110 | F: -5 PSI |
| Gravel | 38–45mm | 35–55 | F: -3 PSI |
| XC Mountain | 2.2"–2.4" | 25–35 | F: -2 PSI |
| Trail/Enduro | 2.4"–2.6" | 20–28 | F: -3 PSI |
| Downhill | 2.4"–2.5" | 18–26 | F: -3 PSI |
| Fat Bike (snow) | 4.0"–5.0" | 2–10 | F: -1 PSI |
| Fat Bike (hardpack) | 4.0"–5.0" | 8–15 | F: -1 PSI |
Ride Smarter, Not Harder
Tire pressure is free speed, free grip, and free comfort — but only if you're checking it regularly with the right tools. Whether you're a road rider chasing PRs, a mountain biker hunting traction, or a fat biker floating through snow, the five minutes you spend dialing in PSI before each ride pays dividends for every mile after.
Start with the ranges above, adjust based on your terrain and conditions, and always measure — never guess. Your rides will thank you.