

Every off-roader gets stuck eventually. It's not a question of if—it's a question of when, and whether you'll have the right recovery gear to get yourself out. But here's the mistake most people make: they buy a random tow strap off a big-box shelf, toss it behind the seat, and assume they're covered. Then, halfway up a rutted trail with a wheel buried to the axle, they discover their strap is rated for a compact sedan—not a loaded truck.
Recovery gear is only as good as its match to your vehicle's weight. Under-rate it and you risk snapping a strap under load (a genuinely dangerous failure). Over-rate it wildly and you're hauling around bulky, expensive gear that won't stretch and work the way it should. This guide walks you through sizing recovery gear correctly—starting with the single number that determines everything.
Start With One Number: Your Vehicle's Weight
Before you buy a single piece of recovery gear, you need to know what you're actually pulling. The number that matters is your vehicle's Gross Vehicle Weight Rating (GVWR)—the maximum your rig is designed to weigh fully loaded with passengers, fuel, and gear. You'll find it on the door-jamb sticker on the driver's side.
For recovery sizing, use your loaded weight, not the dry curb weight from the brochure. A mid-size SUV that weighs 4,500 lbs empty can easily hit 5,500–6,000 lbs once you add a full tank, roof rack, gear, and people. When a vehicle is stuck in mud or sand, suction and resistance can effectively double the force needed to free it—which is exactly why gear ratings carry big safety margins.
The golden rule for stretchy recovery gear: your kinetic strap or rope should have a minimum breaking strength of roughly 2 to 3 times your vehicle's gross weight. A 6,000-lb truck wants a strap rated around 20,000–30,000 lbs. That margin isn't overkill—it accounts for the shock loads, suction, and dynamic forces that a stuck vehicle throws at your equipment.
Kinetic Recovery Straps and Ropes
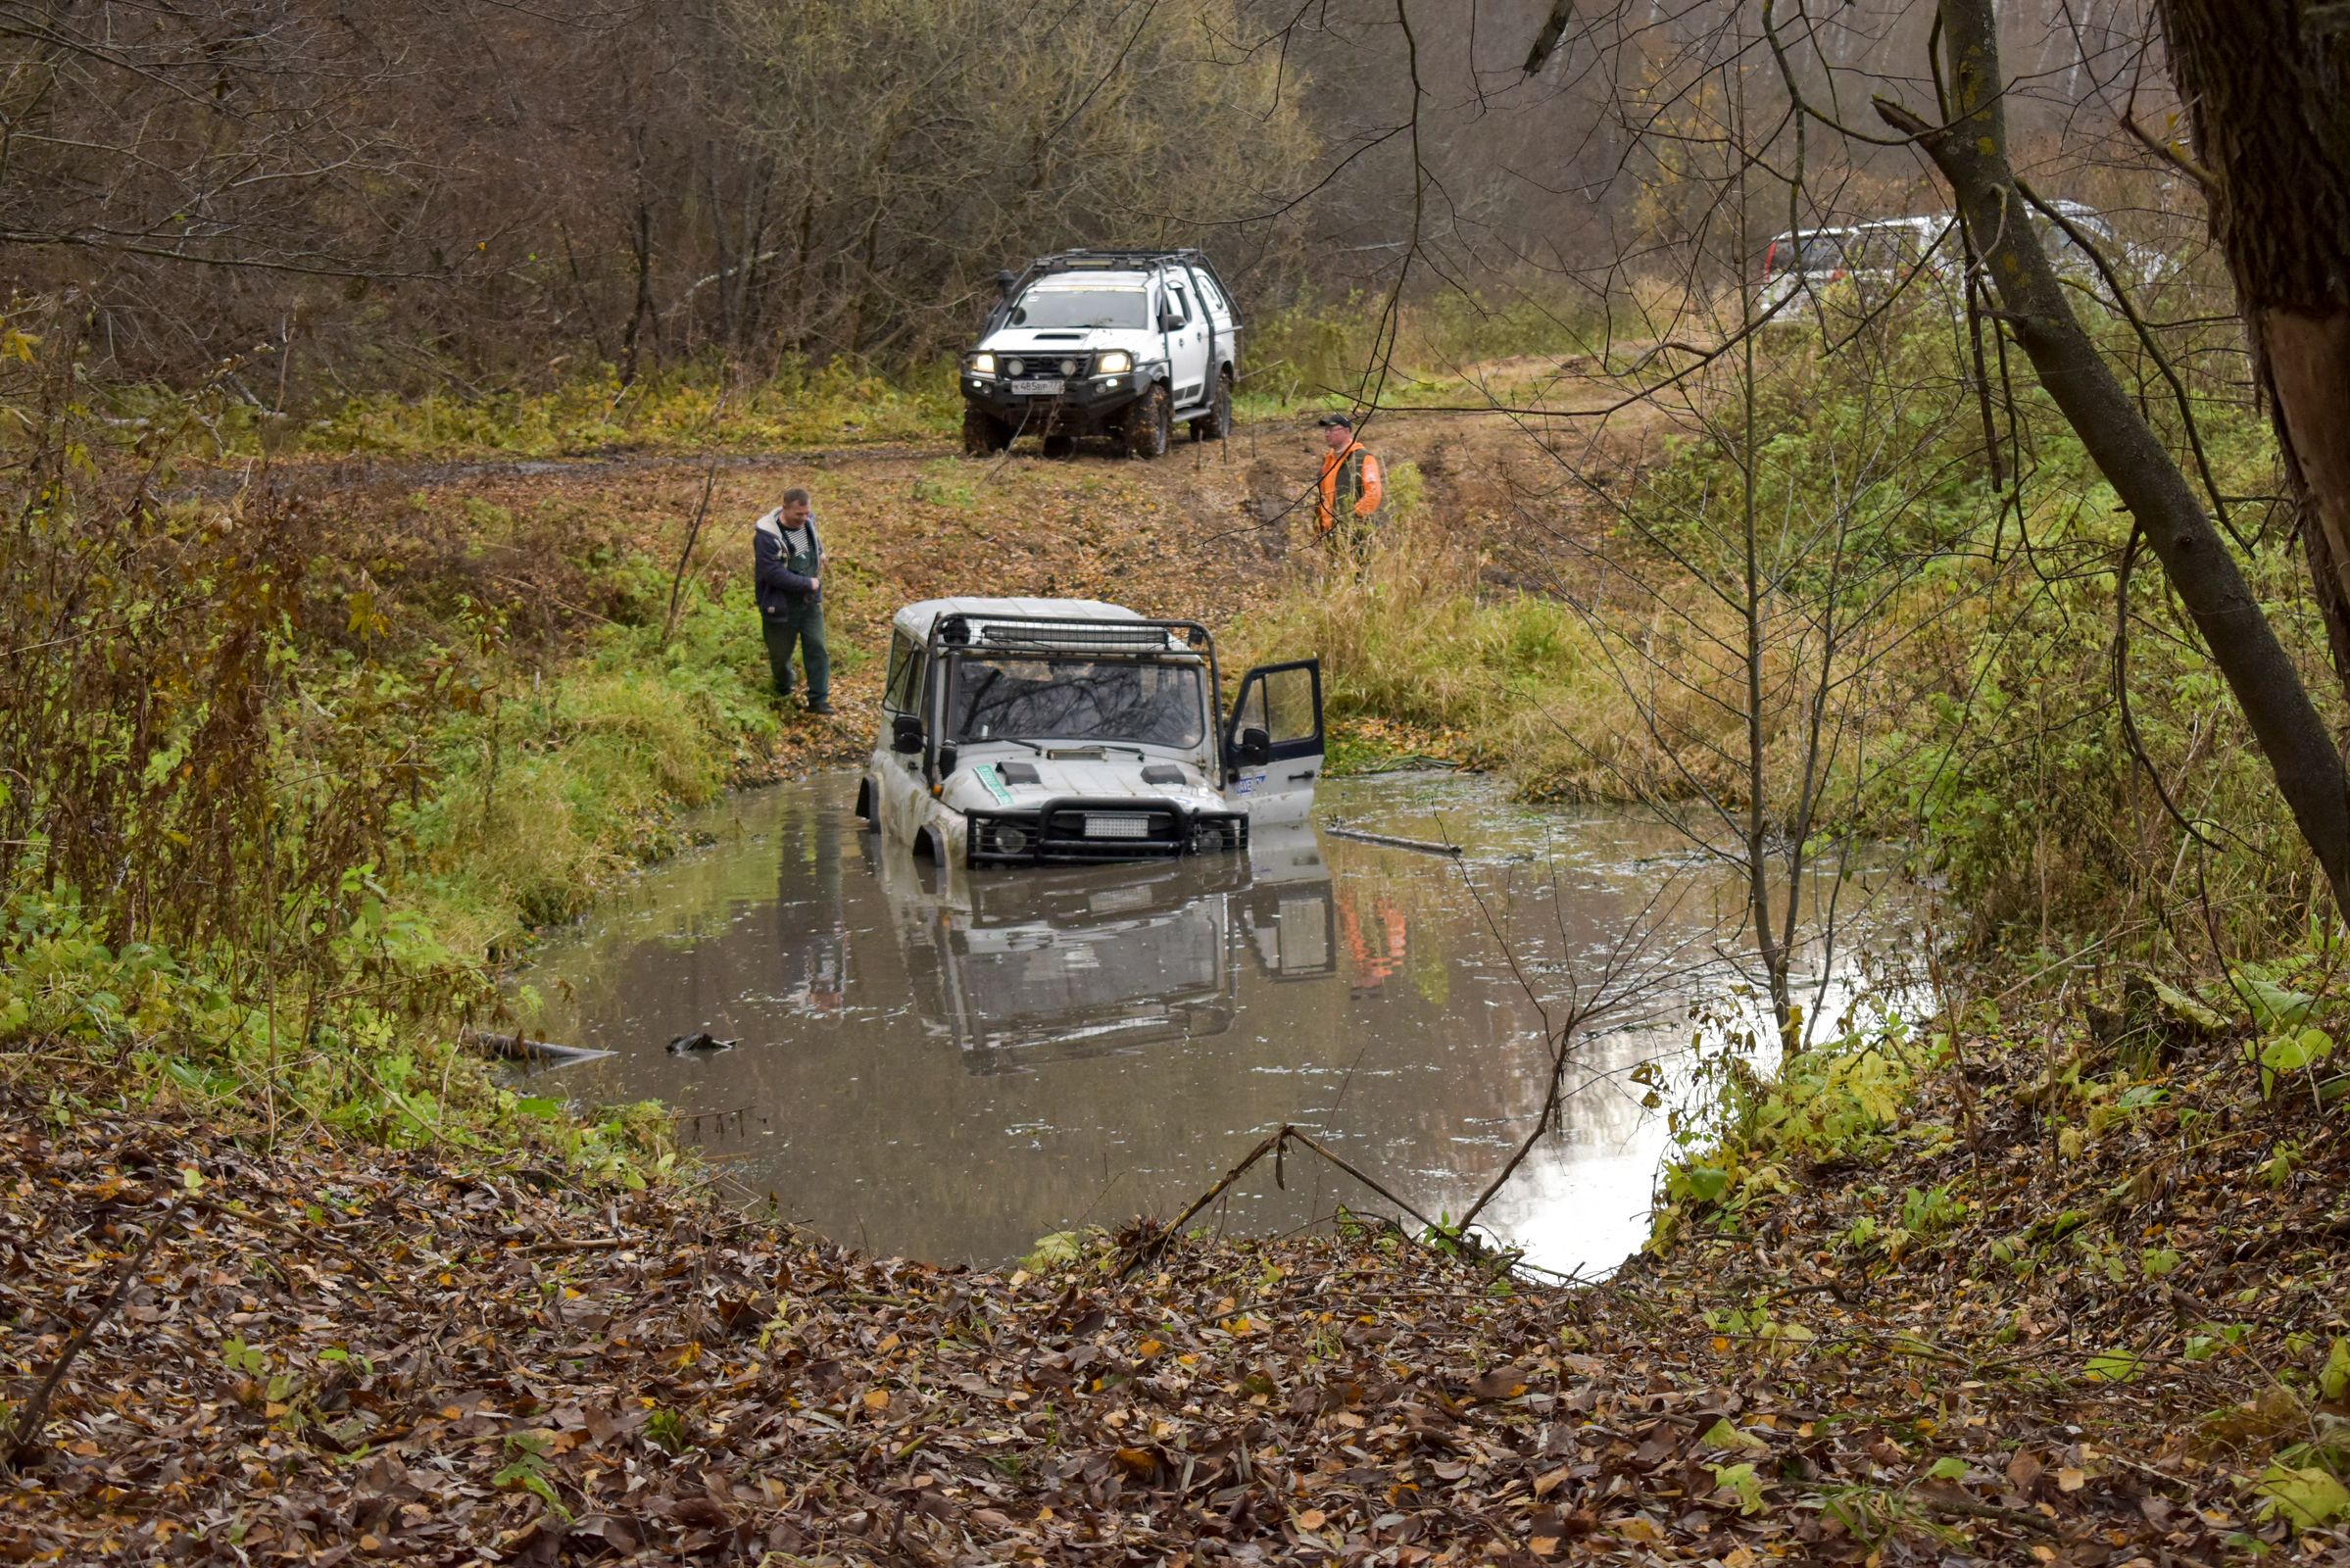
A kinetic strap (or kinetic energy rope) is the workhorse of vehicle-to-vehicle recovery. Unlike a rigid tow strap, it's designed to stretch—storing energy as the recovery vehicle accelerates, then releasing it in a smooth surge that helps pop the stuck vehicle free. That elasticity reduces the harsh jerk that can damage frames and mounting points.
Size it by weight class:
- ATVs / UTVs / small SUVs (up to ~4,000 lbs): 7/8" strap, ~20,000 lb break strength
- Mid-size trucks & SUVs (4,000–6,500 lbs): 1" strap, ~30,000 lb break strength
- Full-size & 3/4-ton trucks (6,500–9,000 lbs): 1.25" strap, ~33,000–40,000 lb break strength
One critical warning: never use a ratcheting tie-down strap or a standard tow strap for a kinetic recovery. Tie-down straps are built to hold cargo static—they don't stretch and will fail violently under a dynamic yank. Match the tool to the job.
Soft Shackles and Recovery Points
Your strap is only as strong as what connects it to the vehicle. Two rules here. First, always connect to a rated recovery point—a factory tow hook or an aftermarket recovery point bolted to the frame. Never hook to a trailer ball, tie-down loop, or suspension component; those can shear off and become projectiles.
Second, consider soft shackles over steel D-rings. Soft shackles are made from synthetic Dyneema rope, are lighter, float, and—crucially—won't turn into a heavy steel missile if something breaks. Match their rated strength to your strap: a soft shackle rated at or above your strap's working load keeps the whole system balanced.
Traction Boards for Sand, Mud, and Snow
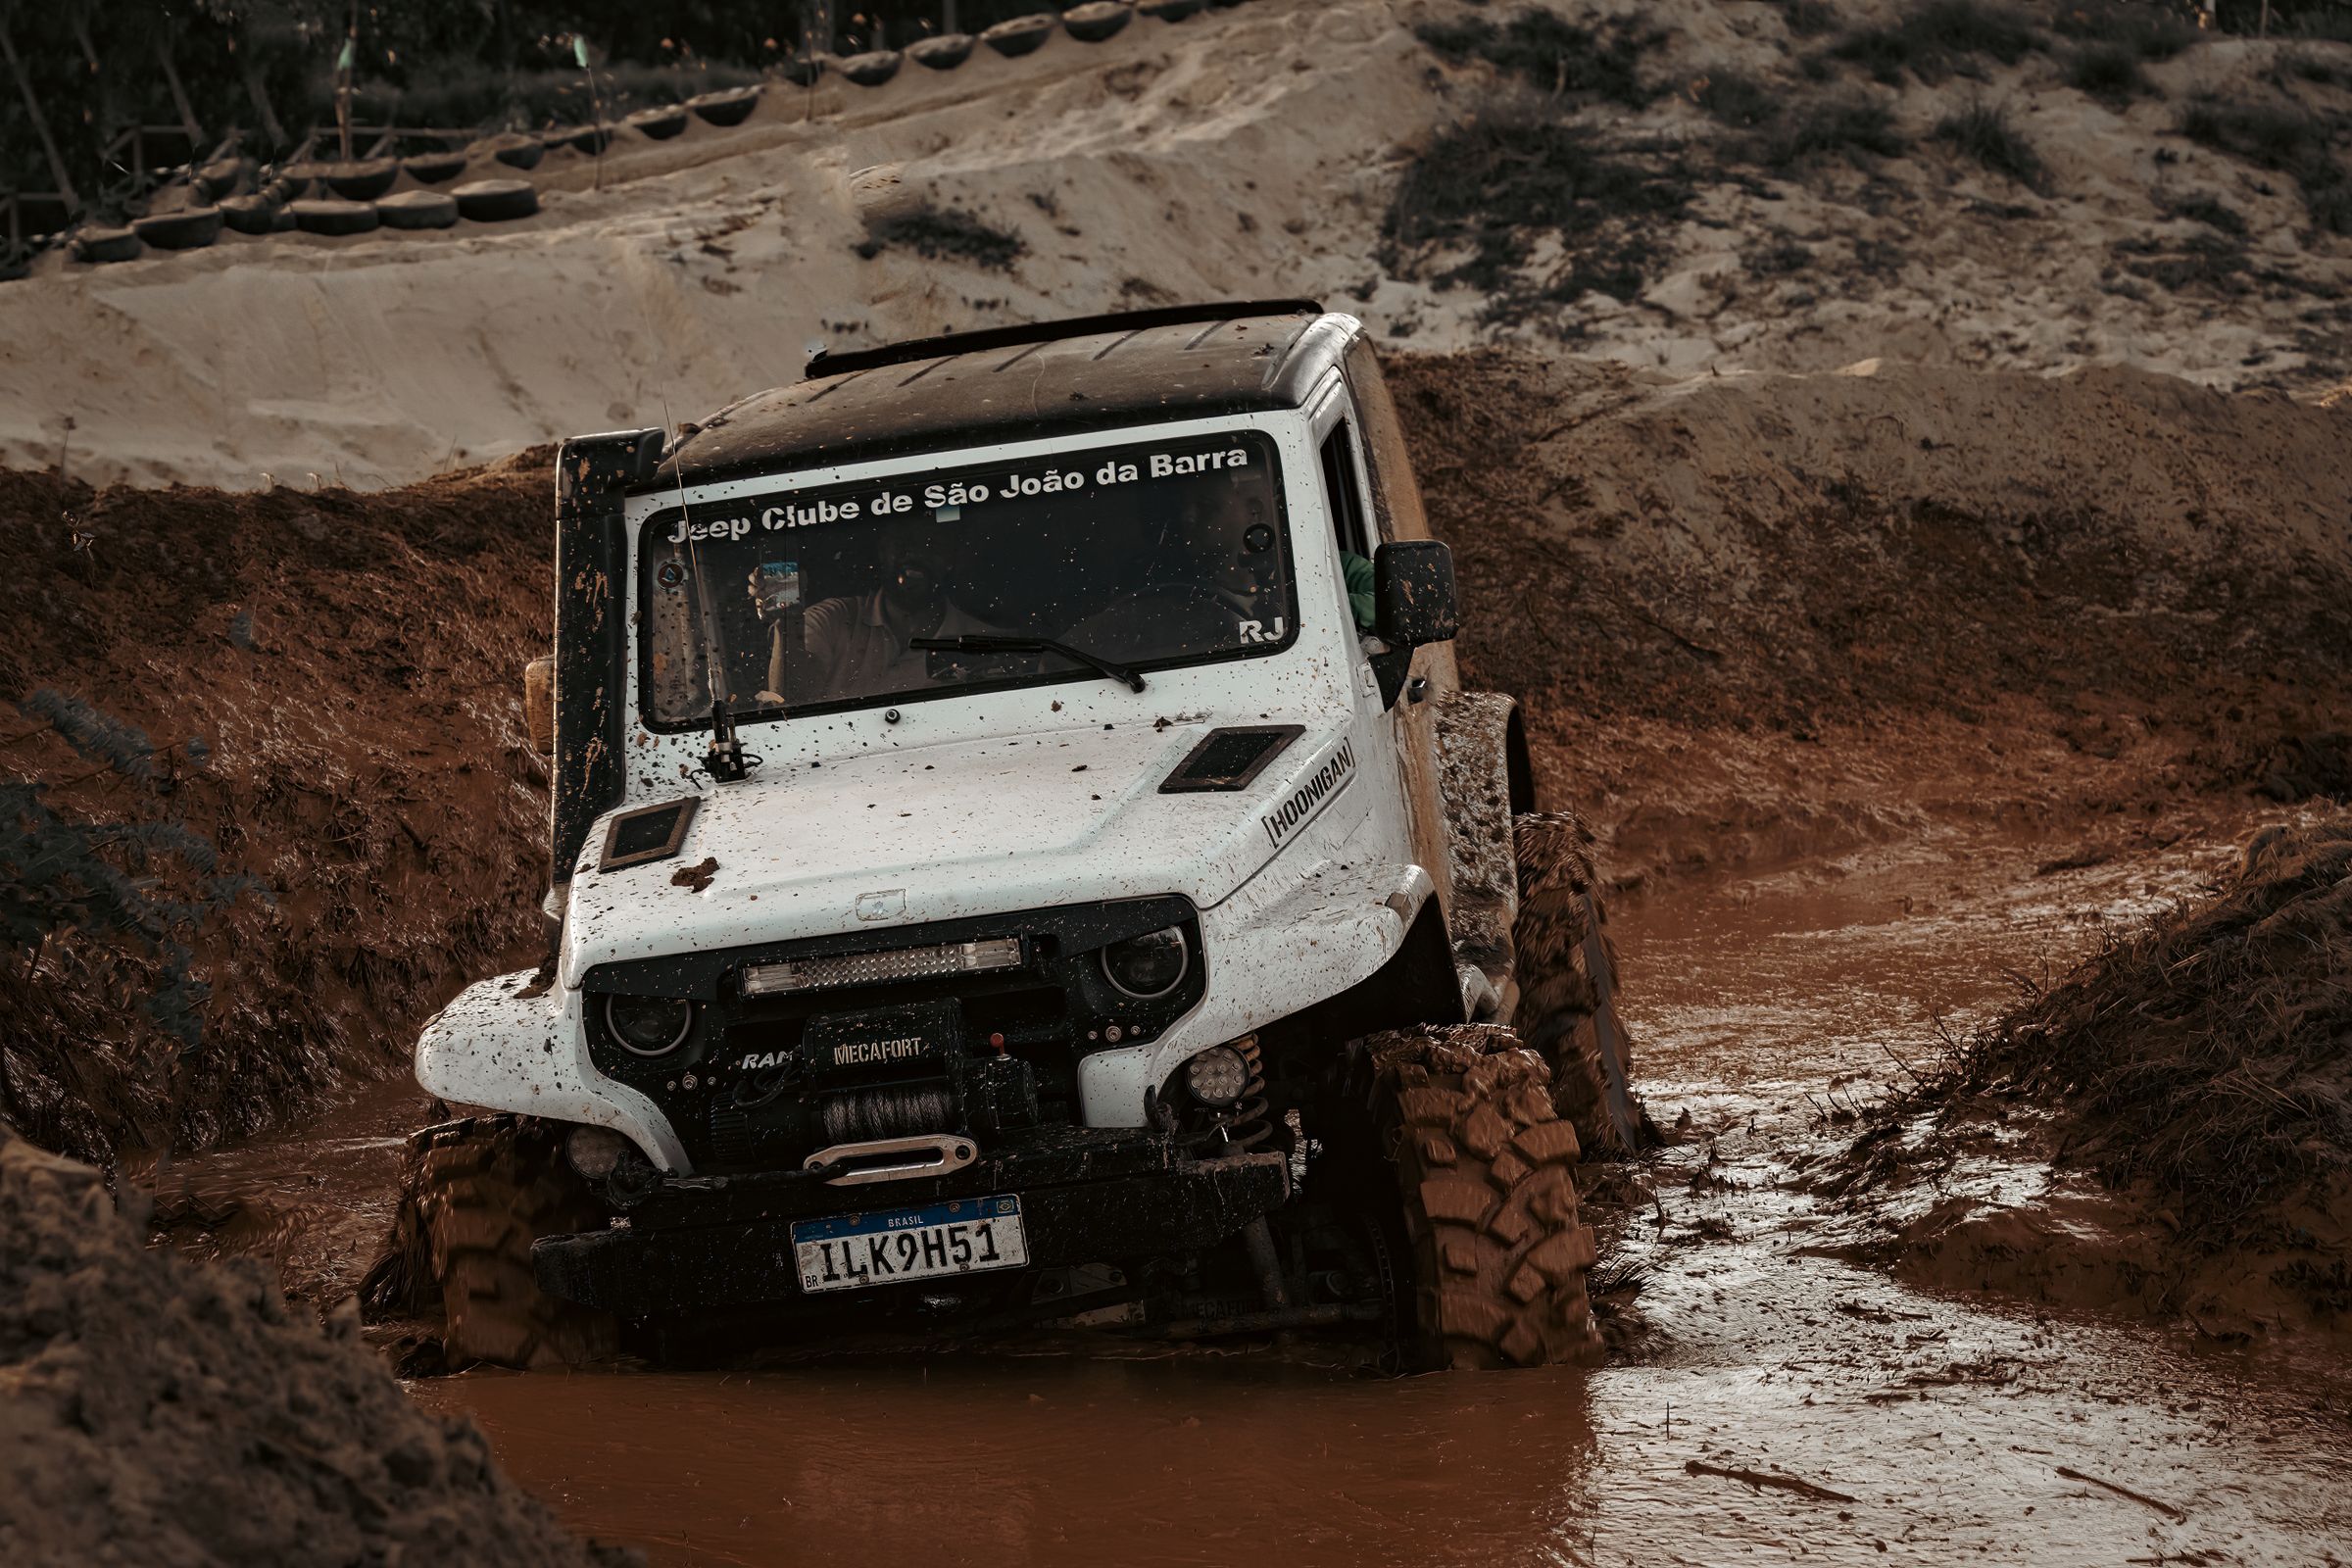
If you wheel solo, traction boards are the single best self-recovery tool you can carry. Wedge them under the drive tires, ease onto them, and they give your tread something to bite into instead of digging deeper. Most quality boards are rated to support well over a full-size truck's weight per pair, so weight-matching is less about breaking strength and more about size—longer, wider boards float better in soft sand, while shorter ones pack easier for lighter rigs.
Boards also don't require a second vehicle or an anchor point, which makes them essential insurance for anyone who ventures out alone.
The Overlooked Half of Recovery: Airing Down and Airing Up
Here's what a lot of recovery guides skip: the fastest way to avoid needing a strap is to air down before you hit soft terrain. Dropping your tire pressure from ~35 PSI to 15–20 PSI (depending on vehicle and surface) dramatically increases your tire's footprint, giving you flotation and grip that keeps you moving where a fully-aired tire would sink.
The trick is doing it quickly and accurately. A rapid deflator with a built-in gauge lets you drop all four tires to a precise, repeatable pressure in a fraction of the time it takes to bleed valves by hand—so you're not kneeling in the mud watching a pocket gauge.

Just as important is getting your air back up before you hit pavement—running low PSI at highway speed overheats and destroys tires. A portable compressor is a non-negotiable part of any complete recovery kit. Look for one that can reach your on-road pressure quickly across all four tires without draining your battery.

When to Consider a Winch
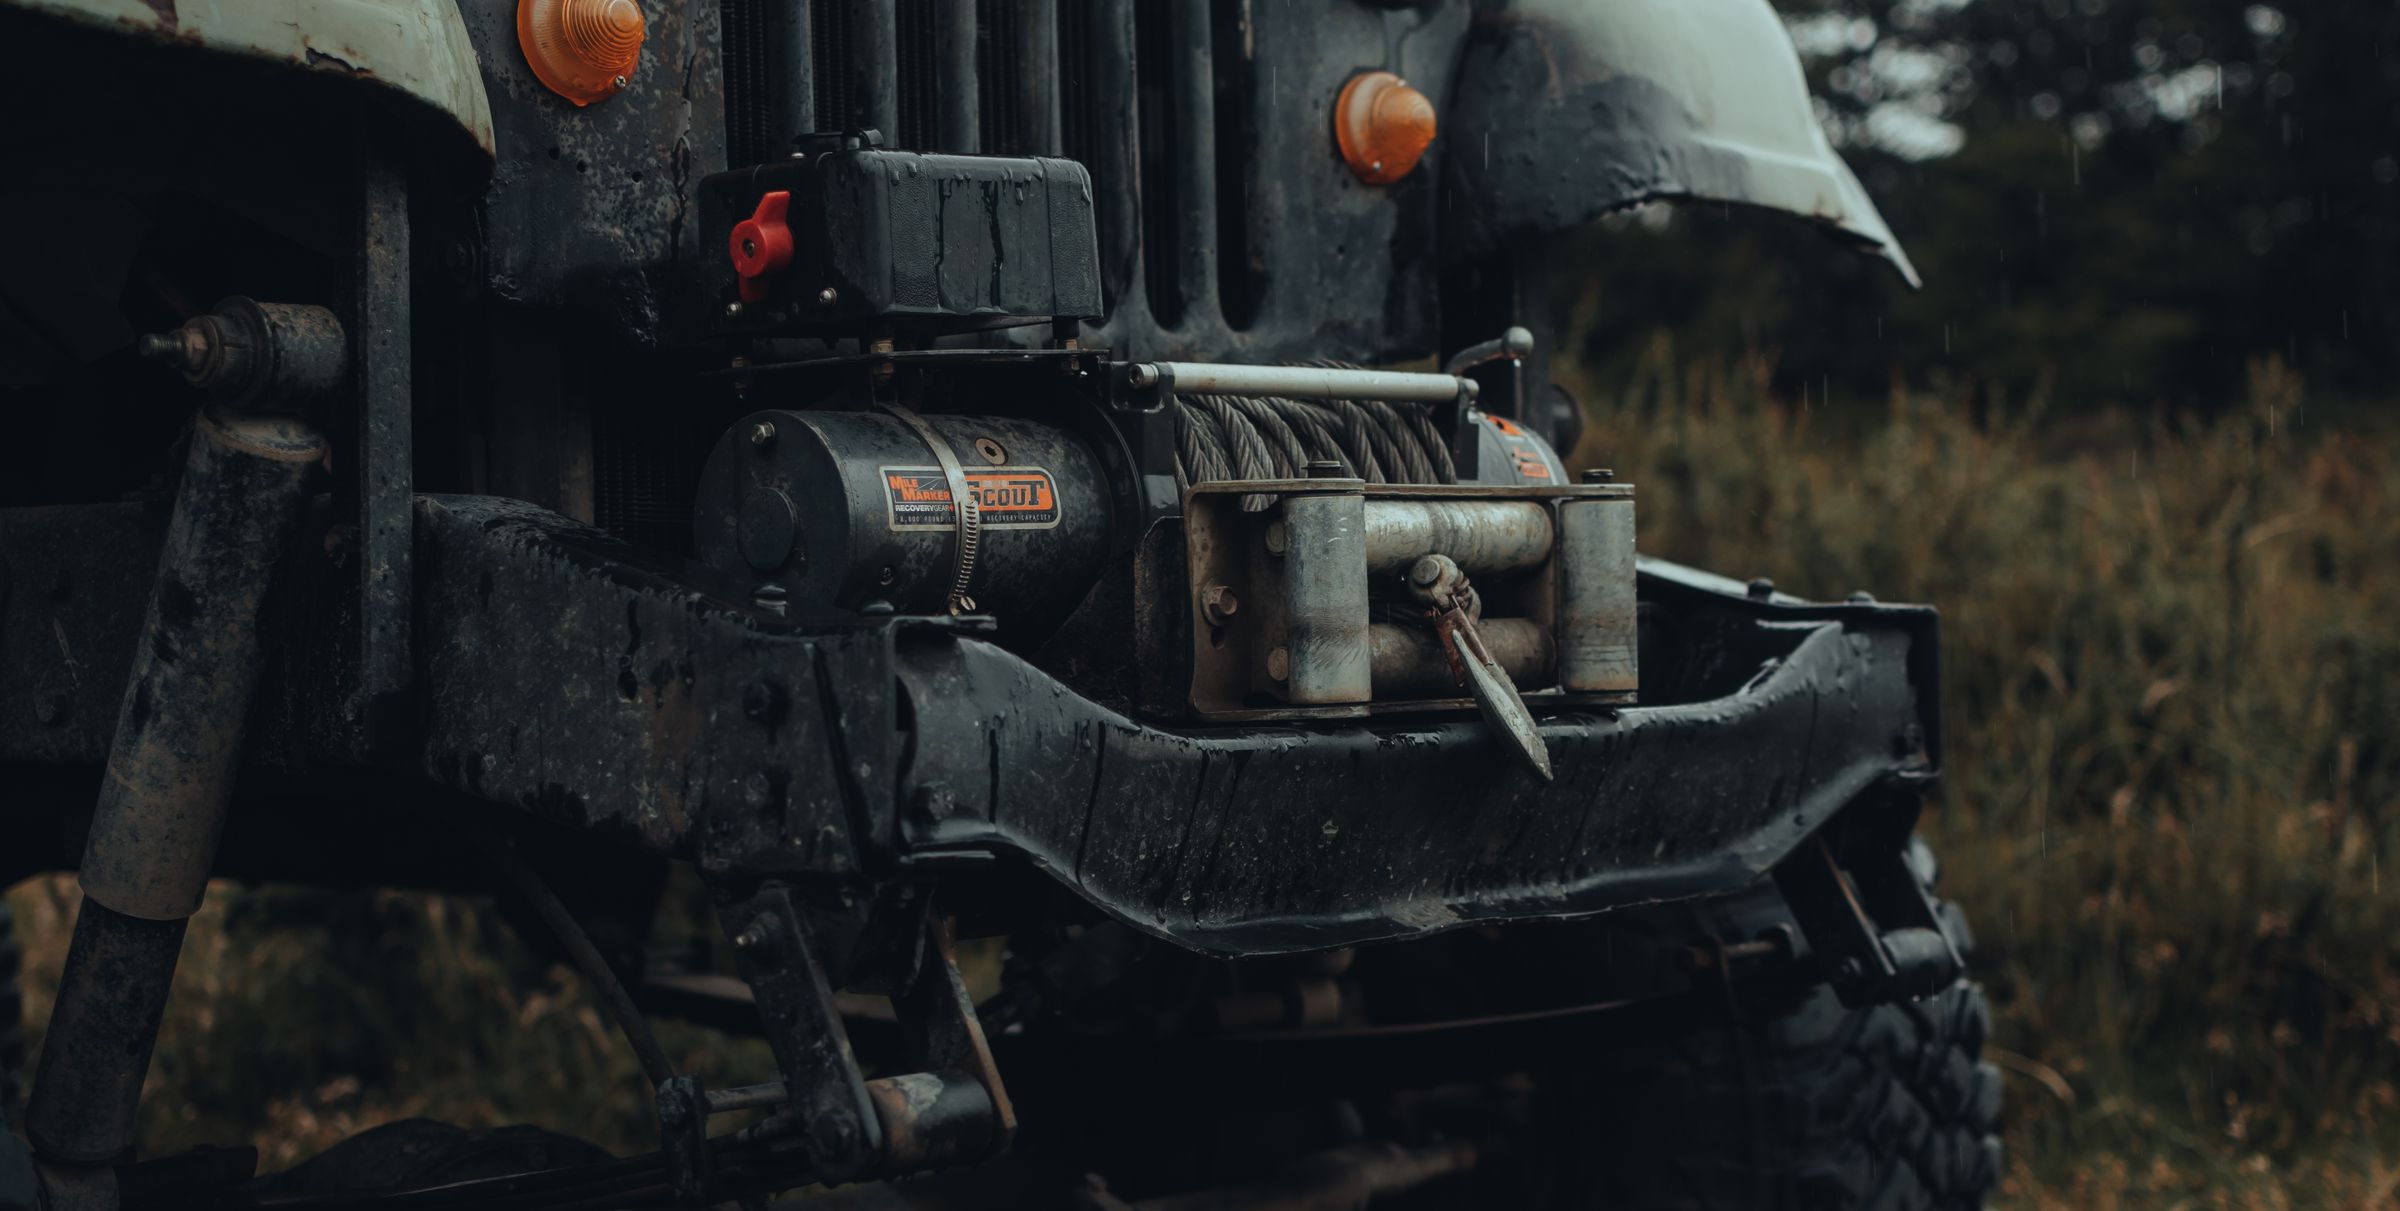
For serious solo wheeling in remote terrain, a winch is the ultimate self-recovery tool—no second vehicle required, as long as there's an anchor point. Winch sizing follows the same weight-based logic: your winch's rated line pull should be at least 1.5 times your vehicle's gross weight. A 6,000-lb truck wants a winch rated around 9,000–9,500 lbs at minimum.
Winches are a bigger investment and require mounting, wiring, and know-how. For most weekend trail-goers, a solid strap-and-shackle kit plus traction boards covers the vast majority of situations. Add a winch when your terrain and how far you roam from help demands it.
Building Your Weight-Matched Recovery Kit
Put it all together and a complete, correctly-sized recovery kit for a typical mid-size truck or SUV looks like this:
- Kinetic recovery strap rated ~2–3x your loaded vehicle weight
- Two soft shackles rated at or above your strap
- A pair of traction boards
- A rapid tire deflator with a gauge for airing down
- A portable compressor for airing back up
- Rated recovery points front and rear
- Heavy gloves and a dampener blanket for the strap
The theme running through all of it: know your weight, respect the ratings, and never improvise with gear that wasn't built for the load. Get the sizing right once, stow it properly, and you'll turn the inevitable "stuck" moment from a trip-ender into a ten-minute detour. For more trail-tested guidance, browse the JACO Gravel & Gears blog and gear up before your next run.