
Your trailer's safety chains are the last line of defense between a controlled tow and a runaway disaster. If the coupler ever pops off the ball — because of a bad latch, a worn ball, or a hitch you forgot to lock down — those two crossed chains are the only thing keeping your trailer tethered to your truck instead of careening into oncoming traffic. It's a part almost everyone ignores until the moment they desperately need it to work.
The good news: inspecting and replacing trailer safety chains is one of the easiest, cheapest maintenance jobs you can do, and it takes about ten minutes. This guide walks you through how to inspect your chains, spot the warning signs of failure, and replace them correctly so you can hitch up with total peace of mind.
Why Trailer Safety Chains Matter (More Than You Think)
Safety chains exist for one reason: to keep the trailer connected to the tow vehicle if the primary coupler-to-ball connection fails. When crossed properly beneath the coupler, they form a cradle that catches the trailer tongue before it hits the pavement — giving you a chance to slow down and pull over instead of losing the load entirely.
They're not optional, either. Federal regulations and virtually every state's laws require safety chains on towed trailers, and they must be rated to handle the fully loaded weight of the trailer. Skipping them isn't just dangerous — it's a ticket waiting to happen and a good way to void your insurance claim after an accident.
How to Inspect Your Trailer Safety Chains
A proper inspection takes just a few minutes and should happen before every long tow, plus a deeper look at the start of each season. Here's what to check, link by link.

1. Check Every Link for Wear and Deformation
Run the chain through your hand link by link. Look for links that are stretched, bent, or worn thin where they rub against each other. A link that has elongated into an oval instead of a rounded shape has been overloaded and is compromised. Any flat spots, gouges, or cracks mean the chain needs to be replaced — you cannot repair individual links.
2. Look for Rust and Corrosion
Surface rust from a rainy trip isn't the end of the world, but deep pitting corrosion eats away at the cross-section of each link and dramatically reduces strength. If rust flakes off in chunks or the metal looks pitted and scaly, replace the chain. Chains stored outdoors or on boat trailers that see saltwater are especially prone to this.
3. Inspect the Hooks and Attachment Points
The S-hooks or clevis hooks on each end take a beating. Make sure the hook throat hasn't opened up (a spread hook can slip off under load) and that any safety latch or clip still snaps shut. Then check where the chain attaches to the trailer frame — the welds, bolts, or loops should be solid with no cracks or rust-through.
4. Confirm the Rating and Length
Your safety chains must have a combined working load capacity that meets or exceeds your trailer's gross vehicle weight rating (GVWR). Check the stamped rating on the chain or hooks. Length matters too: chains should be long enough to allow full turns without binding, but short enough that they don't drag on the ground when crossed.
Warning Signs It's Time to Replace
Don't wait for a chain to fail on the highway. Replace your safety chains immediately if you notice any of these red flags:
- Stretched or elongated links — a sign of past overloading
- Deep rust or pitting that has reduced the link thickness
- Cracks, gouges, or flat spots anywhere on the chain
- Spread or bent hooks that no longer close securely
- Broken or missing safety latches on the hooks
- Chains that drag on the ground when crossed (too long) or bind when turning (too short)
- An unknown or missing weight rating — if you can't verify it's rated for your load, don't trust it
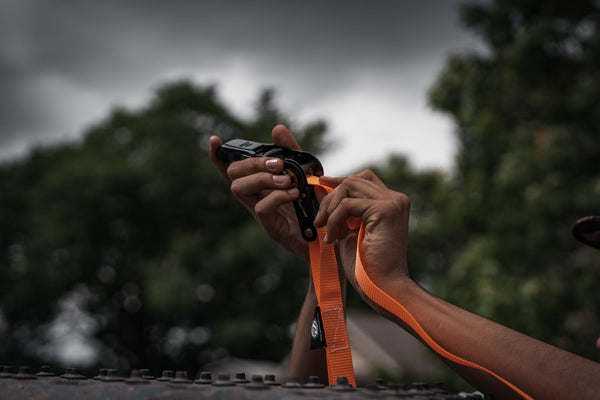
When you're hauling anything valuable, the same "inspect before every trip" mindset applies to the straps holding your cargo down. A set of properly rated ratchet straps keeps ATVs, mowers, motorcycles, and moving loads locked in place on the trailer bed.

How to Replace Trailer Safety Chains (Step by Step)
Replacing your chains is a straightforward job you can knock out in your driveway. Here's how to do it right.
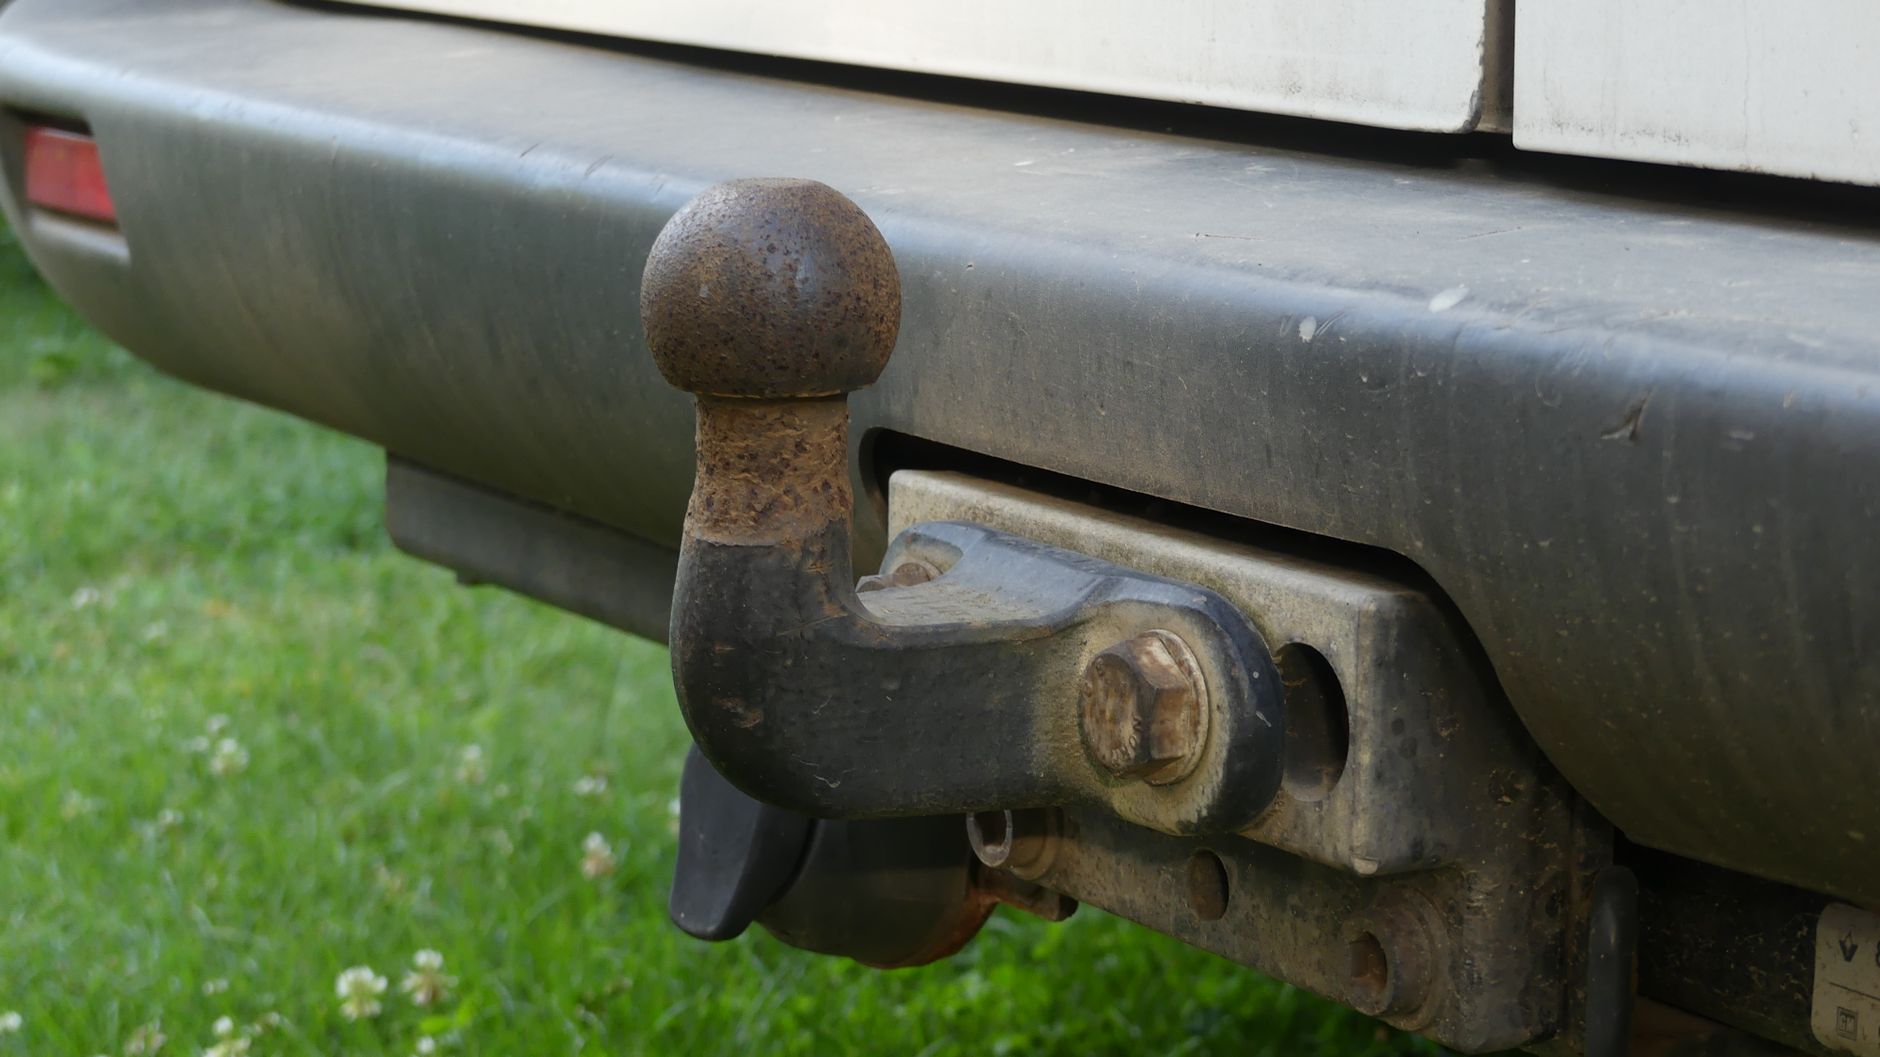
Step 1: Buy the Right Replacement Chains
Match — or exceed — your trailer's GVWR with the combined rating of both chains. Buy chains specifically labeled as trailer safety chains (Grade 30, 43, or 70 proof coil), not decorative hardware-store chain, which is not load-rated. Get hooks with working safety latches on both ends.
Step 2: Remove the Old Chains
If your chains are bolted to the trailer frame, unbolt them. If they're welded via a loop or D-ring, you'll thread the new chain through the existing attachment loop. Cut off badly rusted chains with a grinder or bolt cutters if they won't budge.
Step 3: Attach the New Chains Securely
Connect each new chain to its frame-side attachment point. If using bolts, use grade-rated hardware and a lock nut or thread locker so vibration can't back it out. Make sure the chain has a solid, permanent connection — this end should never rely on an openable hook.
Step 4: Cross the Chains Under the Coupler
This is the step people get wrong. Always cross the chains in an X pattern beneath the trailer tongue before hooking them to the tow vehicle. The cross forms a cradle that catches the coupler if it drops, keeping the tongue off the pavement. Leave just enough slack for tight turns — no more.
Step 5: Hook Up and Verify
Clip the hooks into the designated holes or loops on your hitch receiver — never onto the ball itself. Confirm the safety latches are closed, give each chain a firm tug, and do a final visual check that they're crossed and not dragging. You're ready to roll.
Safety Chains for Different Trailer Types
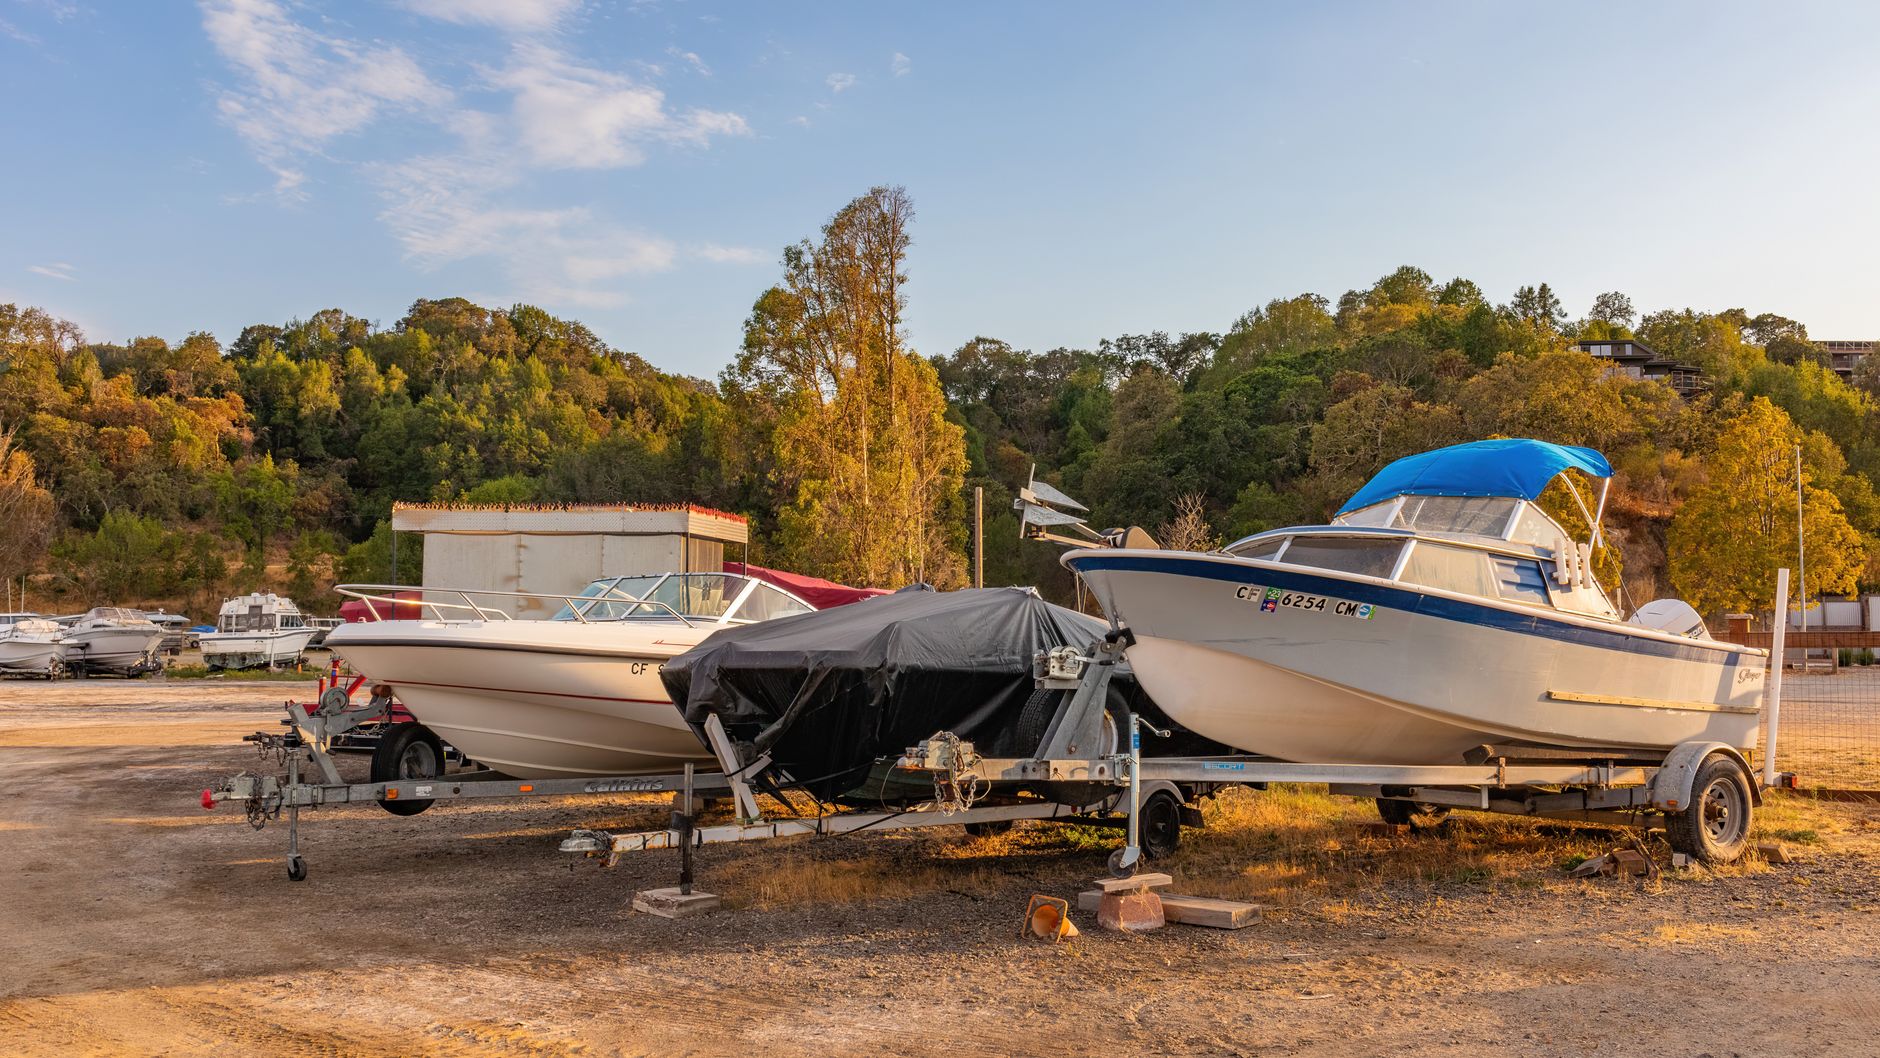
The inspection basics are universal, but a few trailer types deserve extra attention. Boat trailers live in and around water, so corrosion is the number-one enemy — rinse and inspect chains often, and consider galvanized or coated chain. Utility and off-road trailers take constant vibration and impact, which loosens bolted attachments; recheck the frame connections regularly. Heavy equipment and car haulers need the highest-rated chains you can get, since the loads are unforgiving if a coupler lets go.
And if you're the person friends call when a trailer or vehicle gets stuck at the launch ramp or the trailhead, keep recovery gear rated well beyond your heaviest load. A proper recovery strap belongs in every tow rig alongside your safety chains.

Trailer Safety Chain FAQs
How often should I replace trailer safety chains?
There's no fixed interval — replace them based on condition. Inspect before every trip and replace at the first sign of stretching, deep rust, cracks, or spread hooks. For chains stored outdoors or used near saltwater, plan on more frequent replacement.
Do I really need to cross the chains?
Yes. Crossing the chains in an X under the coupler creates a cradle that catches the trailer tongue if it separates. Running them straight lets the tongue drop and dig into the pavement, which can cause you to lose control.
Can I use regular chain from the hardware store?
No. Standard hardware-store chain is often not load-rated and can fail without warning. Always use chain and hooks specifically rated as trailer safety chains that meet or exceed your trailer's loaded weight.
The Bottom Line
Trailer safety chains are cheap insurance against a catastrophic failure — but only if they're in good shape and installed correctly. Make link-by-link inspection part of your pre-trip routine, replace chains at the first sign of wear, and always cross them under the coupler. Pair well-maintained chains with properly rated tie-down straps and recovery gear, and you'll tow with confidence no matter what you're hauling. Browse JACO's full lineup of towing and recovery gear to keep every trip locked down and secure.