
Your brakes are the single most important safety system on your vehicle, yet most drivers never look at them until something goes wrong. The good news: you don't need a lift or a mechanic's certification to catch the early warning signs. With the wheel off and a flashlight in hand, you can learn to inspect your brakes yourself and spot trouble long before it becomes a $600 repair — or a missed stop.
Here's how to do a DIY brake inspection at home, plus the five warning signs of bad brakes you should never ignore.
Why a DIY Brake Inspection Is Worth Your Time
Brake pads and rotors wear gradually, so the decline is easy to miss from the driver's seat. A quick monthly look — and a closer inspection every few months or at tire-rotation time — lets you plan a pad replacement on your schedule instead of being surprised by grinding metal on the highway.
Catching worn pads early also protects your rotors. Pads are cheap; rotors are not. Let the pads wear down to the backing plate and you'll almost always be replacing rotors too. Ten minutes of looking can save you real money.
How to Inspect Your Brakes at Home
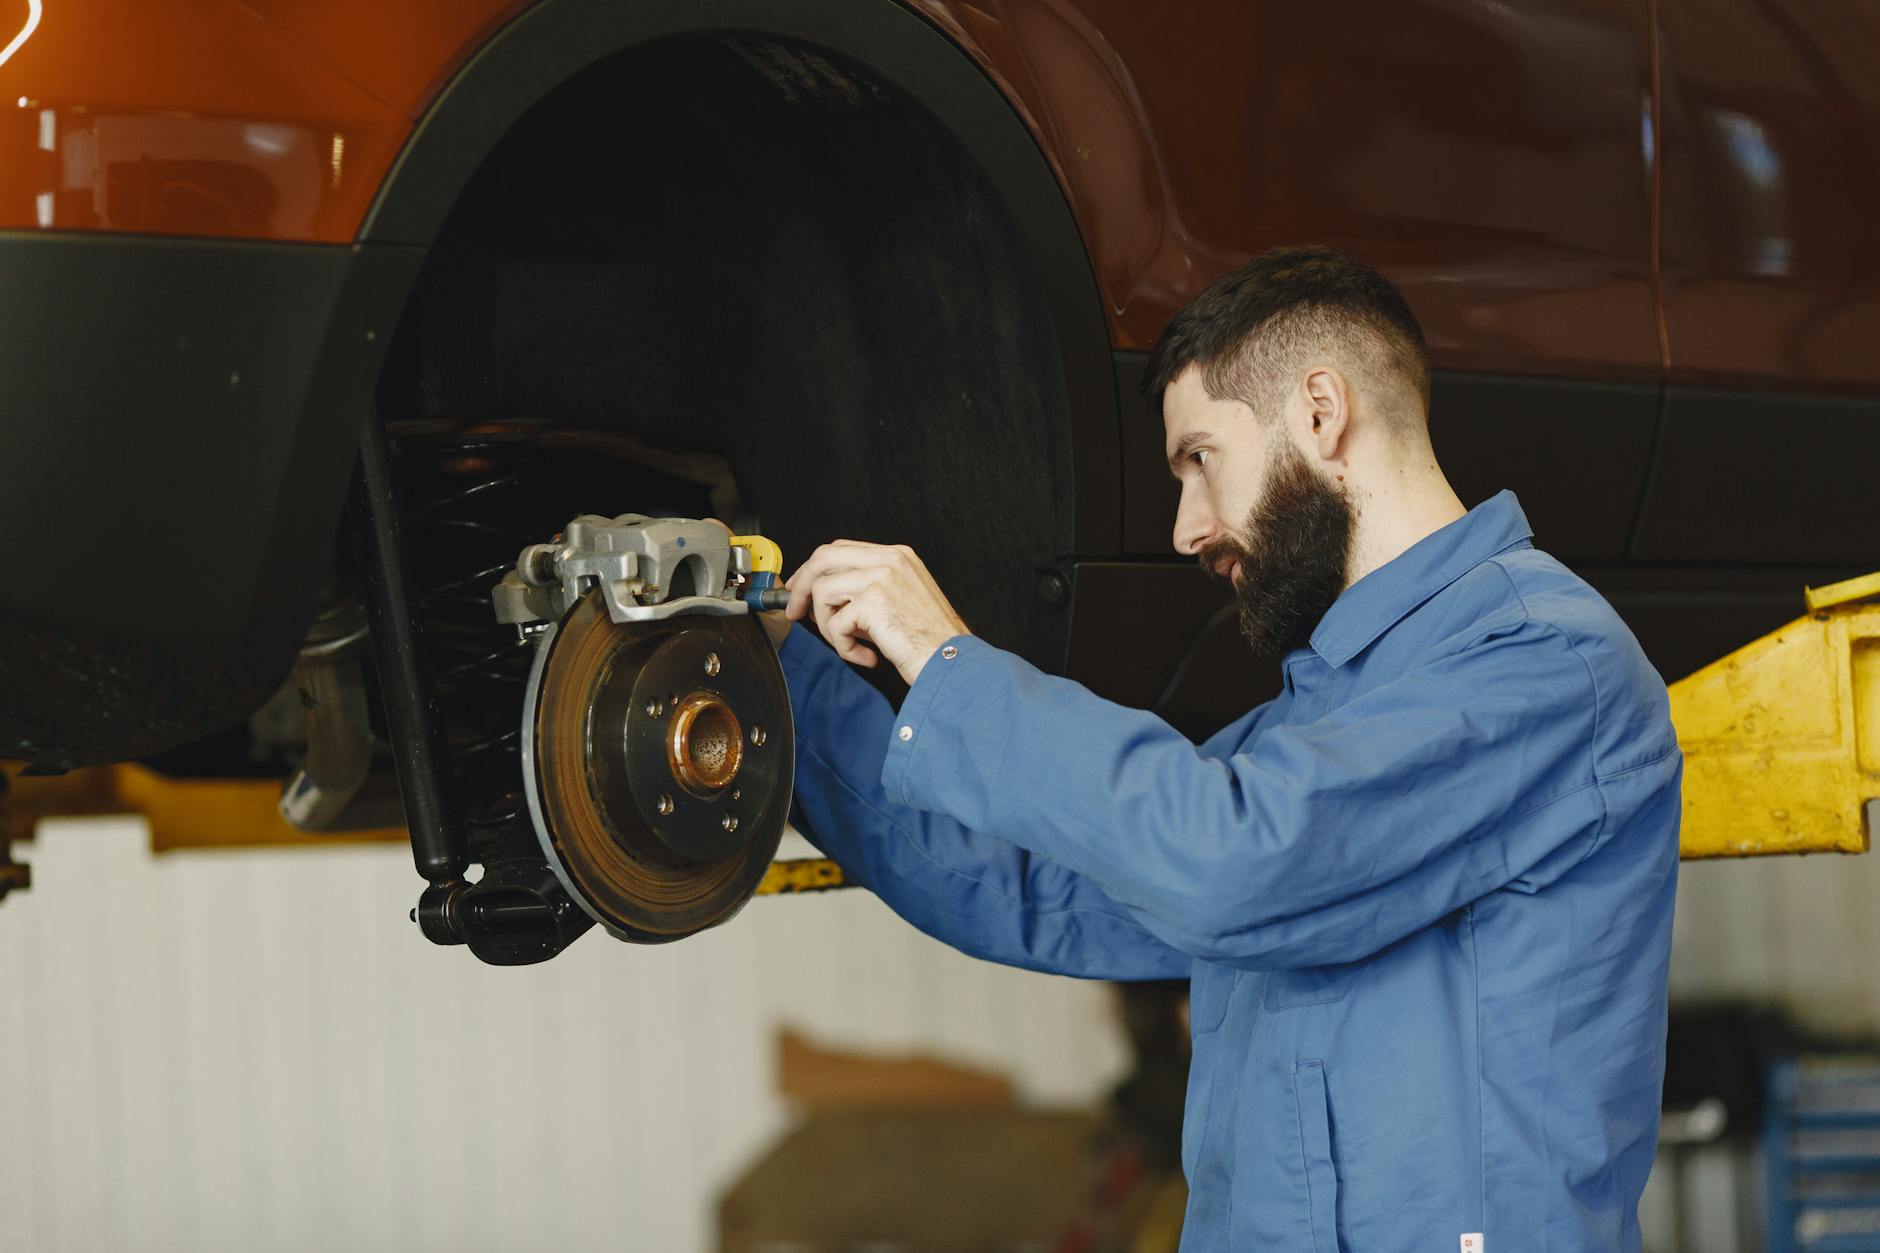
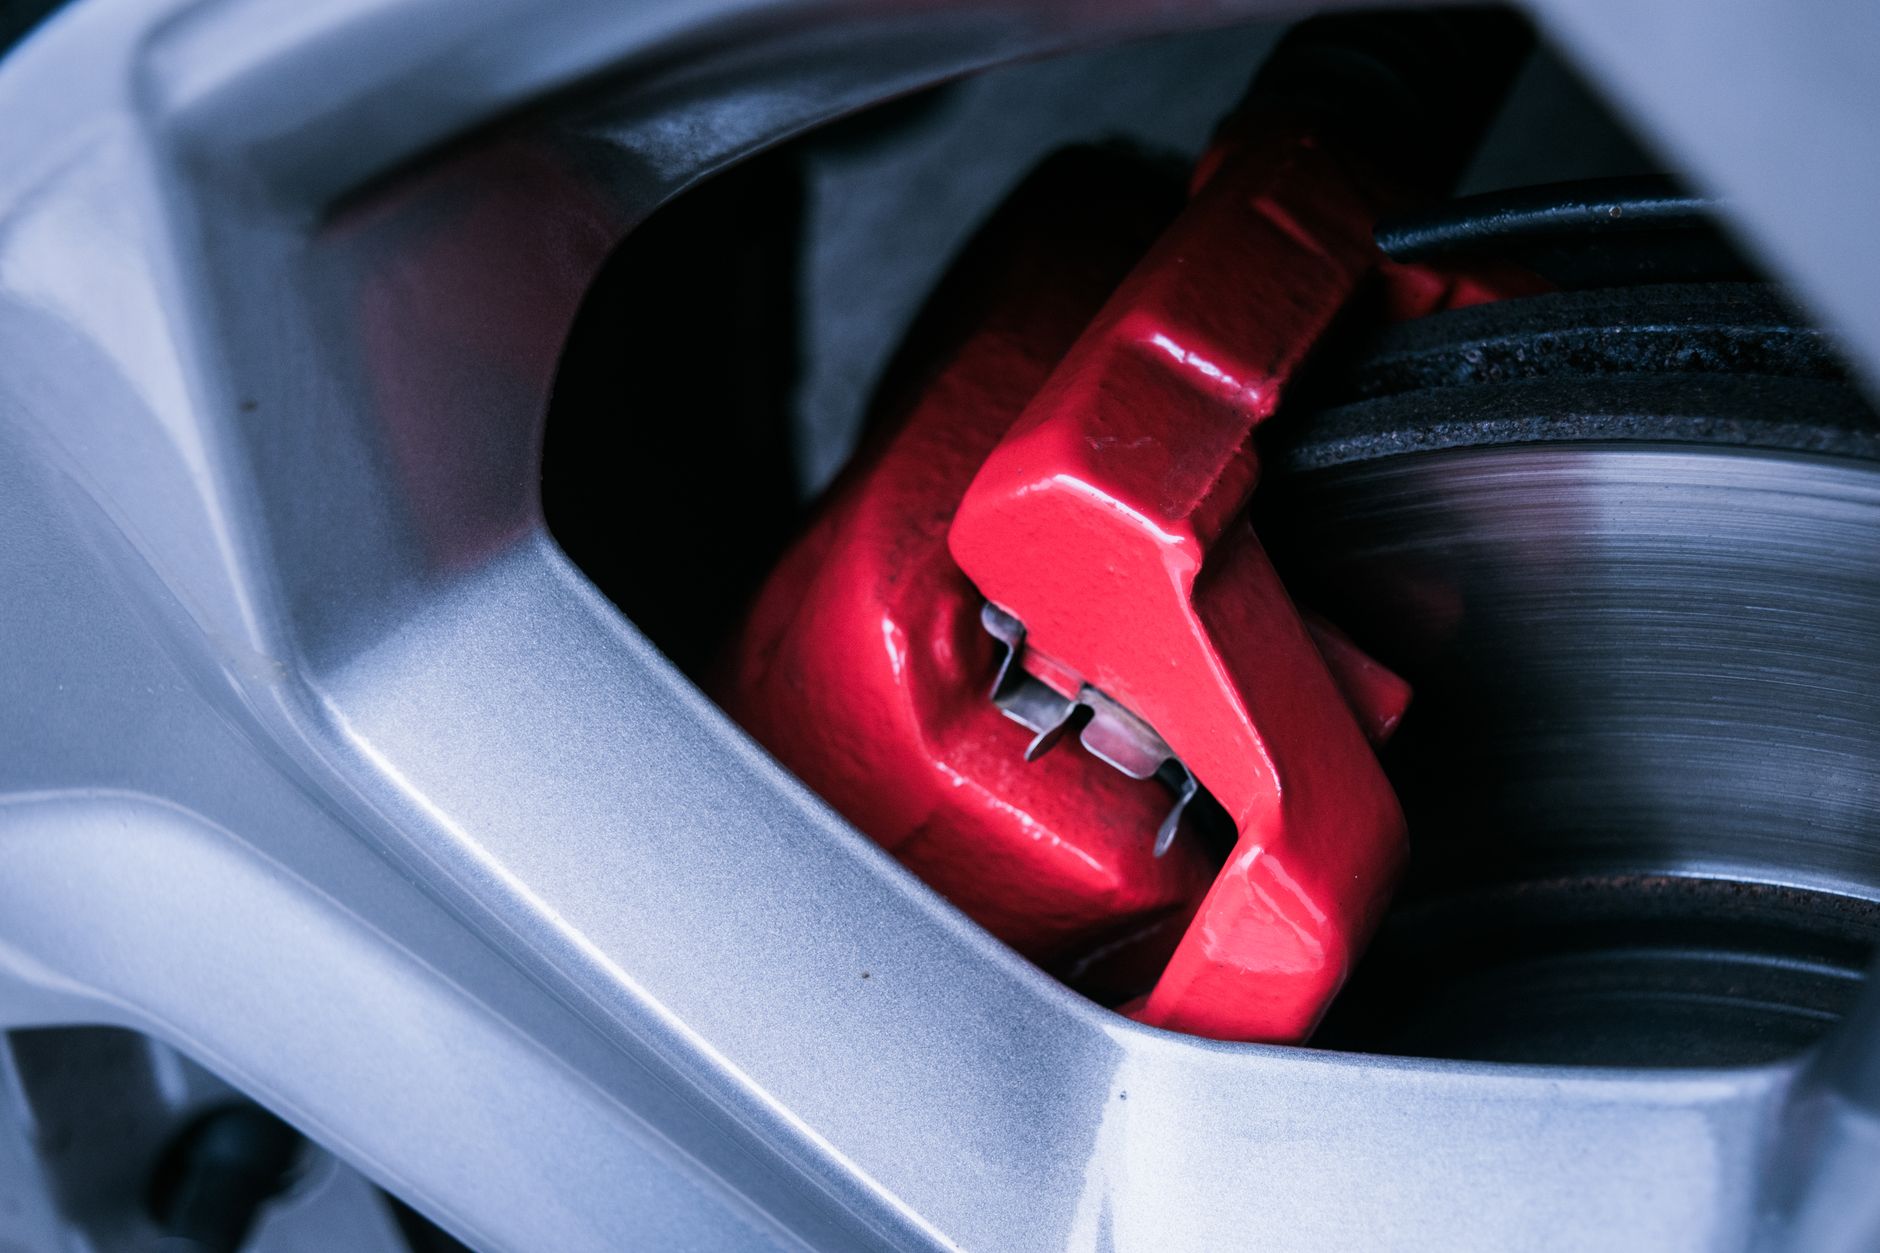
You don't need much: a lug wrench, a jack and jack stands (never rely on the jack alone), a flashlight, and gloves. Loosen the lug nuts, safely lift the vehicle, secure it on stands, and remove the wheel. Now the brake assembly is right in front of you.
- Check pad thickness. Look at the brake pad pressing against the rotor. New pads are roughly 10–12 mm thick. Once the friction material is down to about 3 mm (roughly 1/8 inch), it's time to plan replacement. At 2 mm or less, replace immediately.
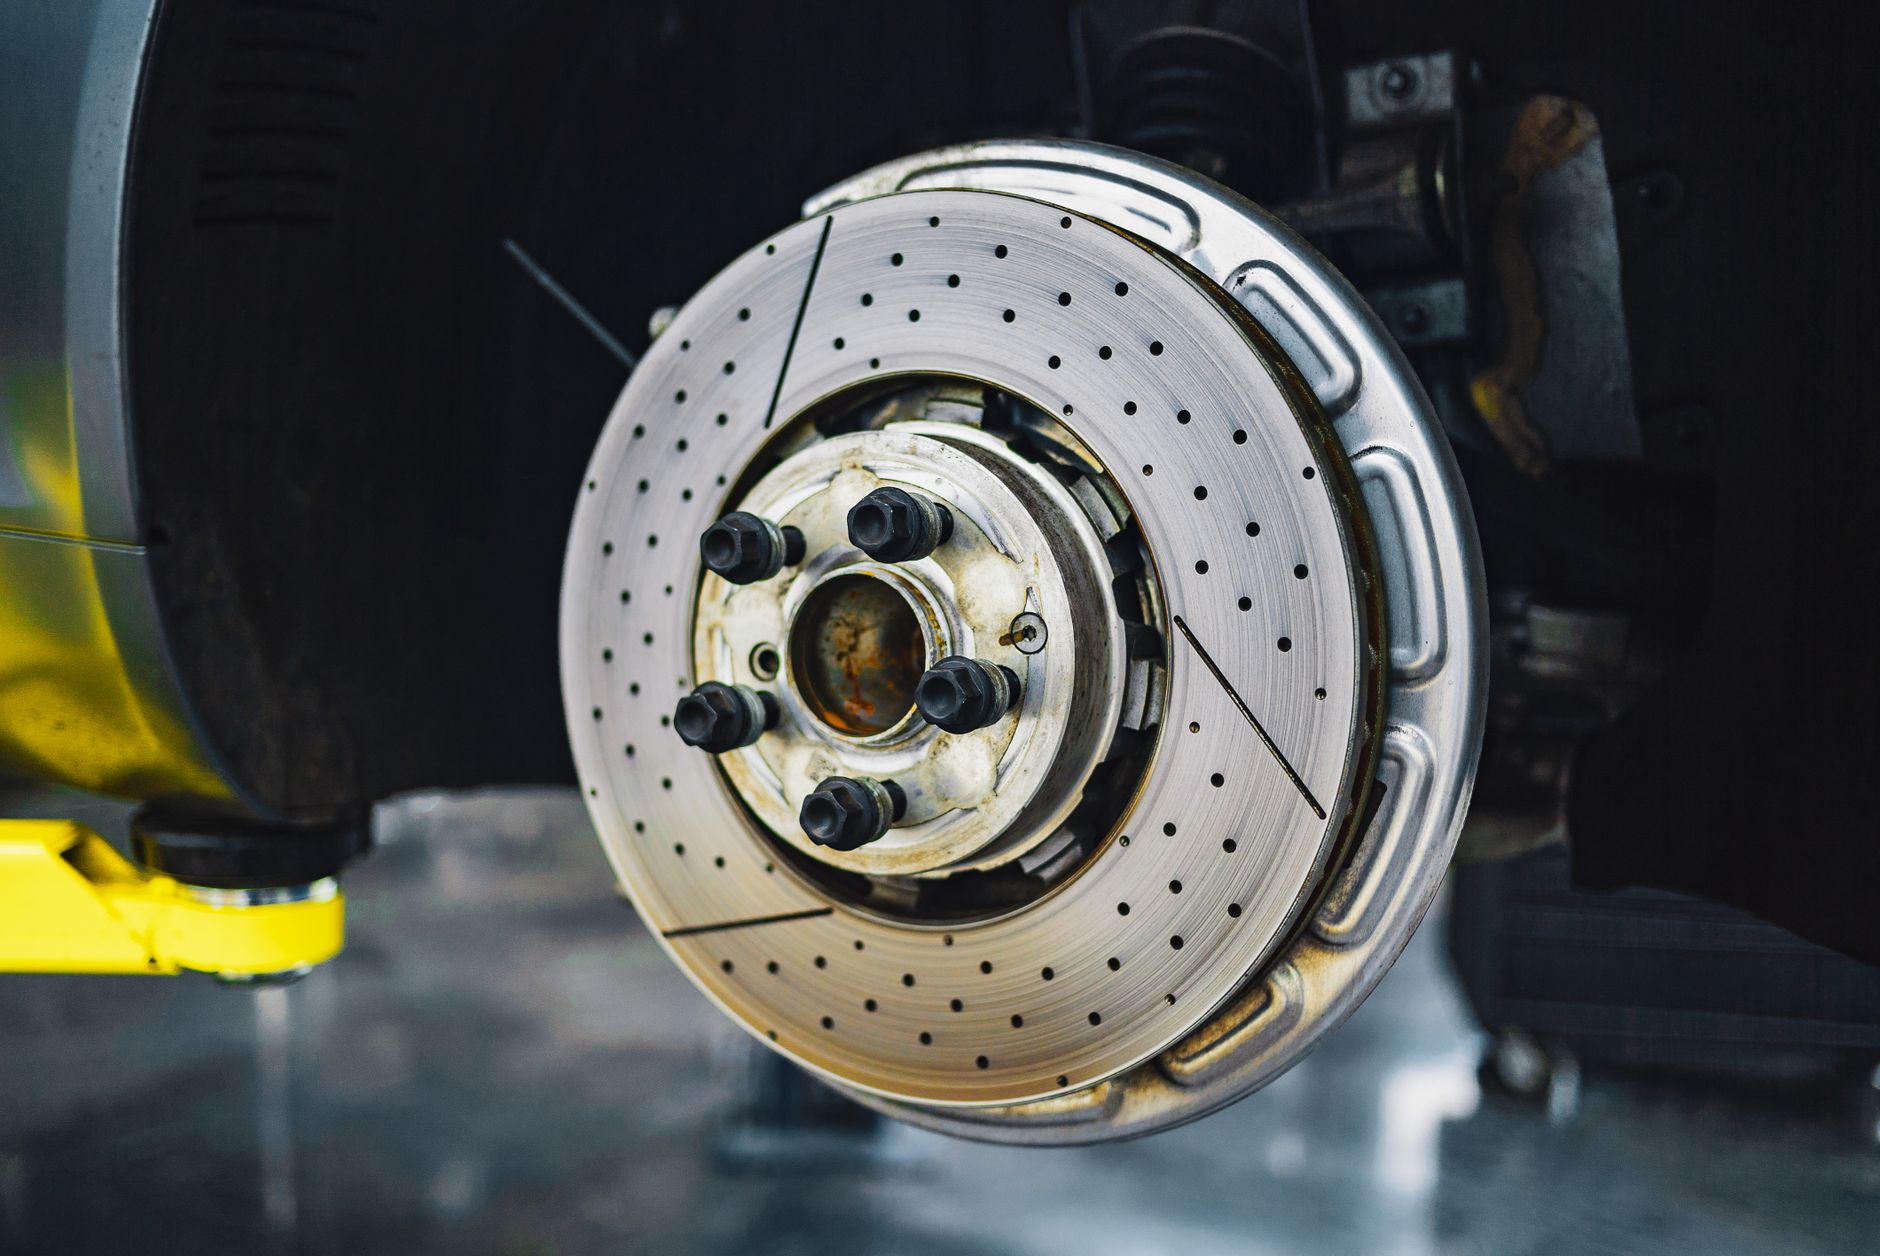
- Inspect the rotor surface. A healthy rotor is smooth and even. Deep grooves, scoring, a pronounced lip on the outer edge, or blue-tinted heat spots all point to wear or overheating.
- Look at the caliper. Check for leaking fluid, torn dust boots, or a pad that's worn far more on one side than the other — a sign of a sticking caliper.

Warning Sign #1: Squealing or Screeching
That high-pitched squeal when you brake is often by design. Most pads have a small metal wear indicator that contacts the rotor once the friction material gets low, producing a squeal specifically to warn you. If you hear a consistent screech that goes away when you press the brake harder, your pads are likely near the end of their life. Don't tune it out — it's the cheapest warning you'll ever get.
Warning Sign #2: Grinding
A harsh metal-on-metal grinding sound is more serious than a squeal. It usually means the friction material is completely gone and the pad's steel backing plate is grinding directly on the rotor. At this point you're damaging the rotor with every stop, and stopping distances are compromised. Stop driving and address it as soon as possible — this is not a "next month" repair.
Warning Sign #3: Vibration or a Pulsing Brake Pedal
If the brake pedal pulses or the steering wheel shudders when you slow down, you likely have warped or unevenly worn rotors. Heat is the usual culprit — hard stops or riding the brakes down a long grade can warp a rotor over time. Warped rotors reduce braking efficiency and only get worse, so have them measured, resurfaced, or replaced.
Warning Sign #4: A Soft, Spongy, or Sinking Pedal
Your brake pedal should feel firm. If it sinks toward the floor, feels spongy, or you're pressing farther than usual to stop, you may have air in the brake lines, a fluid leak, or worn components. Pop the hood and check the brake fluid reservoir: the level should sit between the MIN and MAX marks, and healthy fluid is a clear amber. Dark, murky fluid means it's overdue for a flush. A low or leaking system is a genuine safety emergency — get it inspected right away.
Warning Sign #5: Longer Stopping Distances or a Dashboard Warning Light
If your car takes noticeably longer to stop, pulls to one side under braking, or lights up the brake warning symbol on the dash, treat it as a red flag. Pulling to one side often points to a stuck caliper or uneven pad wear. A lit brake warning light can mean low fluid, a parking-brake issue, or in some vehicles a worn-pad sensor. Never ignore it.
Make It Part of Your Routine
The easiest way to stay ahead of brake problems is to fold a quick brake look into maintenance you already do. Every time you rotate your tires or check tire pressure, take two extra minutes to eyeball the pads, rotors, and fluid. You're already at the wheel — and keeping tires properly inflated helps your brakes work less to begin with, since underinflated tires increase stopping distance.

A reliable tire pressure gauge earns its place in the same toolbox you reach for during a brake check. Keeping tabs on both systems is the kind of five-minute habit that quietly prevents expensive, dangerous surprises.
When to Call a Professional
DIY inspection is about knowing what to watch for — not necessarily doing every repair yourself. If you find worn pads and you're comfortable with the job, a pad swap is a manageable weekend project. But leaking calipers, warped rotors, a sinking pedal, or anything involving the brake lines or ABS is best left to a professional. Brakes are not the place to guess.
The Bottom Line
You don't have to wait for something to fail. A few minutes with the wheel off, a flashlight, and an ear for squeals or grinding will tell you most of what you need to know. Learn the five warning signs — squealing, grinding, vibration, a soft pedal, and longer stopping distances — and you'll catch brake problems while they're still cheap and safe to fix. Add a quick brake check to your regular tire routine, and your most important safety system will never be an afterthought again.