Walk into most home garages and you'll find the same thing: a workbench buried under half-used bottles, a floor you can barely cross, and a tool wall that is 70% empty because nobody ever installed the hooks. A small garage doesn't have to feel like a storage unit you park your car next to. With a few good decisions — where tools live, how the floor gets used, and what stays off the ground — even a single-bay garage can feel twice as big.
This guide covers how to organize a small garage using wall storage, smart floor planning, and accessibility-first layouts. No $4,000 cabinet system required — just the workflow that actually works.
Start With a Ruthless Cleanout
Before you buy a single pegboard, empty the garage. Literally — pull everything out onto the driveway so you can see the walls, floor, and ceiling clearly. This is the only way to plan a real layout. Then sort everything into four piles:
- Keep and use regularly — these earn premium real estate (wall, workbench, eye level).
- Keep but use rarely — seasonal gear, holiday bins, rarely-used specialty tools. These go high or in corners.
- Donate or sell — duplicates, that old set of cables from a phone you no longer own, the chipped cooler.
- Trash or recycle — dried paint cans, expired chemicals, broken extension cords.
Garage clutter is usually the product of three or four years of "I'll deal with this later." A single aggressive afternoon of decisions reclaims more space than any organizer system ever will.

Think in Three Zones: Wall, Floor, Ceiling
A small garage wins or loses on vertical space. Most homeowners only use the bottom four feet of their walls — the "shelf zone" — and forget the rest. Planning your storage in three distinct zones prevents that waste.
- Wall zone (2–6 ft high) — your daily-driver tools. Hand tools, air hoses, pegboards, shelving for boxed supplies.
- Floor zone — only what needs floor clearance: the car, workbench, rolling tool chest, large equipment like air compressors or generators.
- Ceiling / overhead zone (7 ft and up) — seasonal bins, camping gear, roof boxes, kayaks, out-of-season tires. Overhead racks and hoists are cheap and recover huge amounts of space.
The rule of thumb: if you touch it less than once a month, it belongs off the floor and probably above head height. Floor space is the most expensive real estate in your garage — treat it that way.
Build Out the Wall Storage First

Walls are where organization actually happens. You want tools visible — not buried in a drawer — because the tools you can see are the tools you'll actually use. Three wall-storage systems cover almost every small-garage need:
1. Pegboard (cheap, flexible, instant)
A 4x8 sheet of pegboard plus a $15 hook assortment is the best $40 you can spend in a garage. It's endlessly reconfigurable, easy to install over drywall, and works for hand tools, tape rolls, cord loops, and anything light to moderate weight. Outline each tool with a marker so empty slots are obvious — this alone cuts tool-hunting time in half.
2. Slatwall or track systems (premium, modular)
If pegboard feels too flimsy for the load — think leaf blowers, long pry bars, shovels, heavy bags — step up to a slatwall or slotted-track system. They hold more weight, accept heavier accessories, and look cleaner. Worth the upgrade in a garage you use daily.
3. Open shelving with labeled bins
Open shelves along one wall, stacked with clear labeled totes, handle everything that doesn't hang well: oil bottles, rags, fasteners, fluids, spare filters. Clear bins beat opaque bins every single time — you'll open the right one on the first try. Label both the lid and the front face so you can find things whether the bin is on a shelf or on the floor.
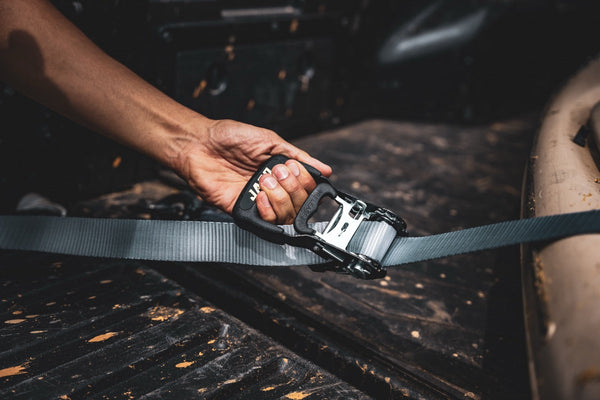
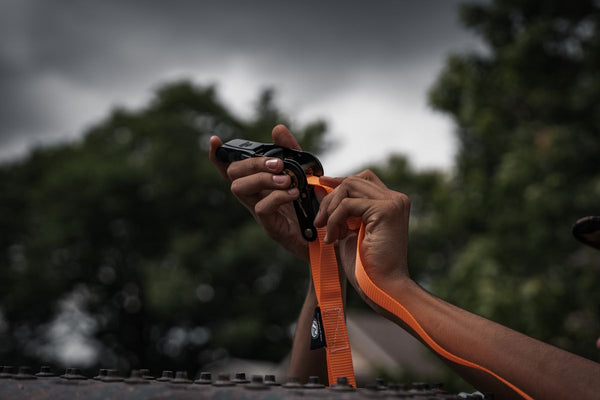
Heavy gear that belongs on a wall but doesn't fit a hook — think tow straps, recovery lines, jumper cables, and ratchet straps — should get dedicated hangers or loops. Coil them loosely (tight coils weaken webbing and cables over time) and hang them where you can grab without unloading anything else.

Reclaim the Floor Space
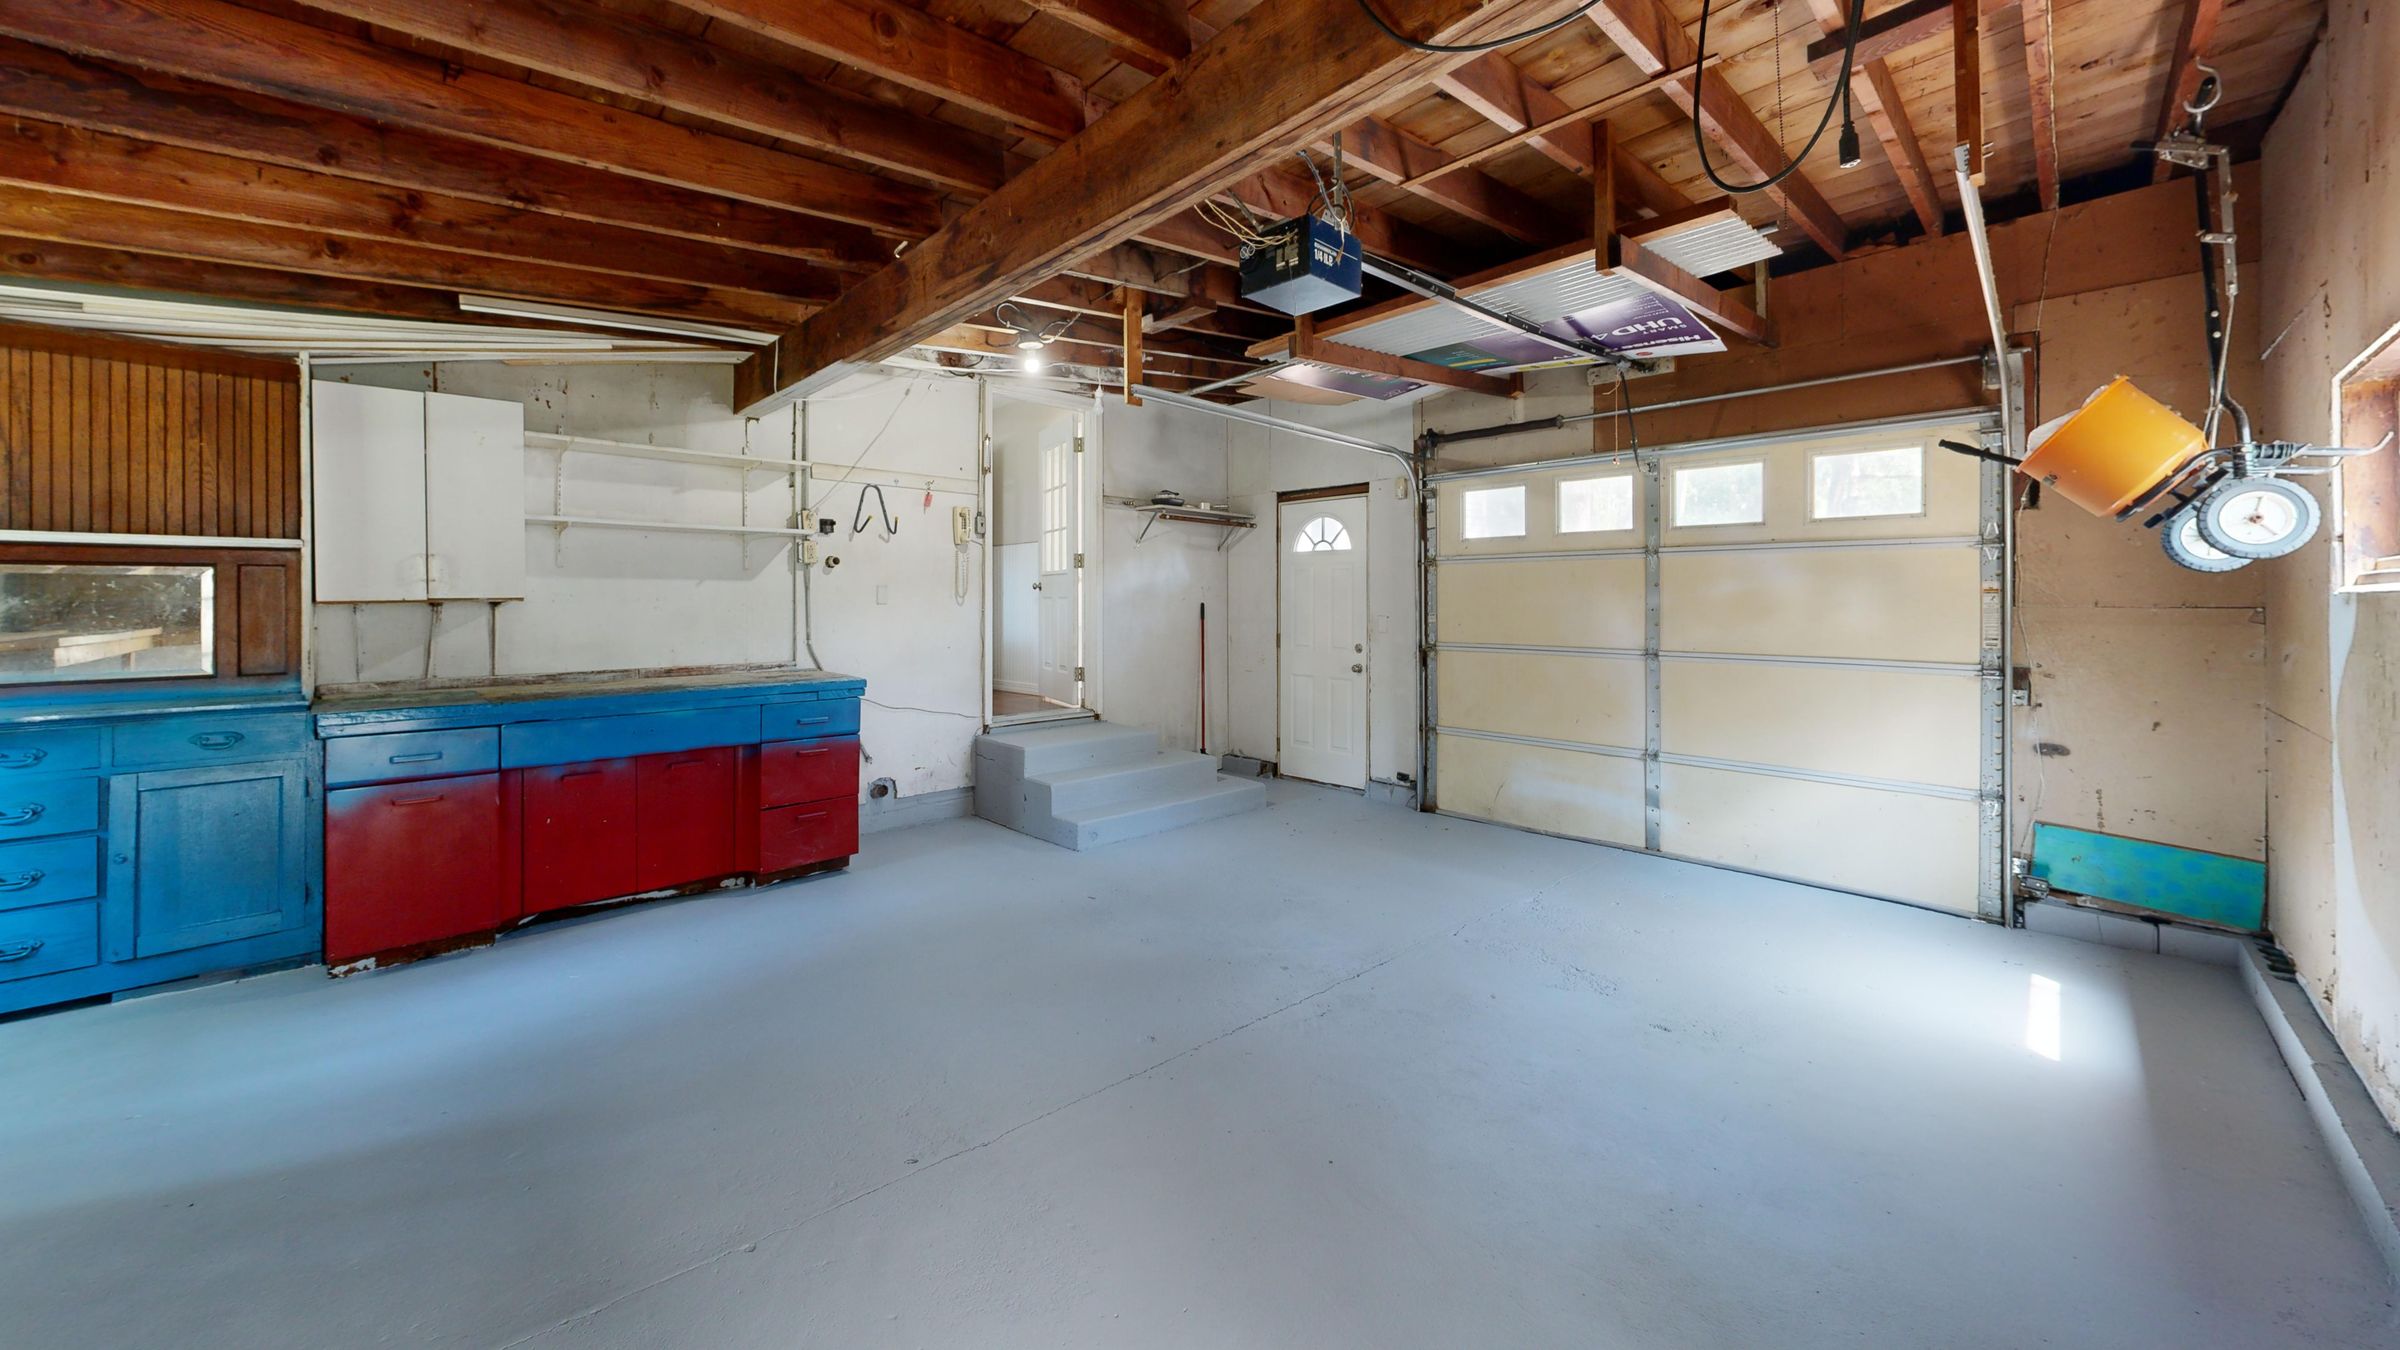
Once the walls are doing their job, the floor can breathe. Here's the priority order for what actually deserves floor space:
- The car (or bikes). If you want a garage you can park in, protect that footprint — don't creep into it with shelves.
- A workbench or bench area — ideally along the longest wall. 6 ft is the sweet spot for small garages.
- Large equipment that has to be grounded: air compressor, generator, mower, snow blower. These go against the wall, out of the walking path.
- Rolling tool storage — a tool chest on casters that can move to wherever you're working.
Anything else should question whether it's earning its footprint. Bikes hang from the ceiling or wall. Hoses coil on wall hooks. Snow shovels mount vertically between studs. Gas cans live in a ventilated cabinet, not on the floor next to your water heater.
Define Your Walking Lanes
In a tight garage, you need at least 24 inches of clear walking space on both sides of your vehicle, and ideally 36 inches at the front of the bay for your workbench approach. Mark these lanes mentally — or literally, with floor tape — and don't let anything grow into them. That's how a garage stays usable instead of turning back into a maze.
Set Up a Workbench Zone That Works

A small-garage workbench doesn't need to be fancy — but it does need to be useful. A 2x4 frame with a 3/4" plywood top, bolted or screwed to wall studs, handles 90% of home projects and costs well under $150 to build. Add:
- A rigid vise mounted to a reinforced corner. You'll use it constantly once it's there.
- A power strip mounted under the bench lip so cords aren't draped across the work surface.
- Direct task lighting — an LED shop light above the bench. Overhead ceiling light alone throws shadows where your hands work.
- A pegboard or French cleat directly behind the bench for the tools you reach for most: tape measure, utility knife, screwdrivers, sockets, hammers.
Keep the bench surface clear when you're not using it. A workbench that's always covered in projects becomes another shelf, not a workspace. Treat "clean bench top" as the default state.
Label Everything (Really — Everything)
This is the step most people skip, and it's the one that makes organization stick. After a year, you will not remember which bin has the 3/8" fasteners versus the 1/2". You will not remember whether "Auto Fluids" means coolant or transmission fluid. A simple label system — a label maker, painter's tape with a Sharpie, or even printed stickers — turns your garage into a place where every family member can find things.
Use consistent label categories:
- Fasteners (nails, screws, bolts — by size)
- Auto fluids (oil, coolant, washer fluid, brake fluid)
- Electrical (cords, chargers, batteries, tape)
- Adhesives (glue, epoxy, caulk, silicone)
- Seasonal (holiday, outdoor, winter gear)
- Recovery and hauling (straps, chains, jumper cables, tow rope)
Clear totes plus labels equals a system anyone can use. That's the real test — can your spouse or teenager find the 10mm socket? If yes, your garage is actually organized.
Build a Seasonal Rotation Schedule
Small garages fail when seasonal gear piles up and never leaves. A twice-yearly rotation — spring and fall — keeps the active zone active and sends out-of-season items to overhead storage, a shed, or a labeled bin in the back corner.
Spring rotation: Snow shovels, sleds, and salt spreaders go up to the ceiling or back of the shelves. Lawn tools, bikes, camping gear, and cycling kits come forward. Tire pressure gauges and air tools get checked and front-lined — spring is tire-check season. This is also a good weekend to wipe down the floor, check tool function, and replace any worn straps or frayed cords.
Fall rotation: Reverse it. Outdoor gear packs away. Snow tools, ice melt, and winter emergency kits come forward. Verify everything that lives through winter — battery jump starters, tire inflators, tow straps — is charged, functional, and accessible.
Small Garage, Big System
A well-organized small garage isn't about buying the most expensive cabinets or plastering every square inch with pegboard. It's about a simple discipline: walls for daily tools, floor for what has to be there, ceiling for seasonal stuff, and labels on everything in between. Do the cleanout, build the walls first, protect the floor lanes, and set up a workbench that stays clean.
You'll find yourself actually using the garage — for projects, for the car, for weekend tinkering — instead of avoiding it. And when the time comes to haul furniture, load a bike on the truck, or winch a stuck friend out of a trail, you'll know exactly where your straps, gauges, and recovery gear are. That's the payoff. Organization isn't the goal; it's the setup for doing more of what you actually care about.
For more gear guides, tool picks, and garage-friendly how-tos, browse the full JACO lineup of tire gauges, air tools, ratchet straps, and recovery gear — built to earn their spot on your wall.