


Whether you're hauling your mountain bike to the trailhead, transporting a road bike to a weekend race, or moving your kid's BMX across town, how you transport your bike matters. A scratched frame, bent derailleur, or — worst case — a bike flying off the back of your vehicle on the highway can turn a great day into a nightmare.
The good news? With the right setup and a few smart habits, transporting bikes is straightforward and stress-free. Here's everything you need to know about bike racks, tie-down methods, and the pro tips that keep your ride safe from garage to trail.
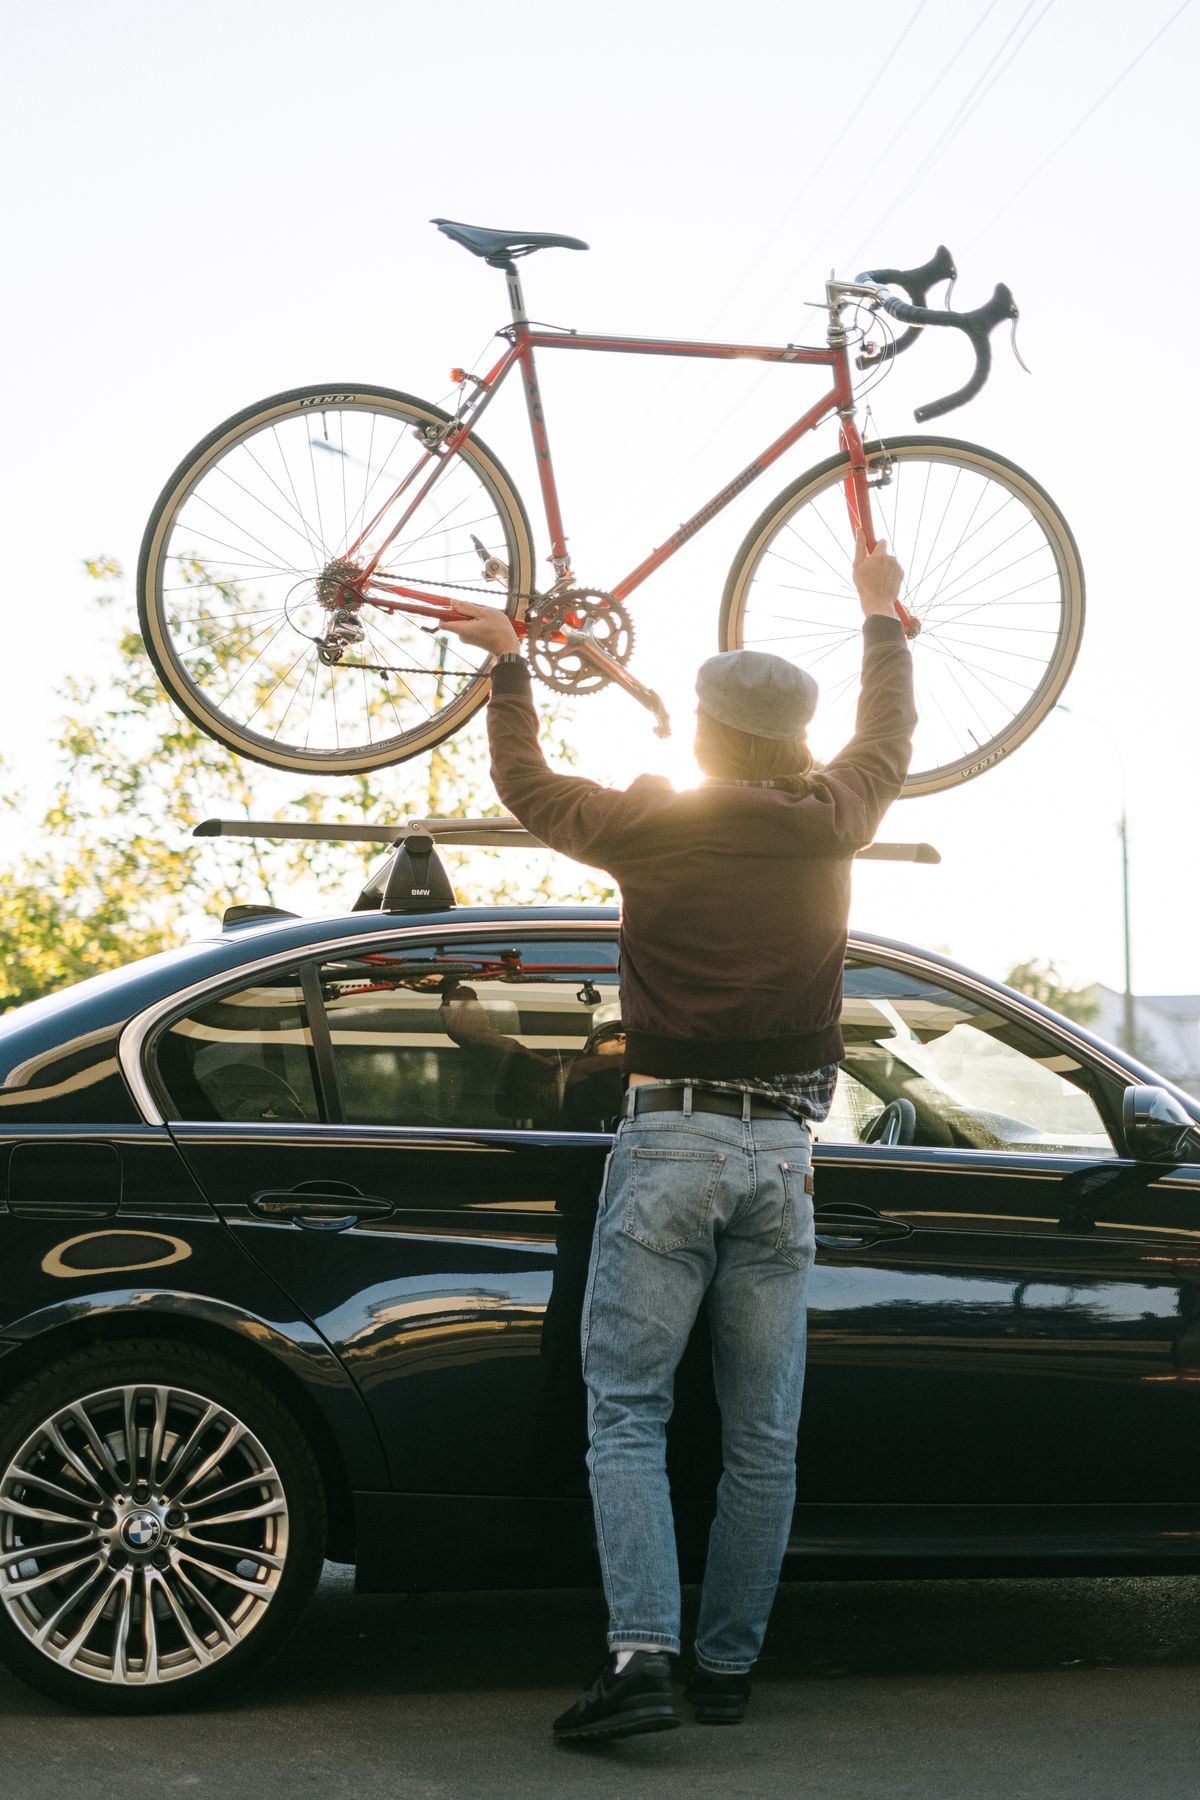
Roof Racks: The Classic Choice
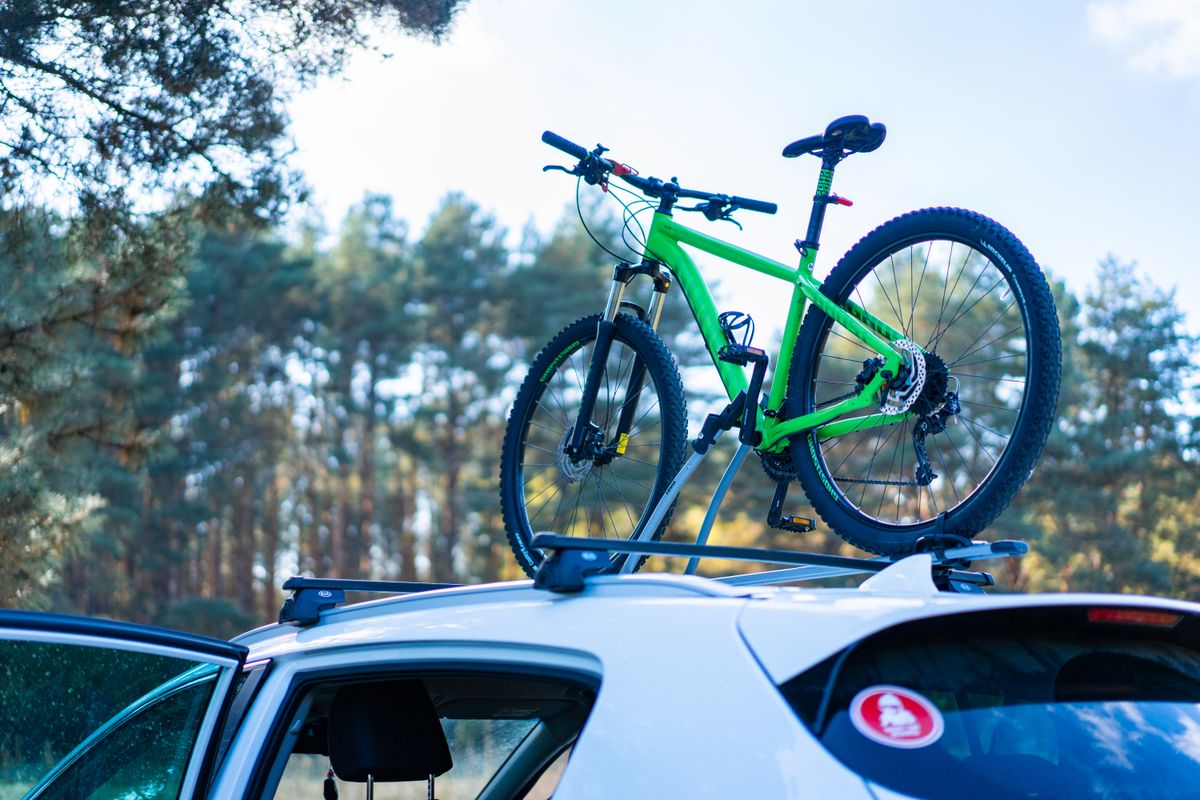
Roof-mounted bike racks have been the go-to for decades, and for good reason. They keep bikes completely out of the way, don't block your tailgate or rear visibility, and work on almost any vehicle with crossbars.
Best for: Sedans, hatchbacks, and SUVs where you still need full rear access. Great for 1-2 bikes.
Key considerations:
- Height clearance: This is the big one. Your vehicle plus a bike on top can easily exceed 7-8 feet. Parking garages, low bridges, and even your own garage door become hazards. More than a few cyclists have learned this the expensive way.
- Loading effort: Lifting a 30-pound mountain bike overhead isn't trivial, especially after a long ride. If you're shorter or have a taller vehicle, look for racks with tilt-down or slide-out features.
- Wind and fuel economy: Bikes on the roof create drag. Expect a noticeable hit to fuel economy on highway drives, plus wind noise.
- Security: Most roof racks include locking mechanisms, but they're exposed and visible — always lock your bike and the rack itself.
Hitch Racks: The Most Popular Option
If you have a trailer hitch (even a Class I 1.25-inch receiver), a hitch-mounted rack is probably your best bet. They're easier to load, more stable at highway speeds, and can carry 2-5 bikes depending on the model.
Two main styles:
- Platform (tray) racks: Each bike sits in its own tray and gets strapped down by the wheels. No frame contact means no scratches — ideal for carbon frames, full-suspension bikes, and non-standard frame shapes. These are the gold standard.
- Hanging racks: Bikes hang from the top tube on hooks. Cheaper and lighter, but they can sway, scratch frames, and struggle with step-through or unusual frame geometries.
Pro tip: Even with a quality hitch rack, adding a secondary strap for extra security on long highway drives is smart insurance. A ratchet strap with soft loops can cinch bikes down without scratching the frame — more on that below.
Truck Bed Transport: Simple and Effective
Got a pickup? Your truck bed is one of the safest places to transport bikes. The bike stays low, protected from wind, and out of sight. But you can't just toss it in and hope for the best.
Options for truck bed transport:
- Fork-mount racks: Bolt into the bed rails or a custom plate. You remove the front wheel and lock the fork down. Rock-solid stability, but removing wheels every time is a hassle.
- Wheel-stand racks: Hold the bike upright by the wheels without removing anything. Quick and easy.
- Tailgate pads: Soft pads that drape over your tailgate, letting you hang bikes by the front wheel over the gate. Popular, affordable, and great for multiple bikes — but they can scratch your tailgate over time.
- Ratchet straps: The most versatile option. With the right straps and technique, you can secure any bike in any truck bed without buying a dedicated rack system.
How to Secure a Bike with Ratchet Straps

Ratchet straps are the unsung heroes of bike transport. Whether you're using them as your primary tie-down method in a truck bed or as a backup on a hitch rack, here's how to do it right:
- Use soft loops (mandatory). Never wrap a bare ratchet strap hook directly around your bike frame. Metal hooks scratch paint and can crush carbon. Soft loops — fabric straps that wrap around the frame and give the hook something safe to grab — are non-negotiable. The JACO Heavy Duty Ratchet Tie Down Straps come with integrated soft loops specifically for this purpose.
- Strap to the frame, not the components. Attach soft loops to the strongest parts of the frame — the down tube and seat tube are ideal. Avoid strapping to handlebars, wheels, or the derailleur.
- Use at least two straps per bike. One on the front triangle, one on the rear. This prevents the bike from pivoting or tipping.
- Snug, not crushing. Ratchet straps are powerful — that's the point. But over-tightening can dent aluminum frames or crack carbon. Tighten until the bike doesn't move, then stop.
- Check anchor points. Make sure you're hooking into solid tie-down points in the truck bed, not flimsy plastic trim or sheet metal edges.
Protecting Your Bike During Transport

Getting the bike on the vehicle is half the battle. Keeping it damage-free during the drive is the other half.
- Remove accessories: Lights, computers, water bottles, saddlebags — anything that can vibrate loose or catch wind should come off before you hit the road.
- Protect contact points: Wherever your bike touches the rack, pad it. Foam pipe insulation, old socks, or purpose-built frame protectors all work. This is especially important on hanging racks where frames rest on hooks.
- Secure loose parts: If you've removed a front wheel, strap it separately so it doesn't bounce around. Wrap the fork dropouts with a towel or use a fork protector.
- Lock your bike: At every stop — gas stations, rest areas, restaurants — your bike is a target. Use a cable lock through the frame and wheels, and lock the rack to the hitch receiver if your model supports it.
- Check every stop: Walk around the vehicle and verify everything is still tight. Straps can loosen from vibration, and rack bolts can work themselves loose over long drives.
Choosing the Right Method for Your Situation
There's no single "best" way to transport a bike — it depends on what you drive, how many bikes you're moving, and where you're going.
Choose a roof rack if: You have crossbars, you're carrying 1-2 bikes, and you need full rear vehicle access. Best for daily commuters and road cyclists.
Choose a hitch rack if: You have a receiver hitch, you carry bikes frequently, and you want the easiest loading experience. Best all-around choice for most people.
Choose truck bed transport if: You drive a pickup and want maximum protection with minimum investment. Combine a tailgate pad or basic rack with quality ratchet straps for a setup that's hard to beat.
Choose a trunk/strap-on rack if: You're on a tight budget and only carry bikes occasionally. These are the most affordable option but offer the least stability and security.
Common Mistakes to Avoid
After years of seeing bikes arrive at trailheads in every condition from pristine to destroyed, here are the mistakes that keep showing up:
- Not testing the setup before a long drive. Take a short trip around the block first. Listen for rattling, check for movement, and adjust before hitting the highway.
- Using bungee cords instead of ratchet straps. Bungee cords stretch — that's literally what they do. They're not designed for securing heavy, expensive equipment at 70 mph. Use ratchet straps rated for the load.
- Forgetting about the height. If your bikes are on the roof, write a note on your dashboard: "BIKES ON TOP." Seriously. Driving into a parking garage with bikes overhead is a rite of passage nobody wants.
- Ignoring the drivetrain side. Always load bikes with the drivetrain (chain, derailleur, cassette) facing inward, away from the vehicle and away from other bikes. This prevents the most expensive and delicate components from getting bumped.
- Overloading the rack. Every rack has a weight limit. Exceeding it doesn't just risk your bikes — it can damage your vehicle's roof, hitch, or trunk. Check the specs.
Hit the Road with Confidence
Transporting your bike doesn't have to be stressful or complicated. Whether you invest in a premium hitch rack or keep it simple with ratchet straps in a truck bed, the fundamentals stay the same: secure the frame at multiple points, protect contact areas, and verify everything before (and during) the drive.
The best adventures start with a bike that arrives in the same condition it left. Take five extra minutes to set up properly, and you'll spend your energy on the trail — not at the bike shop.


