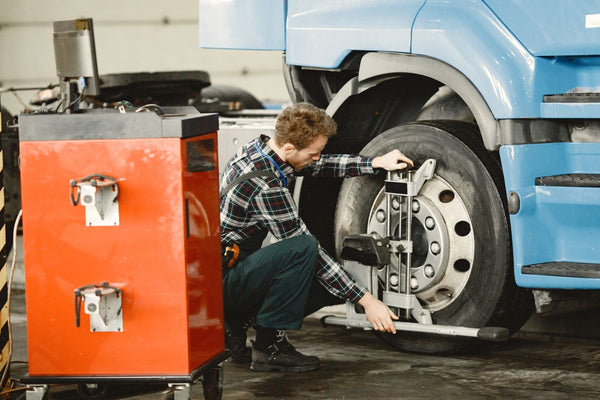


It's one of the most common mistakes in the entire world of DIY car care, and most people never realize they're making it. You rotate your tires, swap on the winter set, or throw the spare on after a flat — then you crank the lug nuts down as hard as your arm will allow and call it done. Here's the problem: "as tight as possible" is not a torque spec. Over-tightened lug nuts warp brake rotors and snap studs. Under-tightened ones can let a wheel wobble loose on the highway. Neither is a risk worth taking when the fix costs a few minutes and one inexpensive tool.
Properly torquing your lug nuts is the difference between a wheel that stays put for 50,000 miles and one that causes an expensive repair — or a genuine safety emergency. This guide walks through why torque matters, how to find your vehicle's spec, and the exact step-by-step method to do it right every time.
Why Lug Nut Torque Actually Matters
Lug nuts don't just "hold the wheel on." They stretch the wheel studs by a precise, calculated amount, creating clamping force that keeps the wheel seated flush against the hub. That clamping force is what the manufacturer's torque specification is really controlling. Too little and the joint can't hold; too much and you permanently deform the parts.
Every vehicle has a specific torque value measured in foot-pounds (ft-lbs). It exists for the same reason a recipe lists exact measurements — guessing produces inconsistent, unreliable results. And unlike a lopsided cake, a wheel that comes loose at 70 mph is a life-safety issue.
What Happens When Lug Nuts Are Too Loose — or Too Tight
Both directions cause real damage. Here's what each looks like in the real world:
Too loose:
- The wheel develops a wobble that worsens with every mile
- Studs experience fatigue and can shear off
- In a worst-case scenario, the wheel separates from the vehicle entirely
- You may hear clicking or clunking noises during turns and braking
Too tight:
- Warped brake rotors, causing a pulsing pedal and shaky braking
- Stretched or snapped studs that require pressing out and replacing
- Seized lug nuts that are miserable to remove on the side of the road
- Stripped threads on aluminum wheels and hubs
That roadside flat scenario is exactly where over-torquing bites hardest: a lug nut a shop slammed on with an impact gun at 200+ ft-lbs may be impossible to break loose with the flimsy wrench in your trunk. Torquing correctly protects future-you.
Why a Torque Wrench Beats a Breaker Bar or Impact Gun

Click-type torque wrench with numeric scale. Photo via Wikimedia Commons (CC BY-SA 3.0).
A breaker bar and a standard ratchet are great for loosening lug nuts, but they have no idea how tight you're making them. An impact gun is fast, but most home-grade guns deliver wildly inconsistent torque — and it's shockingly easy to over-tighten. Neither tells you when to stop.
A torque wrench does exactly one thing brilliantly: it measures the rotational force you apply and tells you the instant you hit the target. The most common home-garage type is the click-type wrench — you dial in the spec on the handle, tighten until you feel and hear a distinct "click," then stop. That click is your signal that the joint is clamped to spec, no more and no less. A quality click-type wrench costs $30–$60 and lasts for years if you care for it (always dial it back to its lowest setting before storing).
How to Find the Right Torque Spec for Your Vehicle
Never guess this number. The correct torque spec lives in a few reliable places:
- Owner's manual — the most authoritative source, usually in the wheels/tires section
- Driver's door jamb sticker — some vehicles list it here alongside tire pressure
- A dealer or reputable online torque chart for your exact year, make, and model
As a rough frame of reference, most passenger cars fall between 80 and 100 ft-lbs, many trucks and SUVs land around 100 to 140 ft-lbs, and heavy-duty trucks can go higher. But those are ballpark ranges only — always confirm your vehicle's exact figure. Aftermarket wheels can also change the spec, so check with the wheel manufacturer if you've upgraded.
How to Properly Torque Your Lug Nuts: Step-by-Step

Once you know your spec and have a torque wrench, the process is simple — but the order matters. Follow these steps:
- Hand-thread every lug nut first. Start each one by hand to avoid cross-threading, which can ruin a stud instantly. They should spin on freely.
- Snug them in a star pattern. With a regular ratchet, lightly snug the nuts in a crisscross (star) sequence rather than going around the circle. This pulls the wheel down evenly against the hub.
- Lower the vehicle so the tire touches the ground. Final torquing should happen with weight on the wheel so it can't spin. (If you're working with a jack, review safe lifting practices first — see our floor jack and jack stand safety guide.)
- Set your torque wrench to spec and tighten each nut — again in the star pattern — until you hear the click. Do not keep pulling after it clicks.
- Do one final pass around the star pattern to confirm every nut clicks at the set value.
The star (crisscross) pattern is non-negotiable. Tightening nuts sequentially around the circle can seat the wheel unevenly and warp the rotor — the exact problem you're trying to avoid.
Common Lug Nut Torque Mistakes to Avoid
- Using the impact gun for final tightening. Fine for zipping nuts on quickly, but always finish by hand with a torque wrench.
- Lubricating the threads. Unless your manufacturer specifically calls for it, torque specs assume clean, dry threads. Oil or anti-seize changes the clamping force and can lead to over-tightening.
- Skipping the re-check. New wheels and freshly mounted tires settle. Re-torque after the first 50–100 miles of driving.
- Ignoring a clicked wrench. Once it clicks, stop. "One more pull for good measure" is how studs snap.
- Storing the wrench under tension. Always wind a click-type wrench back down to its lowest setting to preserve calibration.
After You Torque: Re-Check, Then Verify Your Tire Pressure

Any time you've had the wheels off — a rotation, a seasonal swap, a flat repair — two follow-ups keep you safe. First, re-torque the lug nuts after your first 50 to 100 miles, since everything settles once it's under load. Second, check your tire pressure, because tires often lose air while they're sitting off the vehicle or in storage.
A quick, accurate reading takes seconds with a quality gauge, and it's the perfect bookend to a wheel job well done.

The Bottom Line
Torquing your lug nuts correctly is one of the simplest, cheapest habits that separates a careful DIYer from an expensive mistake. Look up your vehicle's spec, hand-thread every nut, tighten in a star pattern, finish with a click-type torque wrench, and re-check after your first drive. It takes an extra two minutes and a $40 tool — and it protects your brakes, your wheels, and everyone riding with you.
Next time you're swapping a tire or handling a roadside flat, do it the right way. For the full roadside walkthrough, see our step-by-step guide on how to change a flat tire safely. And keep an accurate tire pressure gauge in the glovebox so you can verify your work anywhere.