
Here's a question most drivers can't answer: when did you last replace your windshield wipers? If you have to think about it, the answer is probably "too long ago." Wiper blades are one of the cheapest parts on your vehicle, yet they're also one of the most ignored — right up until the first sleet storm turns your windshield into a smeared, streaky mess at 65 mph.
The good news: learning how to replace windshield wipers takes about 10 minutes, requires zero tools on most vehicles, and costs a fraction of what a shop charges. Fall is the perfect time to do it. Summer heat and UV have already cooked your blades, and winter rain, snow, and road spray are right around the corner. Here's everything you need to know.
Why Fall Is the Right Time to Replace Windshield Wipers
Wiper rubber doesn't just wear out from use — it breaks down from sun exposure, heat, and ozone even when the blades sit idle. After a summer of baking on your windshield, the rubber edge hardens, cracks, and loses the sharp, flexible lip it needs to squeegee water cleanly.
Most manufacturers recommend replacing blades every 6 to 12 months. Most drivers stretch them two or three years. That gap shows up the moment conditions get tough: freezing rain, wet snow, and salty road spray demand a blade in good condition. Swapping them in October or November means you go into winter with fresh rubber instead of discovering the problem in a storm.
Signs Your Wiper Blades Are Failing

Your wipers will tell you when they're done — if you know what to look for:
- Streaking: Lines of water left behind after each pass usually mean the rubber edge is worn or hardened.
- Skipping or chattering: The blade hops across the glass instead of gliding. Often caused by hardened rubber or a bent frame.
- Smearing: A hazy film across the glass, especially at night under oncoming headlights, points to a dirty or degraded blade.
- Squeaking: Noise on a wet windshield means the rubber isn't flexing properly.
- Visible damage: Lift the blade and run a finger along the edge. Cracks, splits, missing chunks, or rubber pulling away from the frame mean it's time.
Before you buy new blades, clean the old ones with a damp cloth and a little washer fluid. Sometimes road grime is the culprit. If they still streak after cleaning, replace them.
How to Find the Right Wiper Size
Here's the detail that trips people up: the driver and passenger blades are often different lengths. A common setup is a 26-inch driver blade and a 16- or 18-inch passenger blade, but it varies widely by vehicle.
The easiest ways to find your sizes:
- Check your owner's manual (usually listed in the specifications or maintenance section).
- Use the lookup tool or fit guide at any auto parts store or blade manufacturer's website — enter year, make, and model.
- Measure the existing blades with a tape measure, end to end.
Don't forget the rear wiper if your SUV, hatchback, or minivan has one. It's a separate size and often a different design.
Conventional vs. Beam vs. Hybrid Wiper Blades
Walk down the wiper aisle and you'll see three main styles. Here's how they compare:
Conventional (Frame-Style) Blades
The classic design: a metal frame with several pressure points holding the rubber against the glass. They're the most affordable option and work fine in mild, dry climates. The downside is that ice and snow pack into the open frame, which lifts the rubber off the glass and leaves gaps.
Beam (Bracketless) Blades
A one-piece, curved design with no exposed frame. Beam blades apply more even pressure along the full length of the blade, and there's nowhere for snow and ice to build up. For most drivers in snowy or rainy regions, beam blades are the best all-around choice.
Hybrid Blades
A conventional frame wrapped in an aerodynamic protective shell. They split the difference: better pressure distribution than a basic frame blade, plus some protection from ice buildup, at a mid-range price.
If you live somewhere with real winters, dedicated winter blades are also worth a look. They use a rubber boot that seals the frame against ice. Just swap back to standard blades in spring, since winter blades are heavier and wear faster in summer heat.
How to Replace Windshield Wipers Step by Step
Most vehicles use a J-hook wiper arm, and the swap goes like this:
- Protect the glass. Lay a folded towel on the windshield. If the bare metal arm snaps back without a blade, it can crack the glass. This is the number one DIY mistake.
- Lift the wiper arm away from the windshield until it locks in the upright position. (Some vehicles require putting the wipers in a "service position" first — check your manual for the procedure.)
- Find the release tab where the blade meets the arm. Press it in.
- Slide the blade down toward the base of the arm, then pull it free of the hook.
- Attach the new blade. Most replacement blades come with adapters for different arm types. Select the right one, slide the hook into the new blade's connector, and pull up until you hear a click.
- Lower the arm gently back onto the glass and repeat on the other side.
- Test it. Spray washer fluid and run the wipers. You should see a clean, streak-free sweep with no chattering.
Not every arm is a J-hook. You may run into pin-arm, pinch-tab, side-lock, or bayonet connectors. The process is the same idea — release, remove, attach, click — and the adapter instructions on the blade packaging will walk you through your specific style.
Don't Forget the Rear Wiper
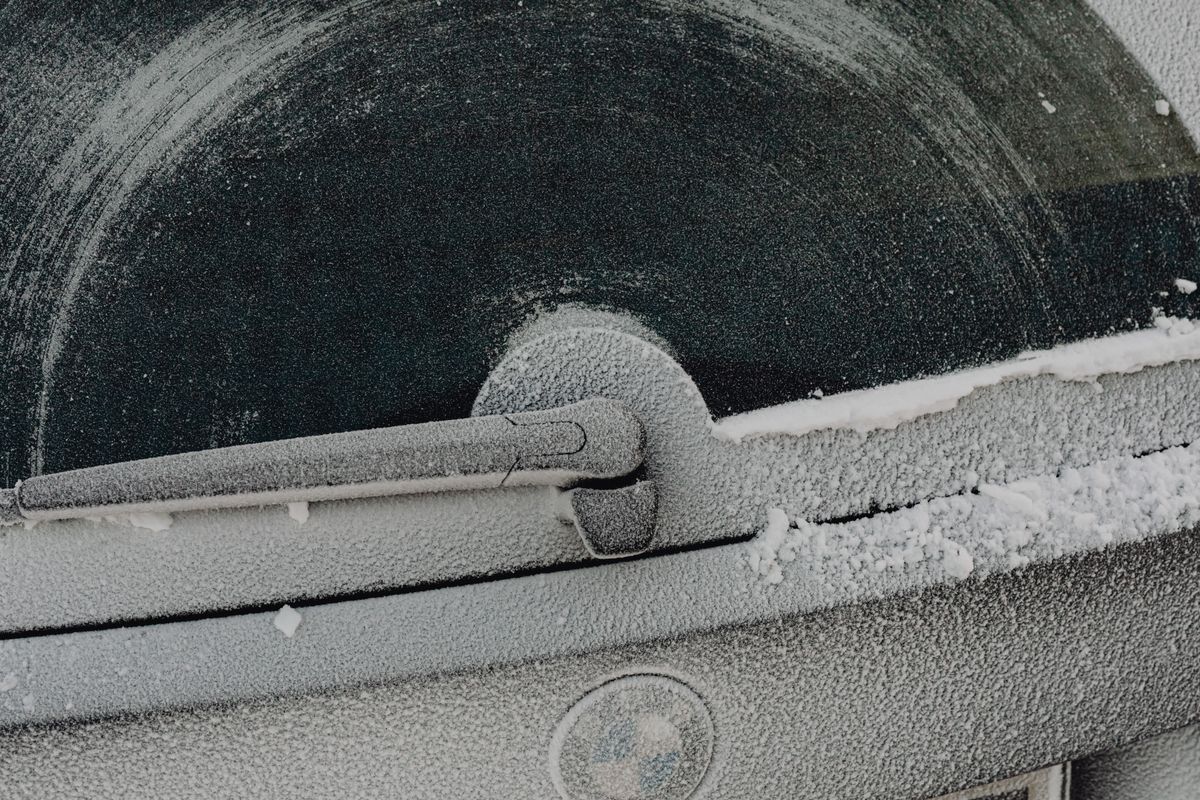
The rear wiper is the most neglected blade on any vehicle. It sits out of sight, bakes in the sun, and only gets noticed when you need it in a snowstorm. Many rear wipers use a different attachment — some slide off a short hook, others clip on or are integrated into the arm itself. A quick look at the connection point (or your manual) will tell you which you have.
While you're back there, check that the rear washer sprays properly. A clogged rear nozzle is common and easy to clear with a pin.
Check Your Washer Fluid (And Switch to a Winter Formula)

Fresh blades only work as well as the fluid you spray on the glass. Plain water won't cut road film, and in cold weather it can freeze in the reservoir, lines, and nozzles, leaving you with no way to clear a dirty windshield.
Before winter, top off with a washer fluid rated for freezing temperatures (look for labels like -20°F or lower). If your reservoir has summer bug-wash fluid in it, run some of it out through the sprayers before topping off so the winter formula isn't overly diluted.
When to Replace the Wiper Arm, Not Just the Blade
Sometimes new blades don't fix the problem. If streaking or skipping continues with fresh rubber, the arm itself may be the culprit:
- Weak spring tension: Gently lift the arm off the glass. If it feels loose or doesn't snap firmly back, the spring may be worn out and isn't pressing the blade hard enough.
- Bent arm: If the blade doesn't sit flat against the glass along its full length, the arm may be twisted, often from an ice scraper or car wash.
- Worn pivot: Excessive wobble where the arm meets the vehicle is a sign of wear in the linkage.
Replacement arms are usually inexpensive and on most vehicles bolt on with a single nut under a small cap at the base.
Pair It With a Quick Fall Tire Check

Since you're already out in the driveway doing fall maintenance, take two more minutes to check your tire pressure. Tires lose roughly 1 PSI for every 10°F drop in temperature, so tires that were set correctly in August can be noticeably low by November. Check them cold, first thing in the morning, and fill to the pressure on your door-jamb sticker. For a deeper dive, see our guide on how cold weather affects tire pressure.

The 10-Minute Habit That Pays Off All Winter
Replacing windshield wipers is one of the easiest, highest-value maintenance jobs you can do yourself. Fresh blades, a winter-rated washer fluid, and a quick tire pressure check add up to clearer sightlines and safer driving when the weather turns. Put a reminder on your calendar for every fall, and you'll never be caught squinting through a streaky windshield again.
Getting your vehicle ready for the season? Browse our full lineup of tire and vehicle care tools, and check out our winter car emergency kit checklist before the first snowfall.