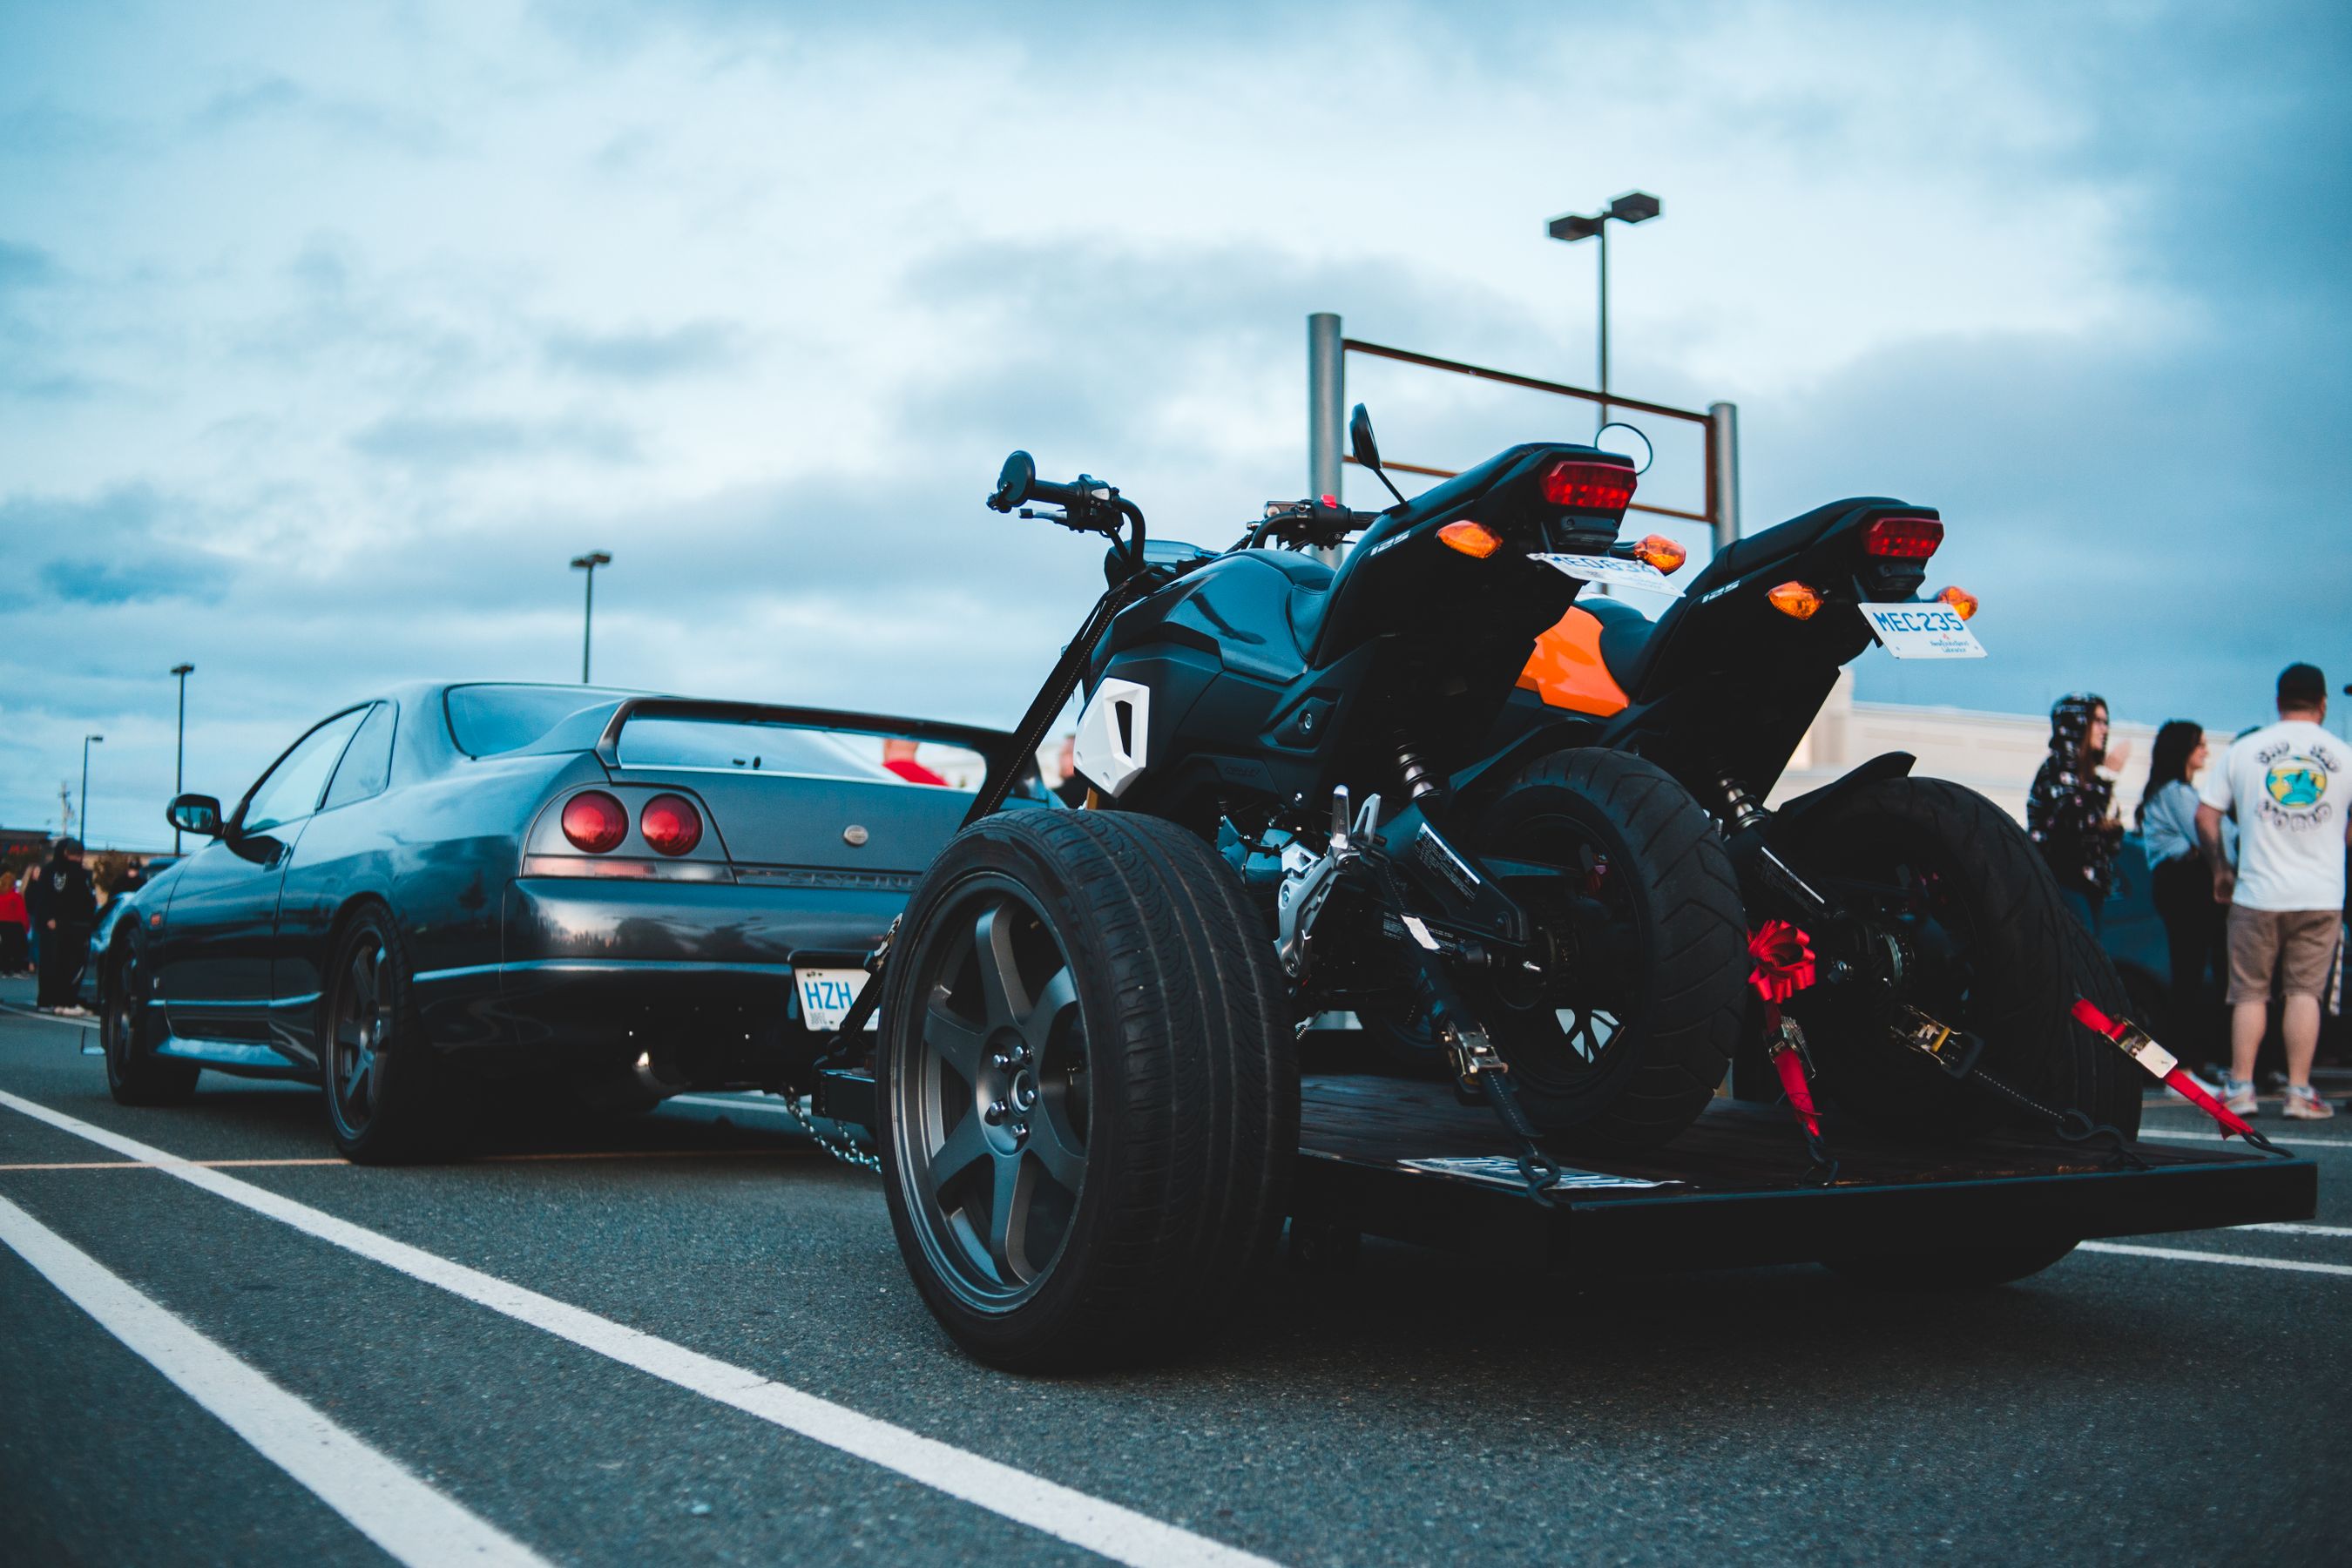
Few things make a gearhead's stomach drop like glancing in the mirror and seeing the bike shift in the truck bed. Whether you're hauling a dirt bike to the trailhead, a cruiser across the state, or a project bike home from a sale, knowing how to tie down a motorcycle the right way is the difference between a relaxed drive and an expensive disaster. A motorcycle isn't like a stack of lumber — it's top-heavy, rolls freely, and has suspension that wants to bounce. Get the technique wrong and you risk scratched paint, bent forks, or a bike on its side at 70 mph.
The good news: securing a bike is straightforward once you understand the options. Below we compare the five most common methods riders use, when each one makes sense, and the gear you actually need to do it safely.
What Makes Motorcycle Tie-Downs Different
Before picking a method, understand the physics. A motorcycle has three enemies during transport: forward momentum under braking, side-to-side sway in corners, and vertical bounce over bumps. Your goal is to lock the bike against all three. That almost always means compressing the front suspension slightly so the forks act like a spring, keeping constant downward tension on your straps even when the truck hits a pothole.
The other universal rule: never hook a ratchet strap directly to painted, chromed, or coated surfaces, and never wrap webbing around a part that can crush or bend. Use soft loops to create a protected anchor point on handlebars, frame rails, or triple trees, then connect your straps to the loops. This single habit prevents most of the cosmetic damage people blame on the road.
Method 1: Wheel Chock + Front Soft Loops (The Gold Standard)
A front wheel chock cradles the tire and holds the bike upright on its own while you work — a huge advantage if you're loading solo. With the wheel locked in the chock, you run two ratchet straps from the handlebars (via soft loops) down to anchor points on either side of the bed, pulling forward and out at roughly 45 degrees.
This is the most secure, most repeatable method, and it's what most trailers and enclosed haulers are built around. The downside is cost and space: a quality chock isn't cheap and eats up bed real estate. But if you transport bikes regularly, nothing beats it.
Method 2: Handlebar Tie-Down (Four-Point Cross)
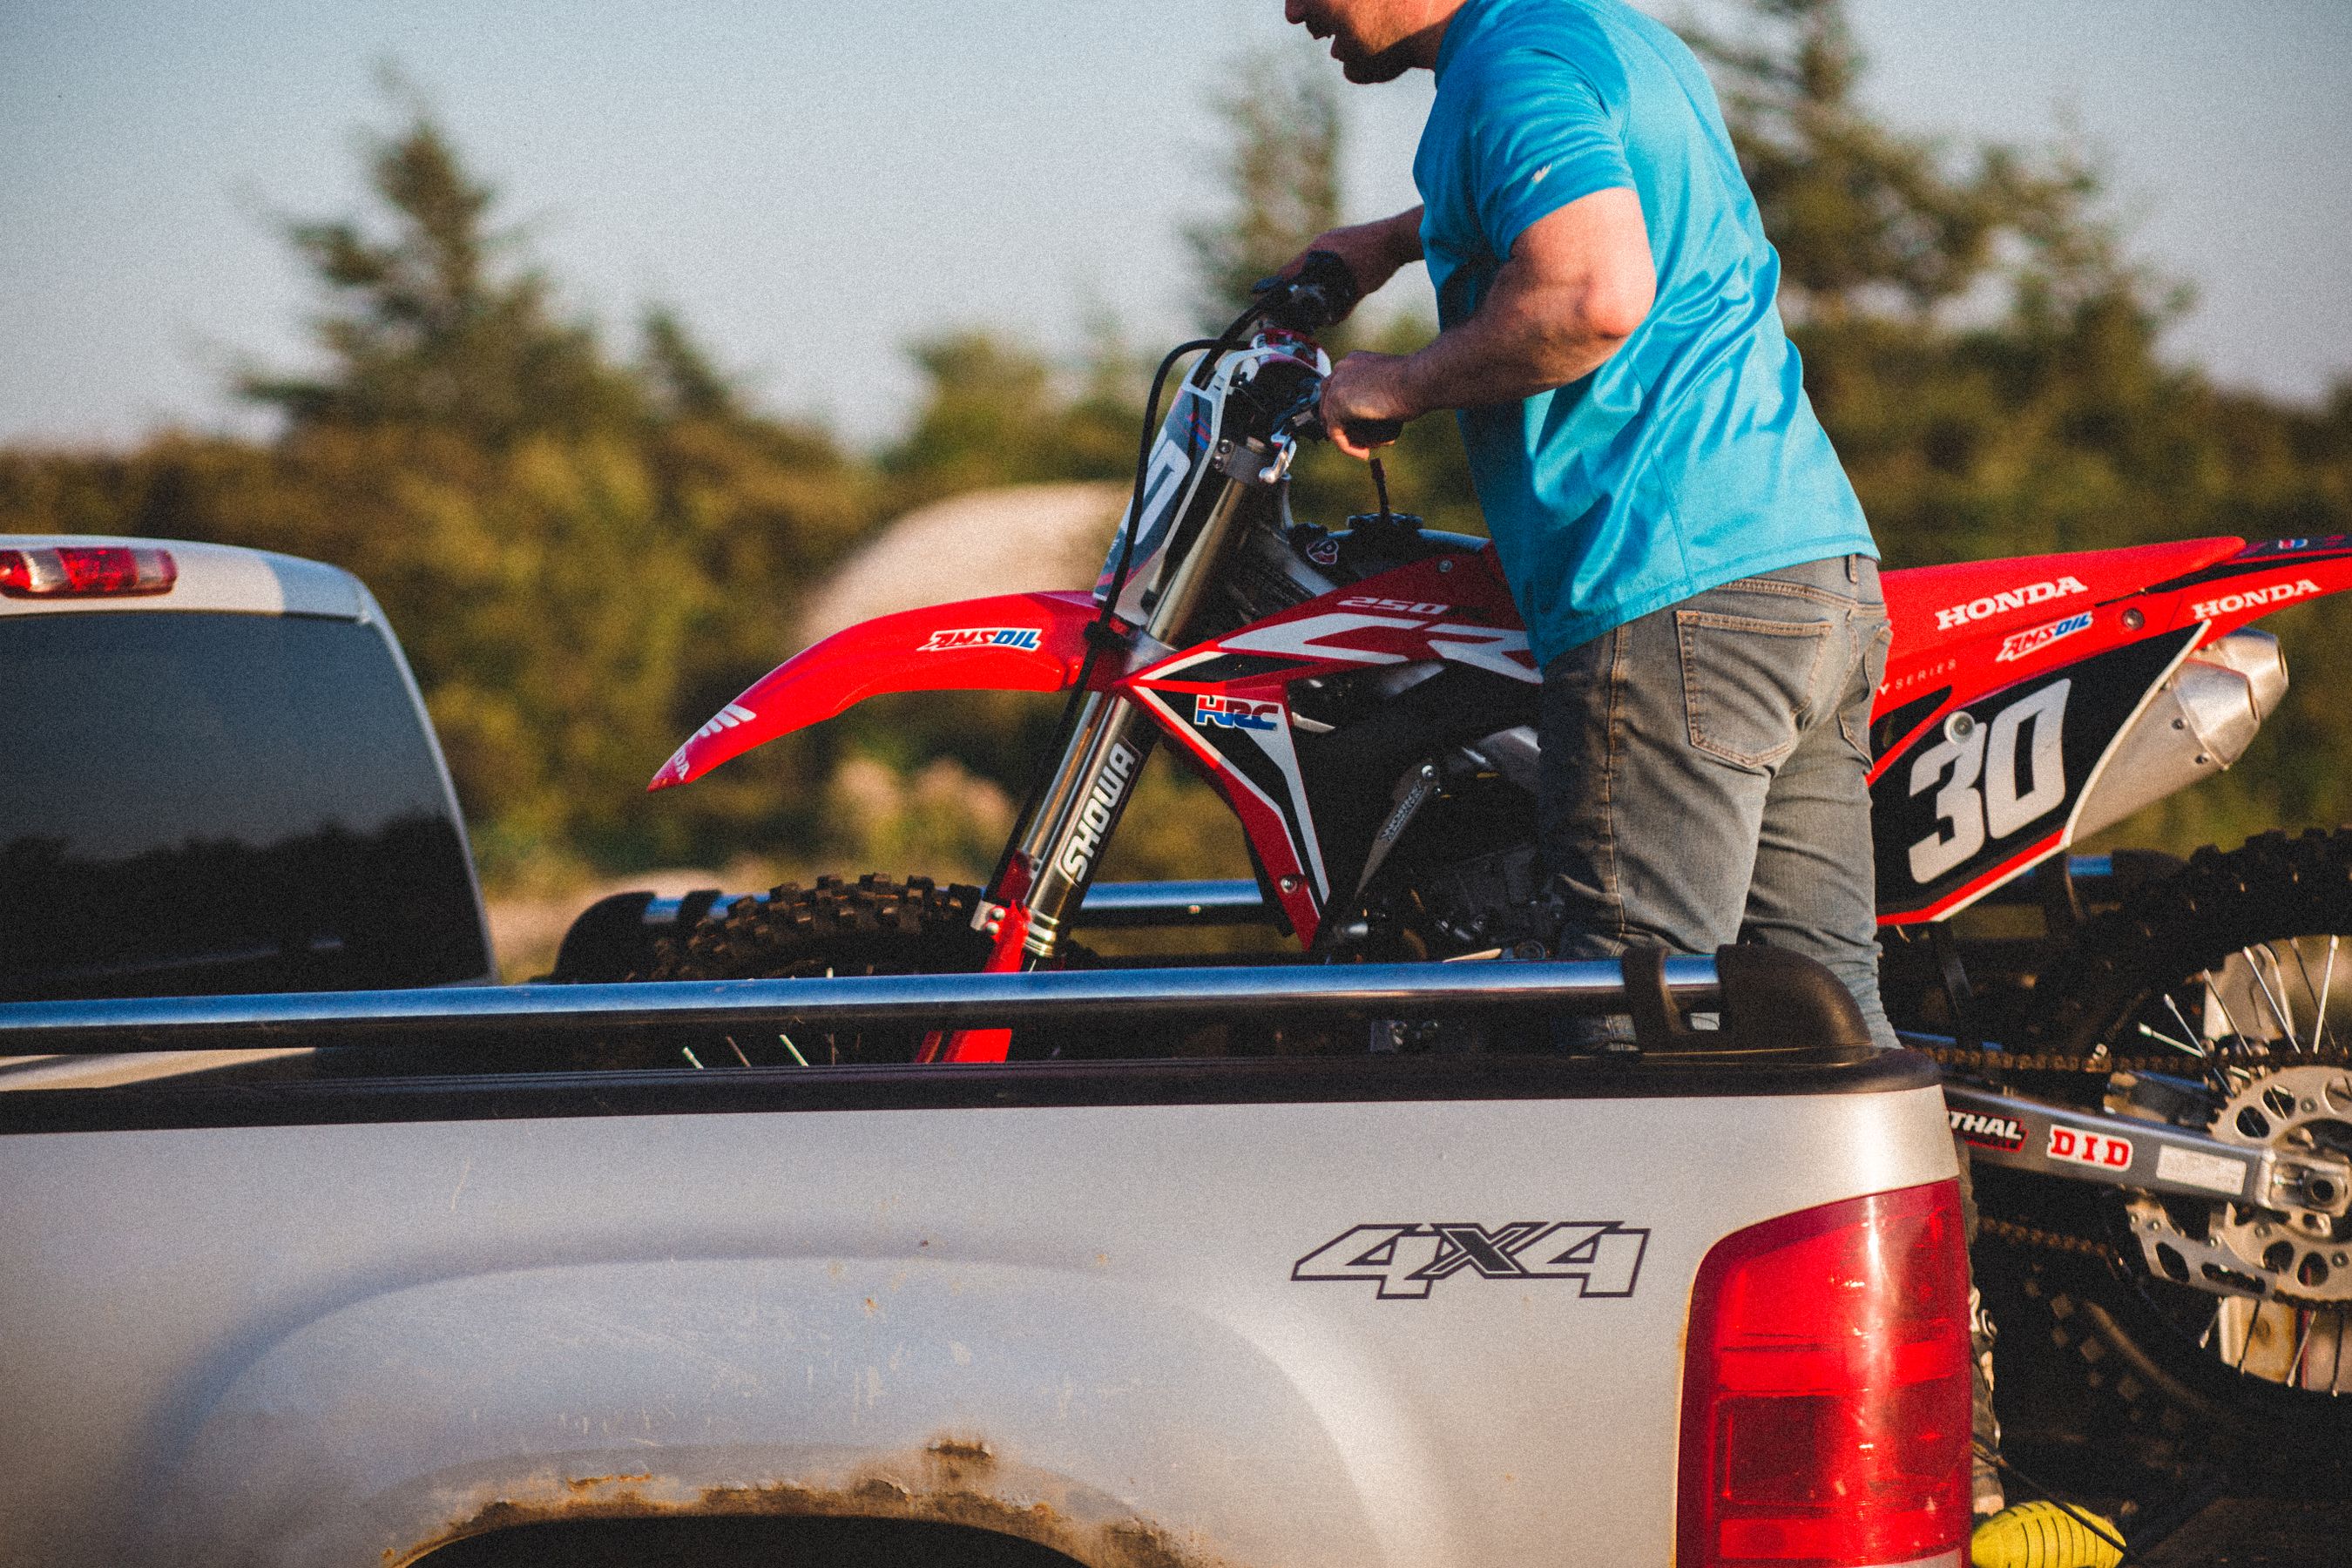
No chock? The handlebar method is the classic fallback and works in any truck bed. Attach soft loops to each side of the handlebars near the grips, then run a ratchet strap from each loop down and forward to the bed anchors. Compress the front forks about 30–40% as you tighten — you want firm tension, not a fully bottomed-out suspension, which can blow fork seals.
For longer hauls, add a second pair of straps at the rear (to the frame or subframe via loops) to stop the back end from walking side to side. This four-point setup is stable, affordable, and the method most riders learn first. Just double-check your bars aren't clip-ons or thin tubing that could bend under load.
Method 3: Triple-Tree / Fork Tie-Down
For sportbikes and anything with delicate handlebars, strapping to the lower triple tree (the clamp that holds the fork tubes) is gentler on your controls. Specialized triple-tree straps or a fork-tube harness distribute the load to the strongest part of the front end without stressing the bars, master cylinder, or cables.
This method is favored for track-day bikes and high-end machines because it avoids putting any strain on handlebar-mounted components. It does require the right adapter and a little more setup time, so it's overkill for hauling a beater dirt bike but ideal for protecting an expensive ride.

Method 4: Direct Frame Strapping
On dirt bikes and dual-sports with exposed frames and skid plates, you can run soft loops directly around solid frame members and strap down without touching the bars at all. This keeps suspension compression minimal and is fast for loading a bike you're not worried about cosmetically.
The trade-off is stability: framing alone allows more front-end wobble than a chock or handlebar setup, so it's best for short distances or when combined with a rear tie-down. Always loop around the frame itself, never around brake lines, cables, or plastic.
Method 5: E-Track and Trailer Anchor Systems
If you haul on an open or enclosed trailer, an E-track or L-track system gives you adjustable, dead-solid anchor points anywhere along the rail. Combined with a wheel chock and ratchet straps, it's the most flexible setup for multiple bikes or mixed cargo. Fittings slide into the track and lock, so you can position your tie-downs exactly where the bike's geometry demands.
This is the choice for serious haulers, racers, and anyone moving more than one machine at a time. For a single bike in a pickup, it's more infrastructure than you need — but it scales beautifully.
How the Five Methods Compare
- Wheel chock + soft loops: Most secure, best for solo loading and frequent hauls. Higher cost.
- Handlebar four-point: Best all-around method for occasional use. Affordable and reliable.
- Triple-tree: Gentlest on controls, ideal for sportbikes and high-value bikes. Needs an adapter.
- Direct frame: Fast for dirt bikes, minimal suspension stress. Less stable alone.
- E-track / trailer: Most flexible for multiple bikes. Requires a trailer setup.
The Gear You Actually Need
Regardless of method, three things separate a safe haul from a sketchy one: straps rated well above your bike's weight, soft loops to protect finishes, and a habit of re-checking tension after the first few miles. Webbing settles and forks can relax slightly once you're moving, so pull over after 10–15 minutes and re-snug everything.
Quality matters here more than almost anywhere in your garage. A failed strap on the highway isn't just lost cargo — it's a road hazard. Look for ratchet straps with a clearly stated break strength, rust-resistant hardware, and included soft loops so you're not improvising anchor points. For more on keeping your gear in shape, see our guide on how to store ratchet straps so they last for years.
Final Tips for a Worry-Free Haul
Compress the front suspension, but don't bottom it out. Use four points of contact for anything longer than a quick cross-town trip. Cross your rear straps if you want extra side-to-side control. And always, always do the "push test" before you pull out — shove the bike firmly from the side and top; if it barely moves, you're good. If it rocks, add tension or another strap.
Master these five methods and you'll be able to load and secure any bike with confidence, whether it's headed to the track, the trail, or a new home. Tie it down right the first time, and the only thing you'll be thinking about on the drive is the ride waiting at the other end.