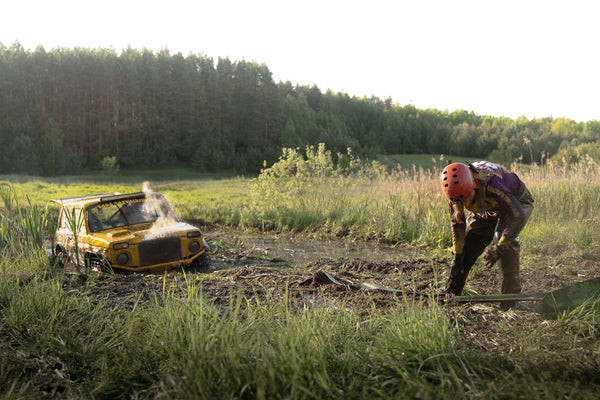

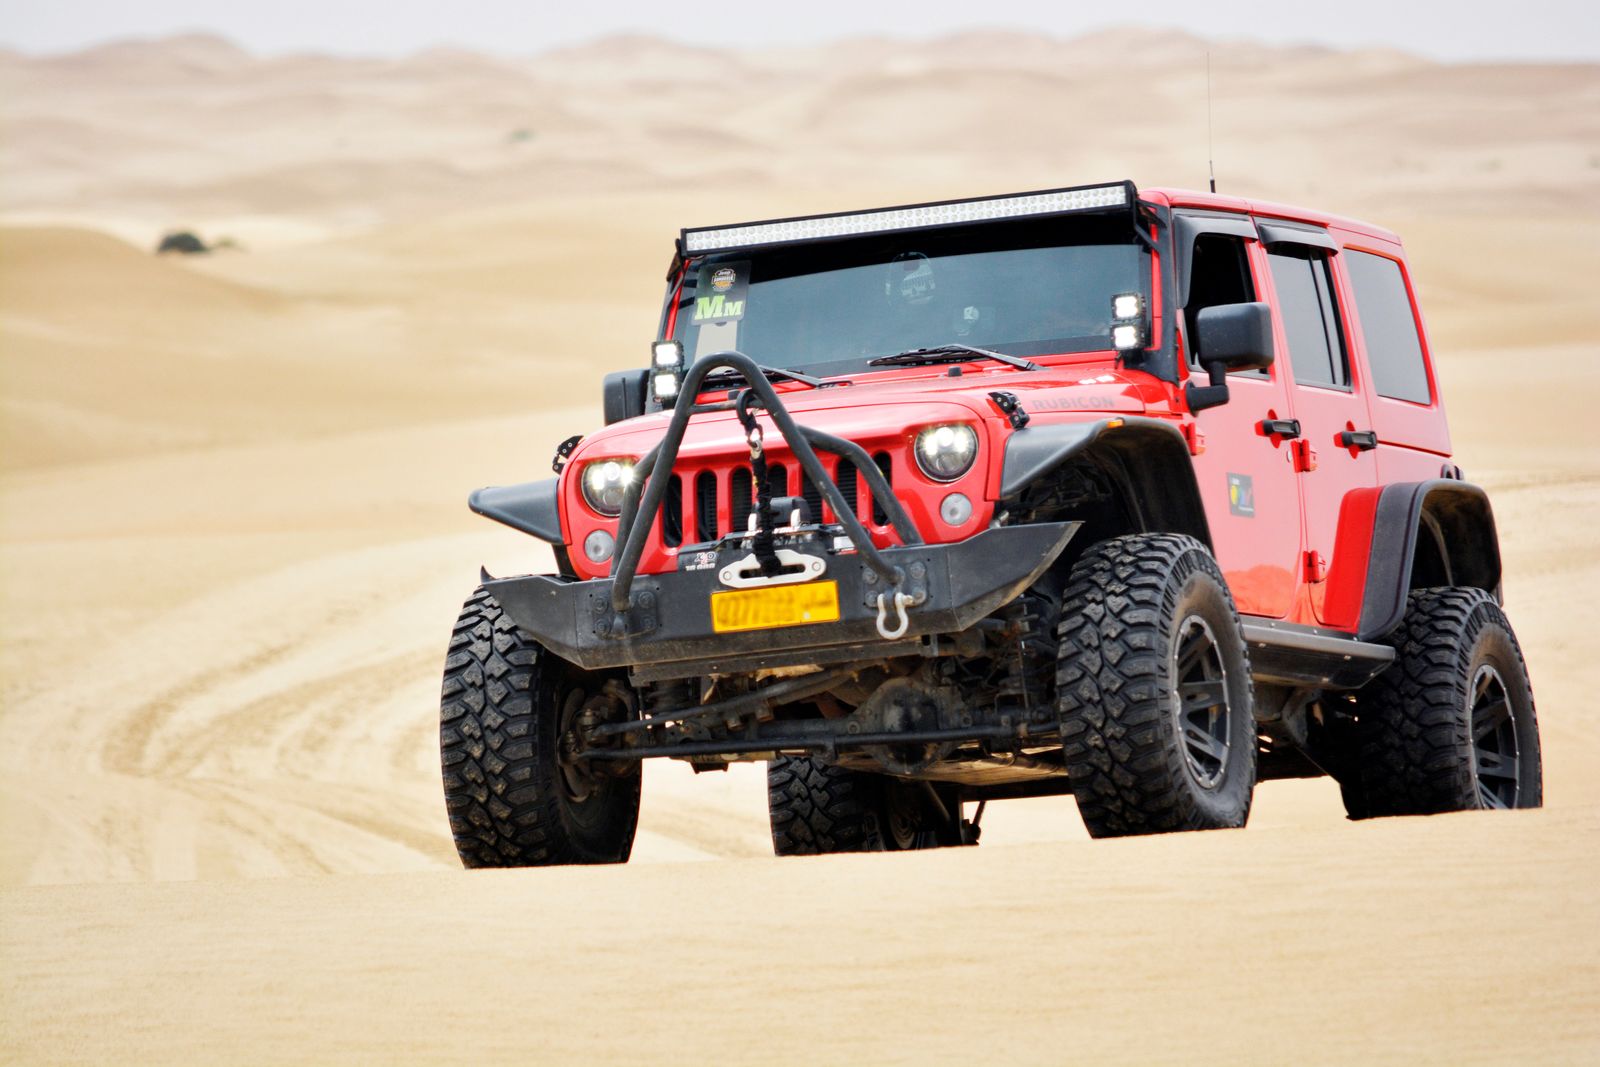
You're buried to the axles in soft sand, the winch is ready to pull—and there's not a single tree, rock, or post within a hundred yards. This is the moment that stops most people cold. A winch is only as good as what you anchor it to, and out in open desert, dunes, mudflats, or a wide gravel wash, the "obvious" anchor simply isn't there.
The good news: experienced off-roaders recover from no-anchor situations all the time. The key is knowing your anchor hierarchy—the ordered list of what to reach for first—and understanding a few field-proven techniques for creating an anchor where none exists. Here's how to get unstuck when there's nothing to tie to.
First, Work the Anchor Hierarchy
Before you start digging or deploying specialized gear, run through your options in order. The best anchor is almost always the one that requires the least effort and the most holding power.
- Another vehicle in your group. A buddy rig is the fastest, strongest anchor available. Position it in line with your pull, put it in 4WD with the parking brake set, and point it away from you so the drivetrain resists the load.
- Any substantial fixed object. A large boulder, a stout fence post, a bridge abutment—wrap it with a tree saver strap, never bare cable.
- A ground anchor. When nothing above exists, you build one: a deadman, a sand anchor, or a purpose-made plate.
Most stuck scenarios get solved at step one or two. It's only when you're solo in genuinely open terrain that the real problem-solving begins.
The Buddy-Vehicle Anchor (Do This First)
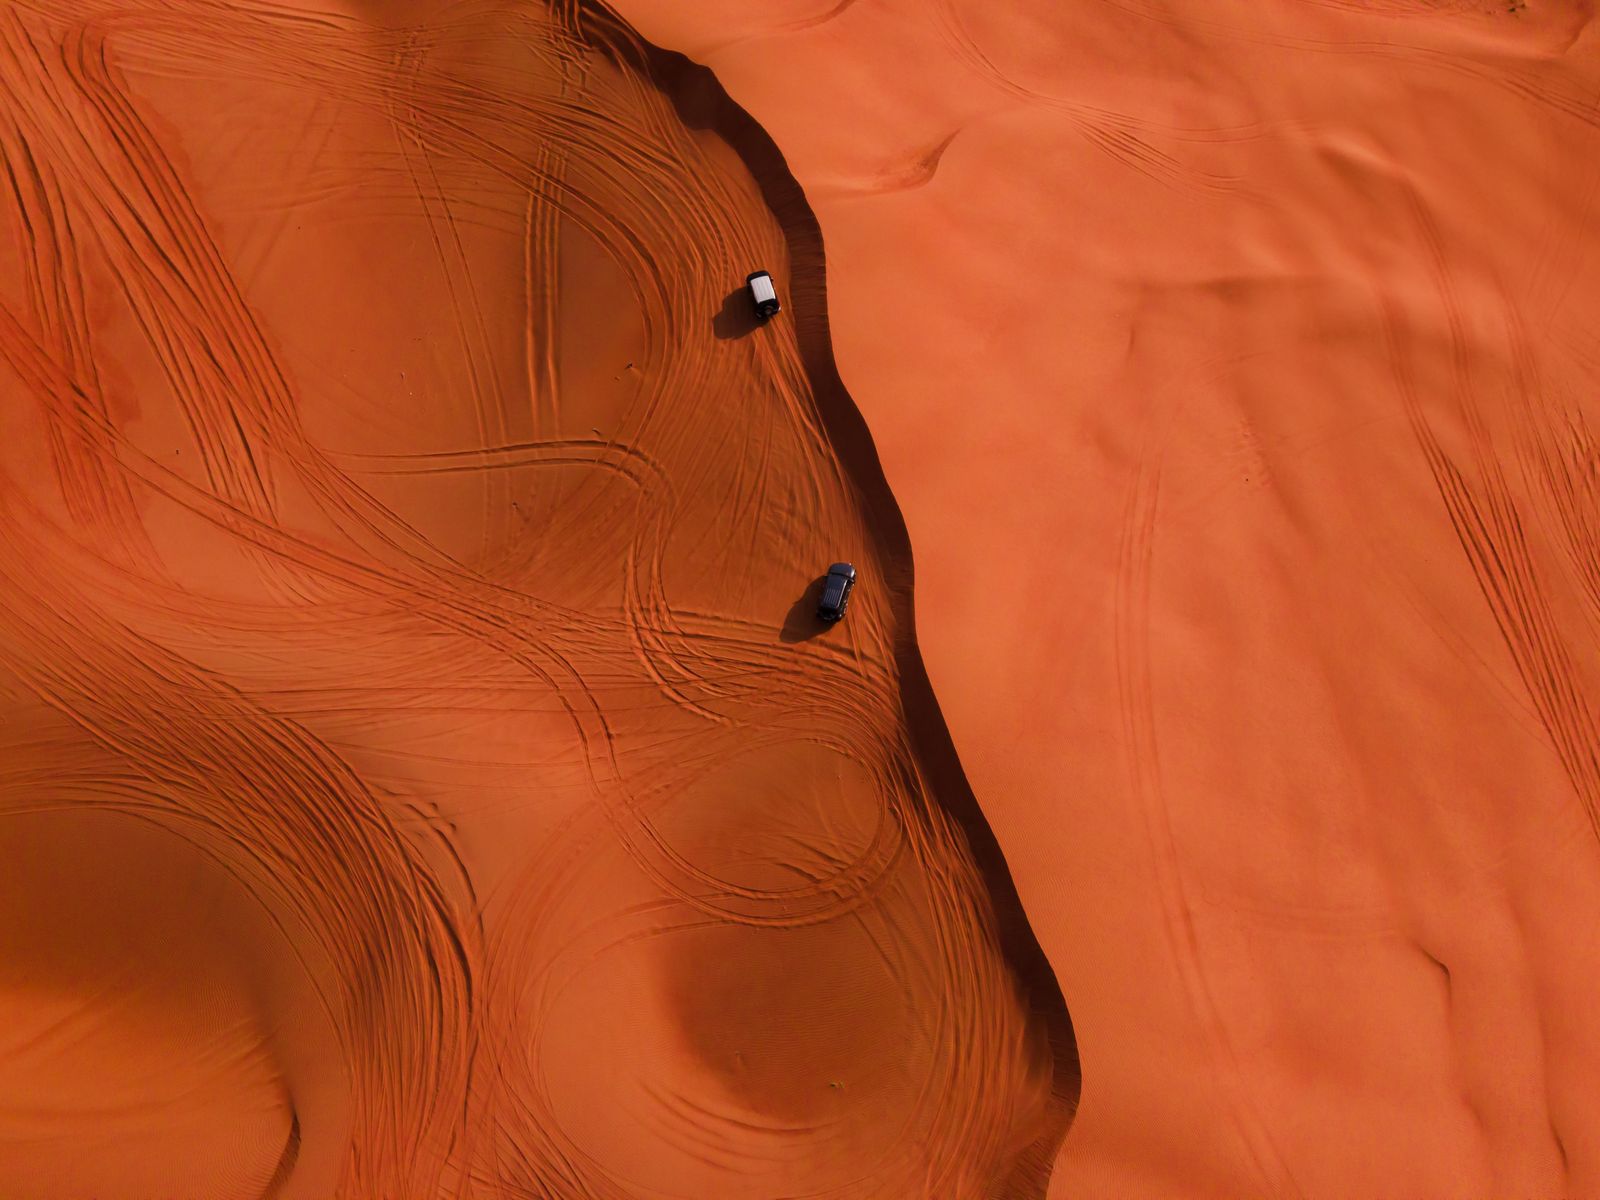
If you're wheeling with a group—and in remote terrain you always should be—another vehicle is your anchor. Park it 15 to 25 feet ahead, in line with the direction you need to move. Chock the wheels if you have chocks, set the brake, and drop it into low range. On loose ground, a second person can even stand on the anchor vehicle's bumper to add weight.
For heavier pulls, you can stack vehicles: your winch pulls against the second rig, which is itself anchored to a third. Each vehicle shares the load and the risk of any one of them sliding drops dramatically. Always use a proper tree saver or bridle at the connection point and lay a recovery damper (or even a heavy jacket) over the strap to kill stored energy if something lets go.
Building a Deadman Anchor
No second vehicle? Build a deadman—an object buried in the ground that resists being dragged out. This is the oldest trick in the recovery book and it genuinely works when done right.
Your buried object can be a spare tire, a large rock, a bundle of MaxTrax or recovery boards, a log, or a purpose-built deadman plate. The technique matters more than the object:
- Dig a trench perpendicular to the direction of pull, sloping the front wall back at an angle so the anchor loads deeper as tension increases.
- Bury the object 18–36 inches down—deeper in loose sand, shallower in firm dirt.
- Run the strap out the bottom-front of the trench at a low angle, not straight up, so the anchor is pulled into the ground rather than out of it.
- Pack the fill tightly and stand on it.
A buried spare tire in dry, firm dirt holds roughly 3,000–5,000 lbs—plenty for most single-vehicle self-recoveries. In loose sand, expect less, which is why a bigger surface area (boards, a plate) buries better.
Commercial Ground Anchors
If you regularly wheel solo in sand or open ground, a dedicated sand anchor earns its place in your kit. The plow-style Pull-Pal is the gold standard: a spade-shaped plate that digs deeper as the winch loads it, self-setting under tension. In sand it can hold 6,000–8,000 lbs—enough to recover most mid-size rigs—and it folds down for storage.
The trade-off is bulk and cost, so these make the most sense for desert regulars and expedition travel where a buddy vehicle isn't guaranteed. For everyone else, mastering the deadman technique with gear you already carry is the more practical path.
Whatever anchor you build, the math is simple: your anchor needs to hold at least as much as your winch can pull. A 9,500-lb winch demands a 9,500-lb-capable anchor. When one anchor won't get there, spread the load across two ground anchors set side by side and bridled together to roughly double your holding power.

Creative Anchors That Actually Work
When you're improvising, a few field tricks are worth knowing:
- The boulder sling. A large, half-buried rock can hold surprisingly well if your strap approaches at a low angle and never contacts a sharp edge—pad any hard corner to protect the strap.
- Hi-Lift jack base as a point anchor. In firm ground, a hi-lift jack driven in and braced can serve as a marginal single-point anchor. It's limited, but useful to know when nothing else exists.
- Multi-vehicle stacking. Third vehicle anchors the second, which anchors your winch line—each link shares the strain.
Whatever you rig, inspect the whole system before you pull. A recovery under load is one of the most dangerous things you'll do off-road: keep bystanders clear, use a damper on every line, and pull slowly so you can read how the anchor is holding.
The Best Anchor Is Not Getting Stuck
Every recovery starts with a mistake, and most of them are preventable. Airing down before you hit soft sand is the single biggest factor in staying on top of it. Dropping from street pressure to 12–18 PSI floats your tires over the surface instead of digging trenches—and it's the difference between cruising a dune and burying an axle.
Carry a fast, accurate deflator so airing down takes seconds, not minutes, and pair it with a compressor to air back up at the pavement. Prevention is always cheaper than a two-hour dig.

Know Your Rope, Too
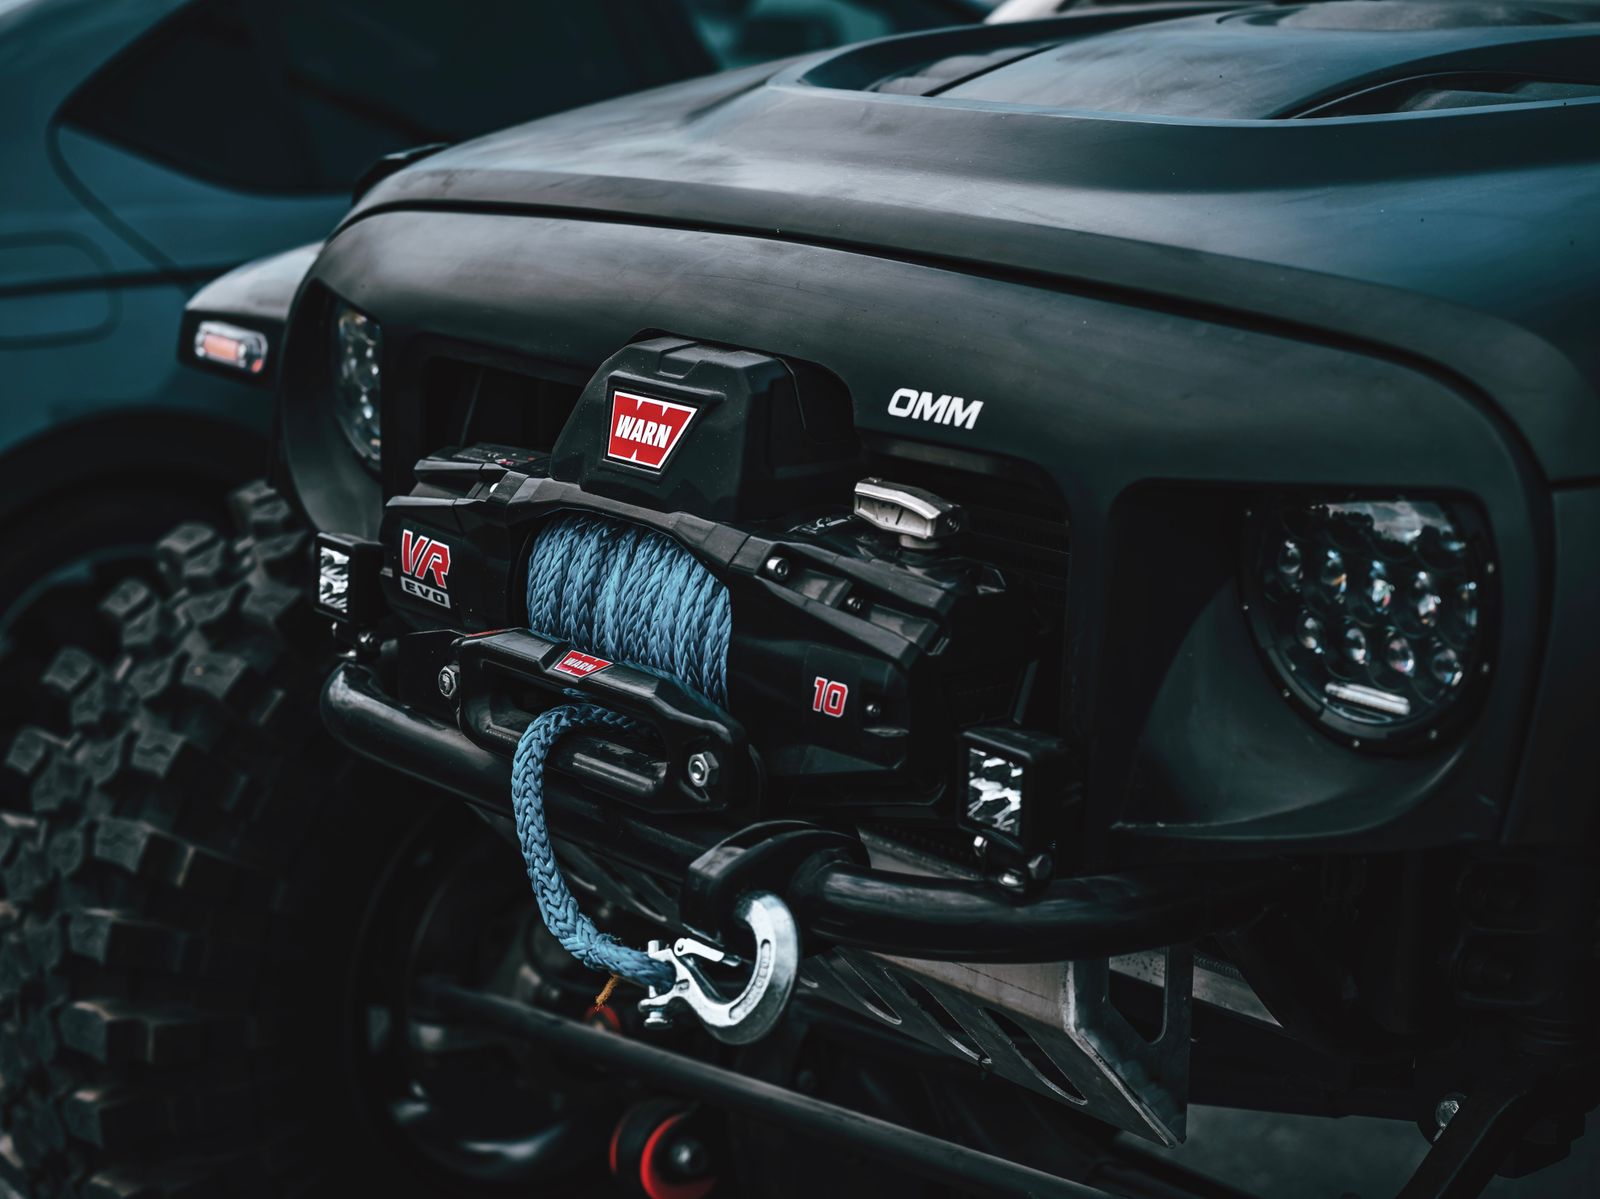
Your anchor is only half the equation—the line between it and your rig matters just as much. Synthetic winch rope is lighter, safer under failure (it drops instead of whipping like steel cable), and easier to handle when you're kneeling in the dirt rigging a deadman. Inspect it for cuts and abrasion before every trip, and keep a spare soft shackle and tree saver in your kit so you're never improvising a connection point.
For more on building a complete off-road setup, browse our tow & recovery gear collection, and if you're newer to airing down, our guide on rock crawling tire pressure and line selection pairs perfectly with everything here.
The Bottom Line
No tree, no rock, no problem—as long as you know the hierarchy. Reach for a buddy vehicle first, a fixed object second, and a ground anchor third. Master the deadman technique with gear you already carry, respect the capacity math, and treat every loaded recovery with the caution it deserves. Do that, and an open, featureless landscape stops being a trap and becomes just another obstacle you know how to solve.
Photos via Pexels.