
Rock crawling is the slowest, most technical form of off-roading — and that's exactly why people fall in love with it. There's no speed, no jumps, no adrenaline-fueled sand blasting. Instead, it's a patient chess match between your rig, your tires, and a pile of unforgiving granite. Done right, a stock 4x4 can climb obstacles that look impossible. Done wrong, you'll spin tires, dent panels, or worse.
If you're new to the sport, the good news is that rock crawling rewards technique far more than horsepower. This beginner's guide breaks down the three things that matter most: tire pressure, line selection, and slow-speed control. Master these and you'll clear obstacles that leave more powerful trucks stuck.
What Rock Crawling Actually Is
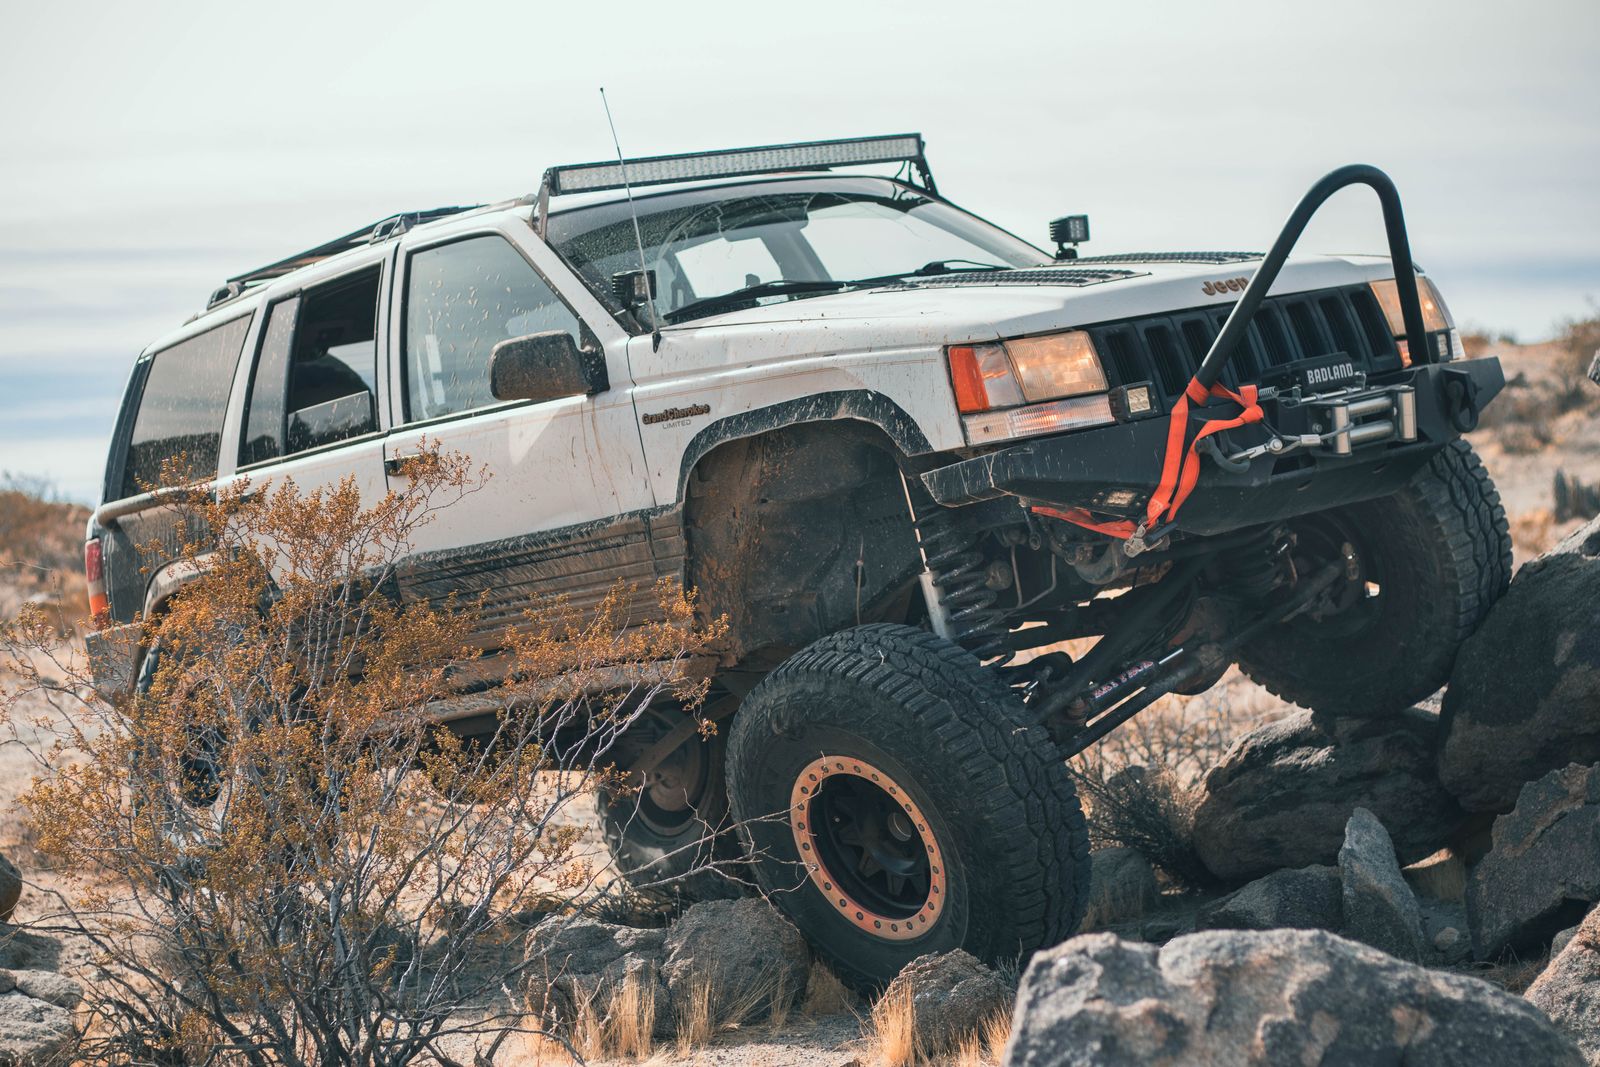
Rock crawling means driving over large rocks, ledges, and boulder fields at walking speed — often in 4-Low with your foot barely touching the throttle. The goal isn't to power through; it's to let the tires find grip and let the suspension flex over each obstacle one wheel at a time.
Because everything happens slowly, small mistakes are easy to catch before they become expensive. But it also means momentum won't save you. Your traction, tire pressure, and chosen path do all the heavy lifting.
Airing Down: The Single Biggest Upgrade
Before you touch a single rock, air down your tires. This is the most important thing a beginner can do, and it costs nothing. Lowering your tire pressure lets the tire flatten and wrap around rocks, dramatically increasing the contact patch and grip. It also softens the ride and protects your rig from hard impacts.
General starting points for street tires on rock:
- 15–18 PSI — light trails, mild rocks, mostly stock rigs
- 10–15 PSI — technical rock crawling with all-terrain or mud-terrain tires
- Below 10 PSI — extreme crawling, usually only with beadlock wheels
The catch: you need to actually measure it. Eyeballing a tire at 12 PSI is a recipe for pinching a bead or driving on a nearly flat tire. A dedicated low-pressure deflator with a built-in gauge makes airing down fast and precise, so you can drop all four tires to the same pressure in a couple of minutes.

Reading the Line
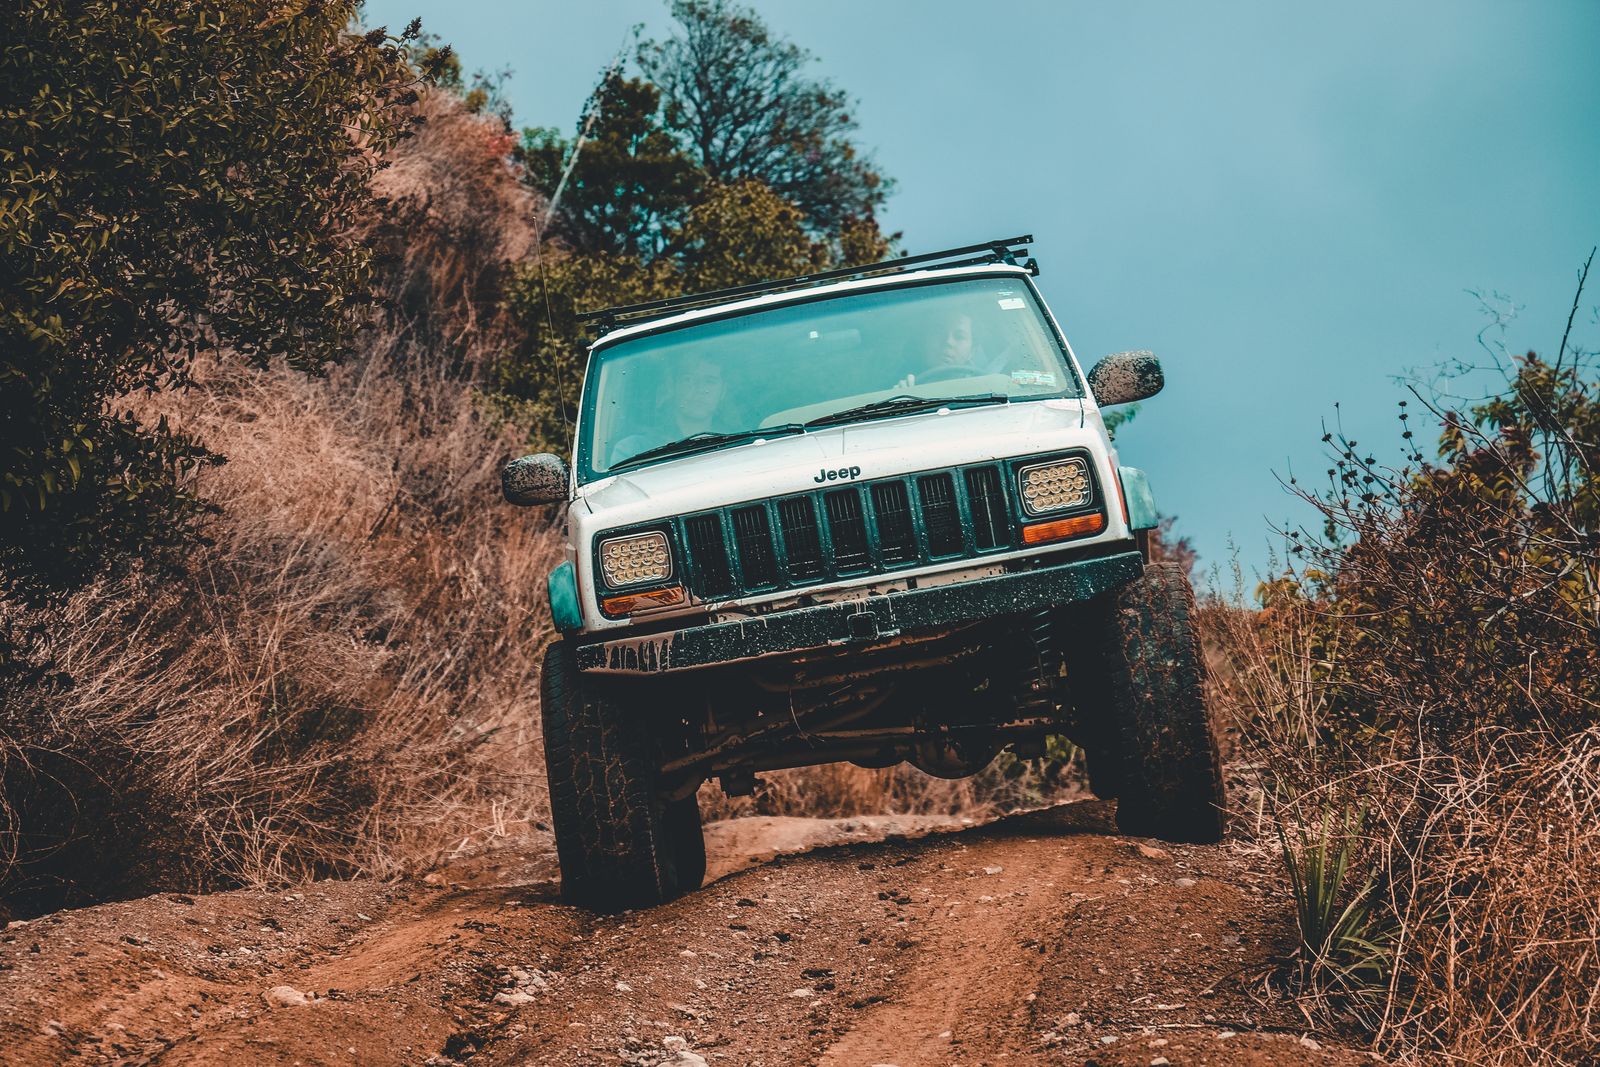
"The line" is the exact path your tires will follow through an obstacle. Choosing a good line is what separates smooth climbs from spun tires and body damage. Before you drive anything technical, get out and walk it.
When you're picking a line, look for:
- Traction, not air. Keep your tires on solid rock or dirt whenever possible. A tire hanging in the air is a tire doing no work.
- Tire placement over ground clearance. Put your tires on top of obstacles rather than straddling them — this lifts your diffs and undercarriage over the rock instead of dragging them across it.
- The path of least drama. The most direct route is rarely the smartest. A slightly longer line that keeps all four tires planted beats a straight shot that lifts a wheel.
A spotter — a buddy standing outside the vehicle guiding you — is invaluable here. They can see your tire placement and undercarriage clearance that you simply can't from the driver's seat. Agree on clear hand signals before you start.
Slow Is Smooth, Smooth Is Fast
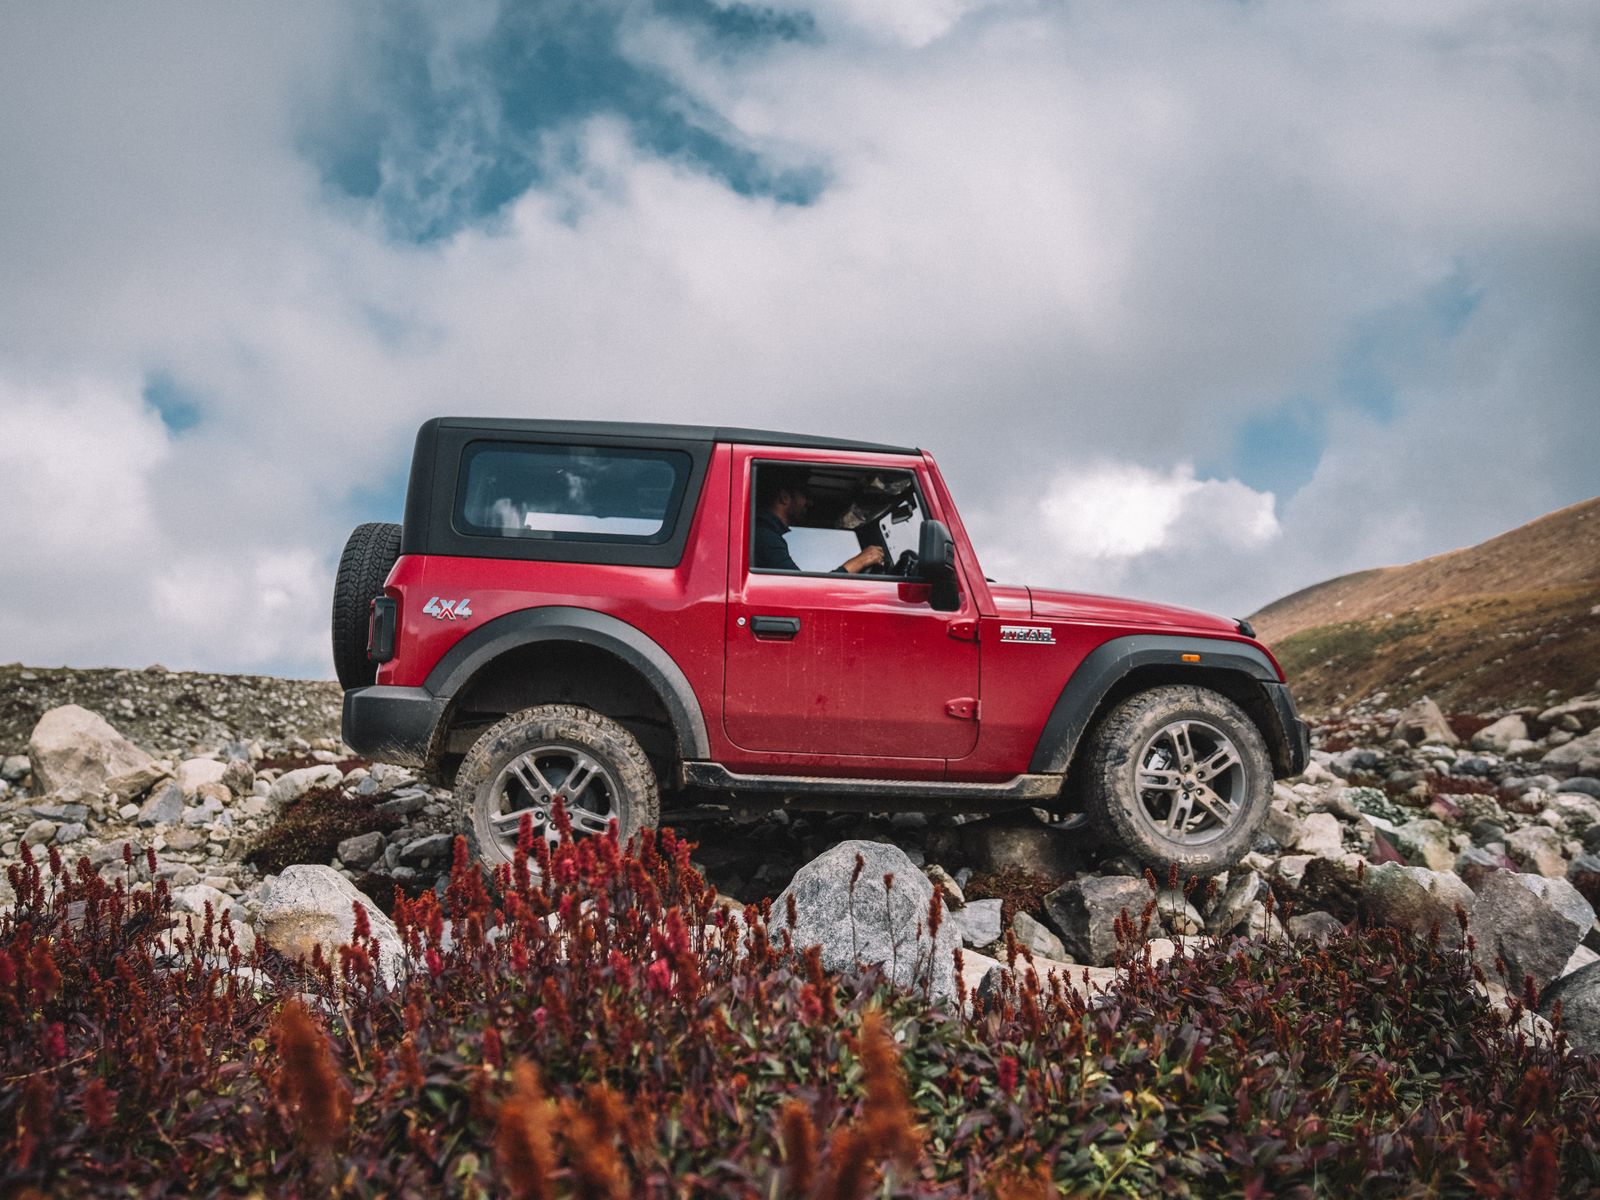
The number one beginner mistake is too much throttle. When a tire slips, the instinct is to give it more gas — but that just spins the tire, polishes the rock, and can slam the vehicle forward when it finally grabs. Instead, back off, let the tire settle, and reapply power gently.
A few control fundamentals:
- Use 4-Low. The lower gearing gives you fine throttle control and lets the engine do the braking on descents.
- Let the rig idle up obstacles when possible. Many climbs can be done at just above idle with steady, deliberate steering.
- Keep your thumbs outside the wheel. Rocks can jerk the steering wheel hard; a thumb hooked through the spokes can get broken.
- Descend in gear, off the brakes. Let compression braking control your speed rather than locking up the tires.
Between airing down and staying disciplined with the throttle, most beginners are shocked at how capable a mostly-stock 4x4 really is.
Airing Back Up for the Drive Home
Once you're back on graded road or pavement, you need to reinflate. Driving at highway speed on 12 PSI generates dangerous heat and risks tire failure — not to mention terrible handling. This is where a portable air compressor earns its keep. A good cordless or 12V unit will bring four tires back to street pressure in minutes at the trailhead.

Gear That Actually Matters for Beginners
You don't need a $60,000 built rig to start. What you do need is a way to control tire pressure accurately and recover safely. Beyond your deflator and compressor, keep a reliable low-pressure gauge in the rig — standard gauges are wildly inaccurate at single-digit and low-teen pressures, which is exactly the range that matters on the rocks.

Start Small and Build Skills
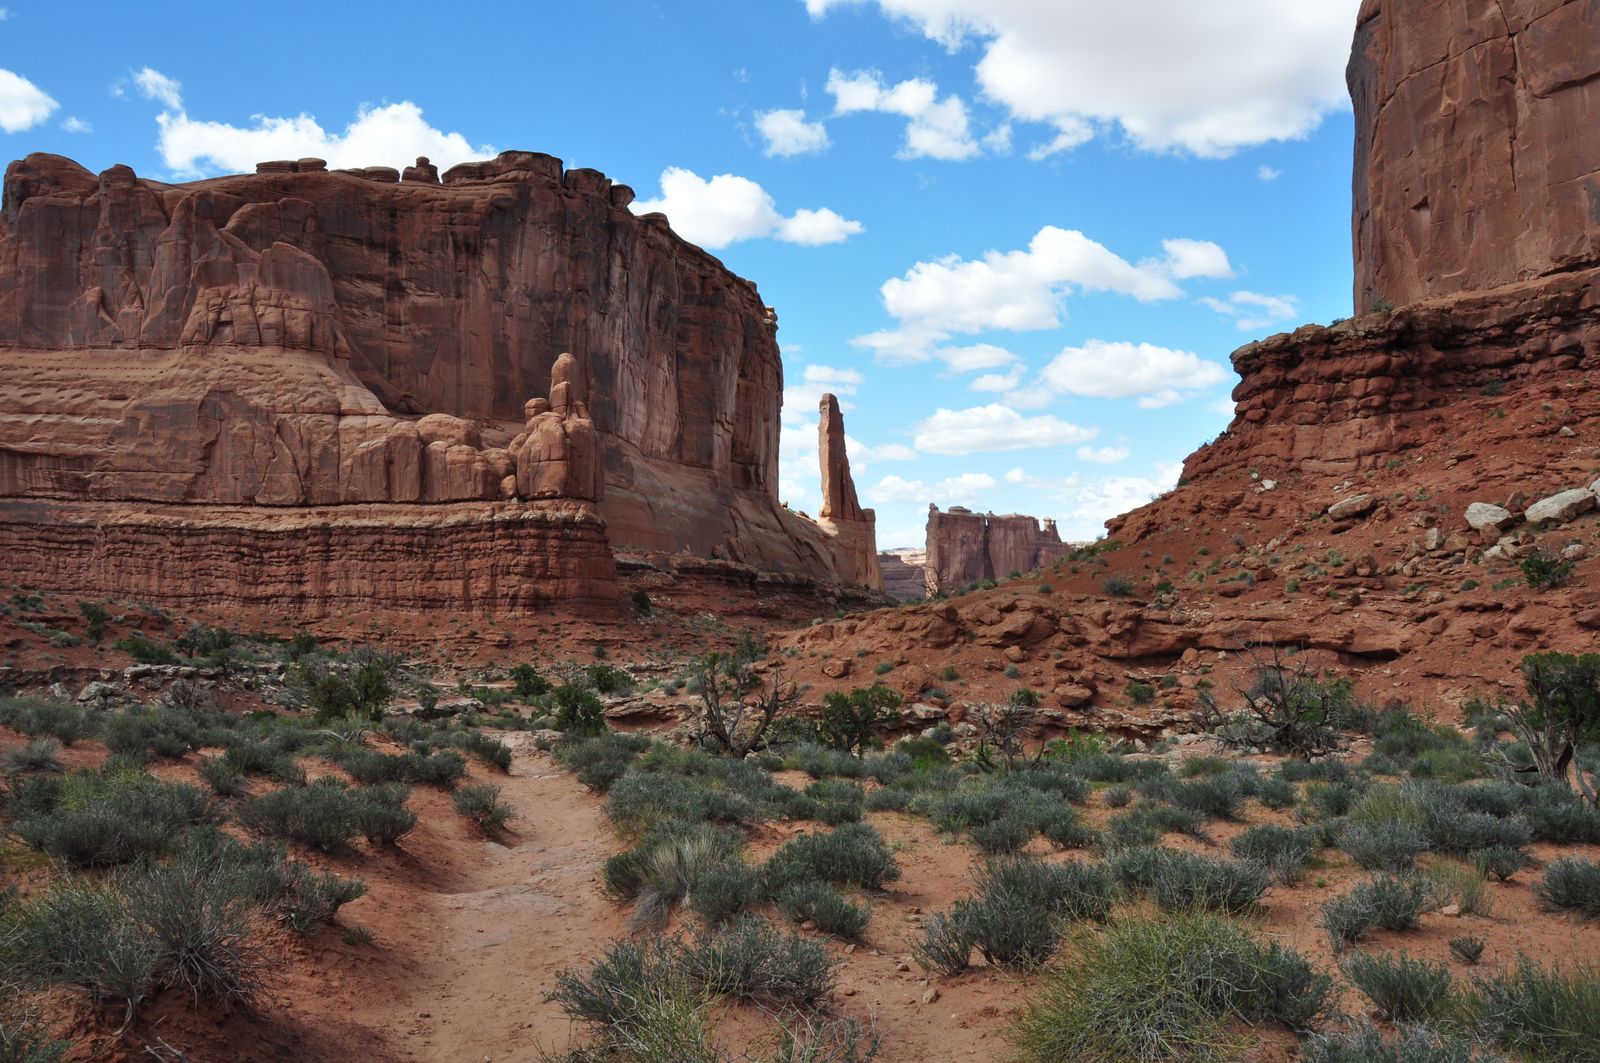
Don't start on Moab's hardest lines. Find a green or blue-rated trail, air down, and practice tire placement on small ledges and rock gardens. Go with experienced people, never wheel alone, and always carry recovery gear and basic tools. Every technical obstacle you clear teaches you something about how your rig flexes and grips.
Rock crawling is a skill that compounds. The patience and line-reading you build on beginner trails is exactly what carries you up the hard stuff later. Start with the fundamentals — air down, read your line, stay smooth — and the rocks will start to look a lot less intimidating.
Want to keep building your off-road toolkit? Check out our guide on building your first off-road emergency kit and browse the full JACO gear collection to dial in your setup.