

The trail is where the fun happens. The driveway is where you find out what it cost you. A torn CV boot, a rock lodged behind a brake rotor, or a slow leak from a sidewall gouge rarely shows up on the drive home. It shows up three weeks later as a grinding noise, a soaked garage floor, or a flat on the way to work.
A 30-minute post-trail vehicle inspection catches almost all of it while the fix is still cheap. Here's the checklist we run after every hard off-road weekend, in the order that makes sense in a driveway.
Why a Post-Trail Vehicle Inspection Matters
Off-road driving loads a truck or SUV in ways pavement never does. Suspension cycles through its full travel, tires flex at low pressure against sharp rock, and mud packs into places that were never meant to hold it. Small damage compounds: a nicked brake line rusts, a loose bolt backs out further, and caked mud holds moisture against the frame all winter.
- Catch damage early. A split boot is a $40 part. A CV axle that ran dry for a month is a few hundred dollars more.
- Stay trail-ready. Problems found on Sunday get fixed before next weekend, not at the next trailhead.
- Protect resale value. Rigs with clean frames and documented maintenance are worth more when it's time to sell.
Step 1: Air Back Up and Inspect Every Tire
If you aired down, the first job is getting back to street pressure, ideally before you even leave the staging area. Running a lowered tire at highway speed builds heat fast and can damage the sidewall from the inside. Our beginner's guide to airing down covers target pressures for both directions.

Once the tires are back to spec, check each one closely, including the spare if it saw any use:
- Sidewalls: Look for cuts, gouges, bulges, or exposed cords. Sidewall damage can't be safely plugged, so anything beyond a cosmetic scuff means a replacement.
- Tread: Pull out wedged rocks and look for nails, sticks, or chunking on the lugs.
- Beads and valve stems: Mud and grit between the bead and rim can cause slow leaks. A cracked or bent valve stem is a common trail casualty.
- Pressure the next morning: Recheck cold pressure 12 to 24 hours later. A tire that dropped a few PSI overnight has a slow leak worth finding now.

Step 2: Check Wheels and Lug Nuts
Rock rash on a rim is mostly cosmetic, but a bent bead seat or cracked spoke isn't. Spin each wheel by eye and look for flat spots on the lip where the tire seals. Then put a torque wrench on the lug nuts. Wheels that took repeated hard hits can lose clamp load, especially on aftermarket wheels or after recent tire service.
If any lug nut fights you or a stud looks stretched, deal with it now. Our guide to removing stuck lug nuts and seized bolts walks through it without wrecking your hardware.
Step 3: Get Underneath: CV Boots, Driveshafts, and Skid Plates
With the vehicle safely parked on level ground, wheels chocked, and a good light, slide underneath and work from front to back. If you need to lift it, use proper jack stands. Never work under a vehicle held up only by a jack.
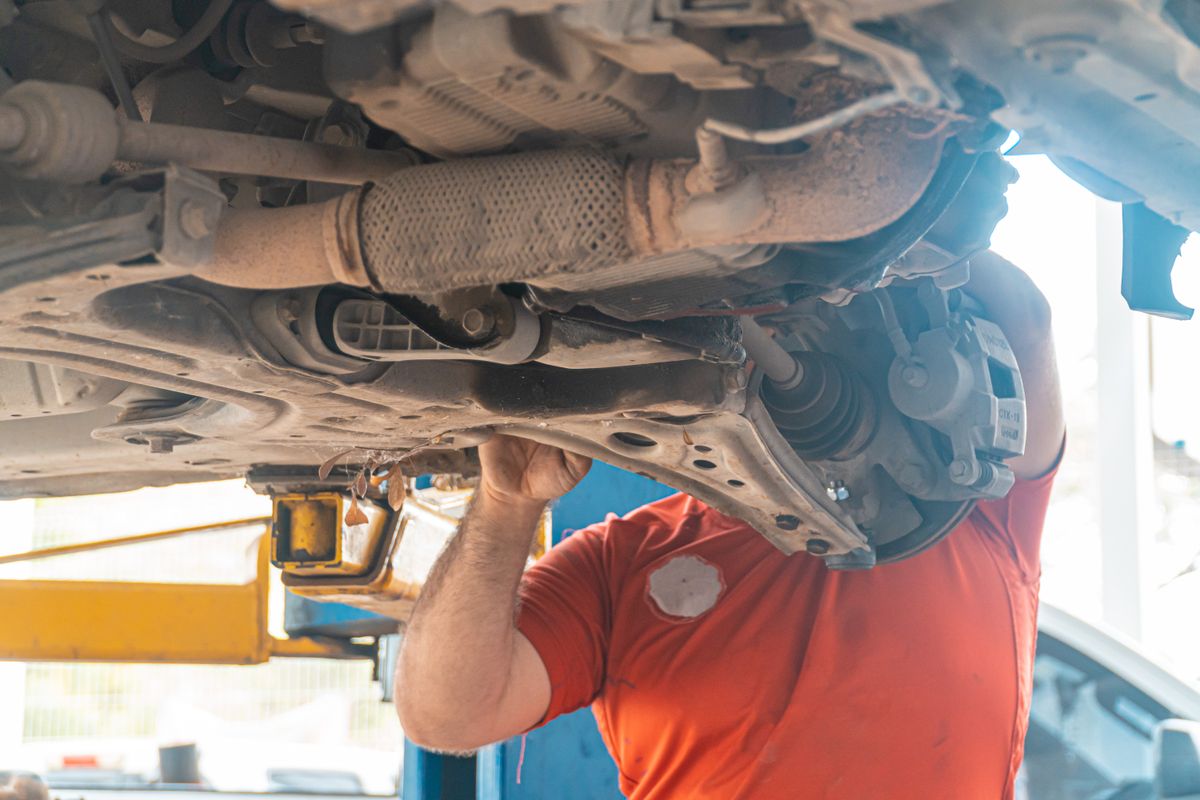
- CV boots: On IFS trucks and SUVs, check both inner and outer boots for tears. Grease slung across the inside of the wheel or the control arm is the giveaway.
- Driveshafts and U-joints: Look for dents in the tube, missing balance weights, and play in the U-joints. Grab the shaft and twist; there shouldn't be any clunk.
- Skid plates and rock sliders: Deep gouges are fine, but check that the mounting bolts are still tight and the plates aren't pushed up into anything they protect.
- Exhaust: Look for crushed pipes, broken hangers, and dented mufflers that now sit lower than they should.
Step 4: Inspect Suspension, Steering, and Brakes
Suspension and steering parts take the biggest hits on rough trails. Look over the control arms, tie rods, drag link, and steering stabilizer for bends or fresh scrapes. Check shock bodies for oil weeping down the sides, and look at the bushings for cracks or anything that has shifted out of place.
For brakes, focus on what you can see without pulling wheels:
- Brake lines and ABS wires: Trace the flexible lines at each corner and look for kinks, abrasion, or wires pulled loose from their clips.
- Rotors: Sticks and rocks can wedge between the rotor and dust shield. If you heard grinding on the way home, this is the usual cause.
- Pedal feel: A soft or spongy pedal after a trail day is a stop-and-check, not a next-week problem.
Step 5: Check Fluids, Breathers, and Water Crossings
If you crossed any water deeper than your hubs, assume water may have gotten where it shouldn't. Pull the dipsticks and look at engine oil and, if accessible, transmission fluid. Milky or foamy fluid means water contamination and needs to be changed before you drive much further.
- Differentials and transfer case: If you can, crack the fill plug and check for milky gear oil, especially after deep crossings.
- Breather tubes: Confirm the axle and transfer case breathers are still routed high and haven't been pulled off by brush.
- Leaks: Look for fresh drips at the oil pan, diff covers, and power steering lines. A cracked diff cover or punctured pan can lose fluid quickly.
- Air filter: Dusty trails load the filter fast. If the pleats are packed, swap it out.
Step 6: Wash the Mud Off, Especially the Frame
Mud is more than ugly. It holds moisture and road salt against the frame, brake parts, and wiring, and packed mud in the wheels can throw the balance off and cause vibration at highway speed. Wash the undercarriage, wheel wells, and inside of the wheels as soon as you can.
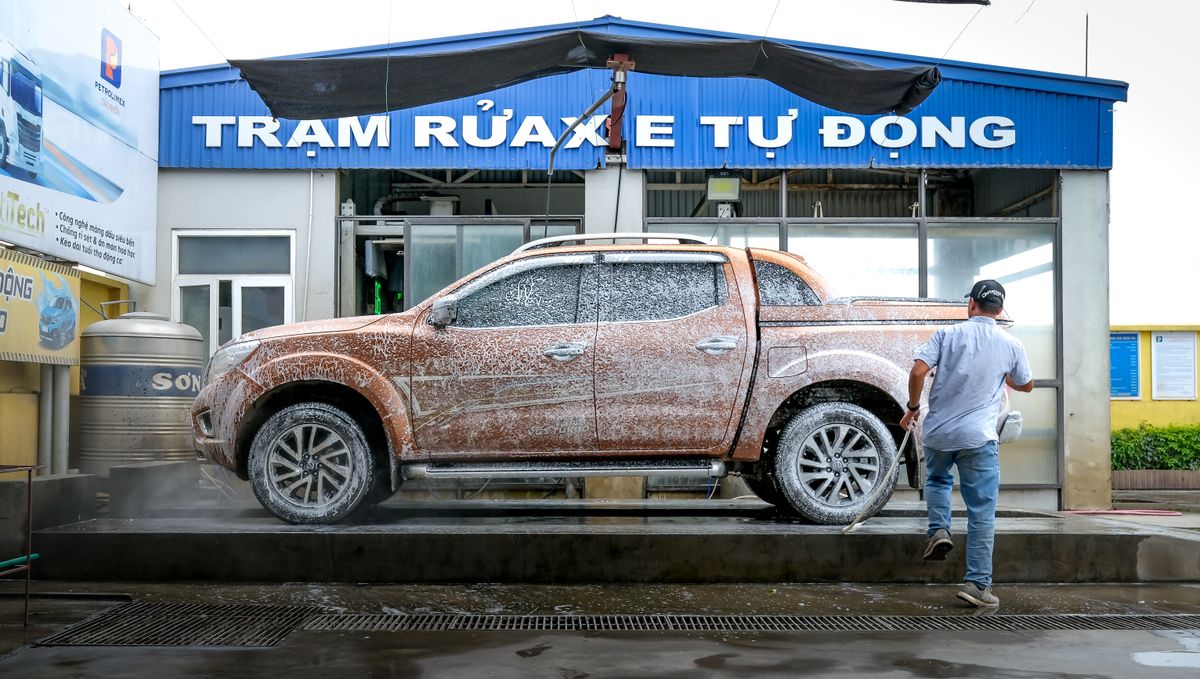
A pressure washer with an undercarriage wand makes this much faster, but keep the nozzle away from wheel bearing seals, CV boots, and electrical connectors. Our pressure washer buying guide explains how much PSI is enough. While you're cleaning, don't forget your recovery straps, shackles, and kinetic ropes, since grit trapped in the fibers wears them out from the inside.
Step 7: Restock Your Recovery and Repair Kit
The last step is the one most people skip: putting back everything you used. If you burned through tire plugs, broke a shackle pin, or used up zip ties and fuses, replace them now so you don't find an empty kit next time.

- Tire plugs, cement or lube, and a working plug tool
- Recovery straps, soft shackles, and gloves, cleaned and dried
- Spare fuses, zip ties, hose clamps, and electrical tape
- A working tire pressure gauge and a charged or ready air compressor

Your Post-Trail Vehicle Inspection Checklist, Summarized
Print this out or save it to your phone for the next trip home:
- Air up to street pressure and inspect tires, beads, and valve stems
- Check wheels for bends and re-torque the lug nuts
- Inspect CV boots, driveshafts, U-joints, skid plates, and exhaust
- Look over suspension, steering linkage, brake lines, and rotors
- Check fluids, breathers, and leaks, especially after water crossings
- Wash the frame, wheel wells, and inside of the wheels
- Restock your recovery and repair kit
A post-trail vehicle inspection takes about as long as unloading the cooler, and it's the easiest way to keep a weekend of fun from turning into a week at the shop. Make it a habit, and your truck or SUV will be ready the next time the trail calls. For the gear that keeps you rolling, explore JACO's tire and off-road tools.